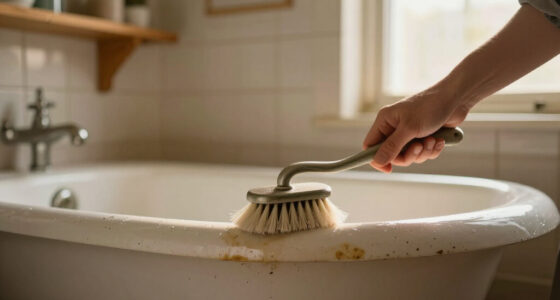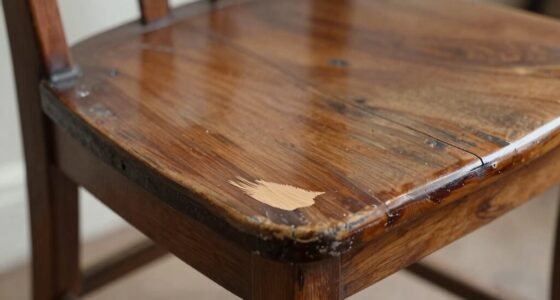

To repair surface damage discreetly, start by carefully matching the color with a color-matching kit and test on a hidden spot. Use small amounts of appropriate repair products and build up thin layers, allowing each to dry thoroughly. Sand lightly to blend the edges smoothly and mimic the original texture, especially on textured surfaces. Taking your time with blending, finishing, and evaluating the repair guarantees it stays invisible—keep going to discover how to achieve seamless results.

Get business pricing on tools and workshop supplies
- Business-only prices and quantity discounts
- Tax-exempt purchasing
- Multiple users, one account, clear invoices
Key Takeaways
- Match the repair material’s color and texture precisely to the surrounding surface for seamless blending.
- Use thin, layered applications, allowing each to dry thoroughly before sanding and building up.
- Lightly sand the repair area to smooth edges and ensure flushness with the original surface.
- Incorporate texture techniques or compounds for textured surfaces to recreate the original pattern.
- Step back and evaluate the repair under different lighting to ensure it blends naturally and is invisible.
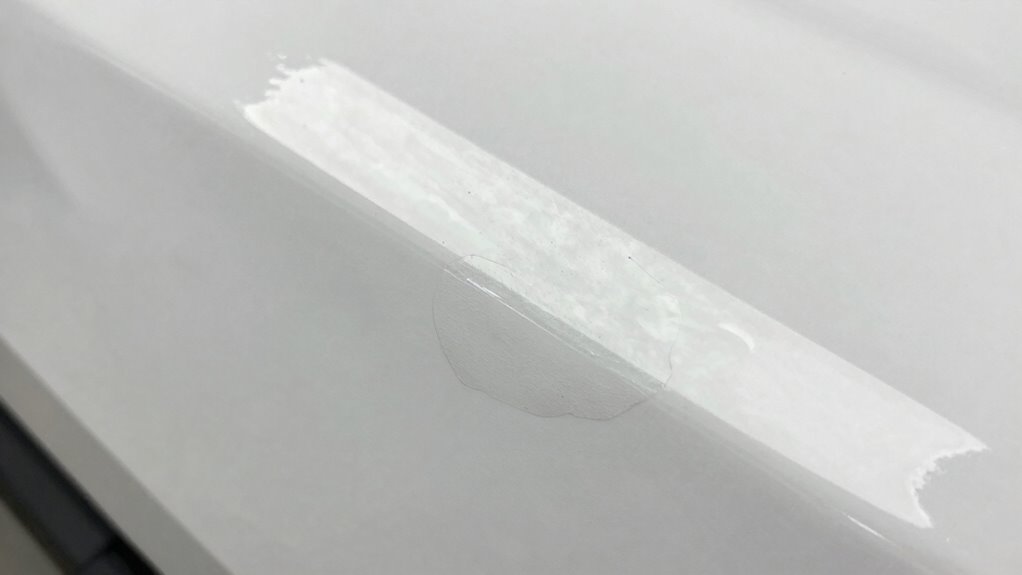
Have you ever noticed surface damage on your furniture, walls, or appliances that just won’t go away? It’s frustrating to see those unsightly marks or scratches, especially when they stand out against the surrounding surface. Fortunately, you can repair these imperfections without making the spot obvious. The key lies in understanding how to achieve seamless repairs through proper color matching and texture blending. When you start, take your time to select the right repair materials that match the original surface. Whether it’s a scratch on wood, a chip on painted drywall, or a scuff on a plastic appliance, matching the color is crucial. Use a color-matching kit or test small amounts of paint or touch-up products on an inconspicuous area until you find a perfect match. This prevents the repaired spot from standing out and ensures your repair blends naturally into the surrounding surface.
Once you’ve matched the color, focus on texture blending. The goal is to make the repaired area feel just like the rest of the surface. If you’re working on a painted wall, lightly sand the area with fine-grit sandpaper to smooth out any rough edges. When repairing wood furniture or cabinets, use a fine-grit sandpaper to feather the edges of the repair, so the transition isn’t noticeable. For plastic surfaces, gentle sanding or buffing can help blend the repair more seamlessly. After sanding, apply your chosen filler or touch-up paint carefully, using a small brush or applicator. Take your time to build up thin layers rather than applying thick coats, which can create a noticeable bump or uneven texture. Additionally, understanding surface preparation can significantly improve the final outcome. Proper surface preparation ensures better adhesion of the repair materials and helps achieve a more natural appearance. Incorporating proper finishing techniques can further enhance the seamlessness of your repair, making it almost invisible.
Furthermore, using appropriate tools can help you achieve finer detail and control during the repair process, especially on delicate surfaces. Once the paint or filler dries, lightly sand again using the same fine grit to refine the surface and ensure it’s flush with the surrounding area. If necessary, repeat the process of applying and sanding until the repair feels smooth and visually indistinguishable from the original surface. For textured surfaces like stucco, wallpaper, or textured paint finishes, you might need to incorporate a small amount of texture compound or use specialized tools to recreate the original pattern. The trick is to match not just the color but also the texture, so the repair becomes invisible. When you’re finished, wipe the area with a clean cloth to remove dust and step back to assess your work. With patience and attention to detail, you’ll repair surface damage successfully—without the spot standing out.
As an affiliate, we earn on qualifying purchases.
Frequently Asked Questions
Can Surface Damage Be Repaired Without Professional Tools?
You can repair surface damage without professional tools by focusing on proper surface prep and careful tool selection. Start by cleaning the area thoroughly, removing dirt and debris. Use simple tools like a fine-grit sandpaper or a putty knife for smoothing and filling. Match your repair materials to the surface, and apply evenly. With patience and attention to detail, you can make repairs look seamless without needing specialized equipment.
How Long Does a Surface Repair Typically Last?
A surface repair typically lasts several years if you focus on proper surface preparation and use quality repair materials. To guarantee longevity, clean the damaged area thoroughly, remove loose debris, and follow the manufacturer’s instructions for applying the repair materials. Proper adhesion and finishing are key, so take your time to smooth and blend the repair. With good maintenance, your repair can stay discreet and durable for many years.
Are There DIY Repair Kits Available for Specific Surfaces?
Yes, DIY repair kits are available for specific surfaces like wood, ceramic, or drywall. You’ll want to focus on proper surface prep before using the repair materials included in the kit. Clean the area thoroughly, remove loose debris, and sand if needed. These kits provide tailored repair materials that blend well, making the damage less noticeable. Follow the instructions carefully for the best results and a seamless finish.
What Common Mistakes Should Be Avoided During Repairs?
Did you know 60% of visible repairs fail because of poor technique? To avoid this, focus on aesthetic blending and material compatibility. Don’t rush the process—improper matching of paint or finish makes damage obvious. Always test your repair on a small area first, and use the right tools. Over-application or using incompatible materials can worsen the damage, so take your time and follow manufacturer instructions carefully.
When Should I Seek Professional Help Instead of DIY?
You should seek professional help when the damage involves complex skill requirements or if the cost considerations of DIY repairs outweigh the benefits. If the damage is extensive, deep, or affects structural integrity, a professional guarantees a safe, durable fix. Attempting repairs beyond your skill level can lead to worse damage and higher costs in the long run. When in doubt, consulting an expert helps you avoid costly mistakes and ensures a quality repair.
Conclusion
Now that you know how to hide and heal surface damage, you can confidently correct imperfections without creating new problems. With a little patience and the right techniques, your repairs will appear pristine and virtually invisible. Remember, the key is to keep things simple, smooth, and subtle. So, seize the skill, stay steady, and transform tarnished spots into pristine surfaces — because perfect presentation begins with a perfect patch!
Fall yard work Picks
leaf blowers
As an affiliate, we earn on qualifying purchases.