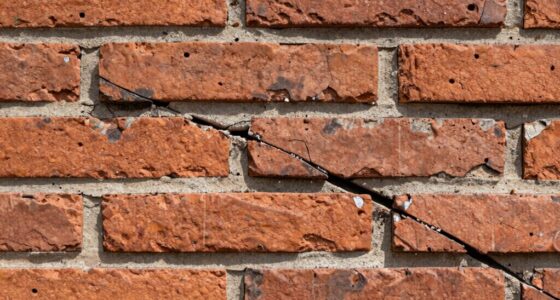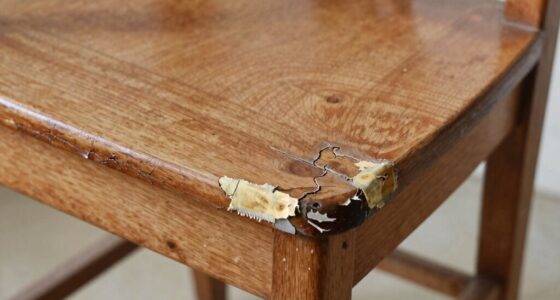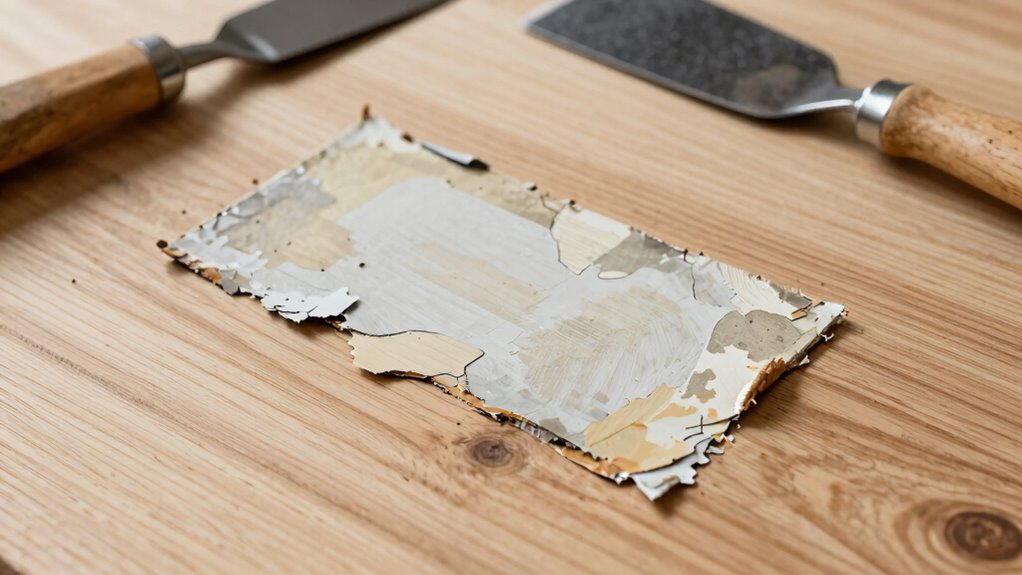

To remove a bad repair and start fresh, gather proper tools like screwdrivers, pry bars, and heat guns or chemical removers suited for the material. Wear protective gear, guarantee a clean, well-ventilated workspace, and disconnect power if needed. Work gradually, using gentle techniques to avoid damaging surrounding areas. After removal, clean the space thoroughly and prepare it carefully for the next repair. Keep these steps in mind to do the job right—more tips follow below.

Get business pricing on tools and workshop supplies
- Business-only prices and quantity discounts
- Tax-exempt purchasing
- Multiple users, one account, clear invoices
Key Takeaways
- Gather proper tools and safety gear, then assess the area before starting removal.
- Use gentle, gradual techniques like heat or chemicals to loosen the bad repair without damage.
- Disconnect electrical power and ensure a well-ventilated workspace for safety.
- Carefully remove the faulty repair, avoiding force and working patiently to prevent further damage.
- Clean and prepare the area thoroughly for a proper, durable new repair.
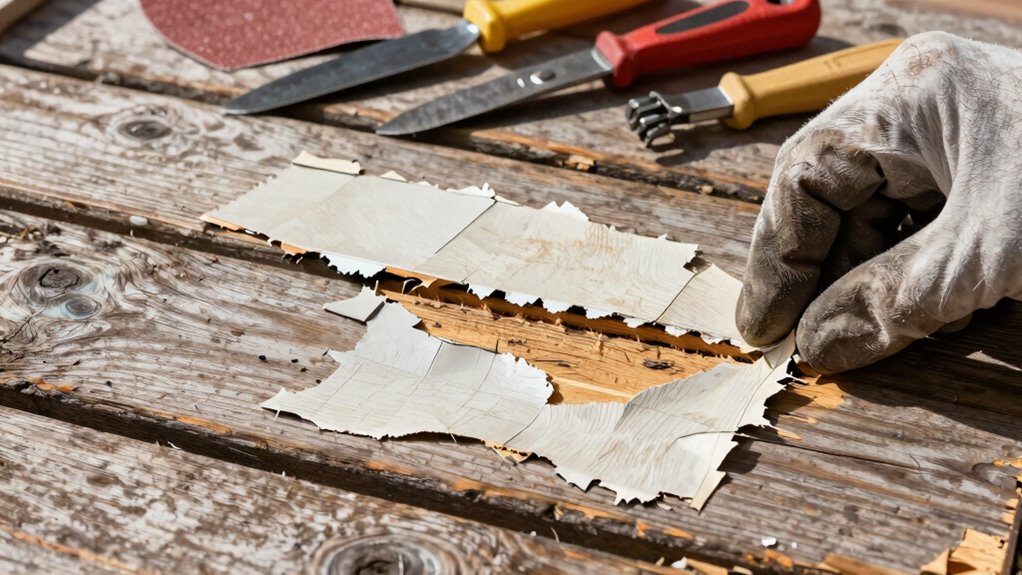
If you’ve recently had a repair that didn’t hold up or looks worse than before, it’s understandable to feel frustrated. But before you toss in the towel, it’s important to approach the situation carefully to ensure you remove the bad repair correctly and set yourself up for success the next time. The first step involves choosing the right tools. Tool selection is crucial because using improper or low-quality tools can make the job harder, increase the risk of damage, or cause injury. Gather essential items like screwdrivers, pry bars, or scrapers suited to the material you’re working on. If you’re removing a glued or sealed component, consider having a heat gun or chemical removers on hand, but always research which products are safe for your specific material. Remember, using the proper tools not only makes the process smoother but also minimizes the risk of damaging surrounding areas.
As you get started, safety precautions should be your top priority. Always wear protective gear like gloves and safety glasses to shield yourself from splinters, sharp edges, or chemical splashes. Ensure your workspace is well-ventilated, especially if you’re dealing with adhesives, paints, or other substances that emit fumes. Keep a fire extinguisher nearby if you’re working with heat tools or chemicals, and avoid working in cluttered or unstable environments where accidents are more likely. If you’re working on electrical components, disconnect the power supply first to prevent shocks, and double-check that the area is de-energized. Taking these precautions might seem tedious, but they’re vital to keep you safe as you remove the old, faulty repair. Additionally, understanding the proper removal techniques can help prevent unnecessary damage and make the process more efficient. It’s also helpful to review common mistakes during repairs to avoid repeating errors that could complicate the removal process.
Once you’ve prepared your tools and safety gear, carefully assess the area to understand what needs to be removed and how best to approach it. Start gently, applying heat or chemical solutions if necessary, then gradually work your way through the repair. Patience is key—rushing can cause damage or injuries. As you work, maintain a steady hand and focus on avoiding damage to the surrounding material. After removing the faulty repair, clean the area thoroughly before starting anew. This ensures a better bond for the next repair and prevents future issues. Remember, taking your time, choosing the right tools, and following safety precautions makes all the difference. With patience and proper preparation, you can effectively remove the bad repair and confidently start again the right way.
As an affiliate, we earn on qualifying purchases.
Frequently Asked Questions
How Can I Tell if a Repair Is Truly Bad?
You can tell a repair is truly bad if it shows signs of DIY pitfalls, like poor workmanship, visible damage, or temporary fixes that don’t hold up. Check if the repair voids any warranties, which often happens with subpar work. If the repair doesn’t function properly, causes leaks, or feels unstable, it’s a clear indicator you should redo it professionally to avoid further issues and preserve your repair warranties.
What Tools Are Needed to Remove a Poor Repair?
Did you know that using the right tools can reduce repair time by up to 40%? To remove a poor repair, gather essential DIY tools like a utility knife, screwdrivers, pliers, and a putty knife. Remember to wear safety precautions such as gloves and goggles to protect yourself. These tools help you carefully detach damaged parts without causing further harm, ensuring you’re ready to start fresh with a proper repair.
Is It Safe to Remove a Bad Repair Myself?
Yes, you can remove a bad repair yourself, but prioritize DIY safety. Make sure you wear appropriate protective gear, like gloves and goggles, and work in a well-ventilated area. Keep in mind, removing the repair might affect your repair warranties, so check those first. If you’re unsure or uncomfortable, consider consulting a professional to avoid causing further damage or risking injury. Proper safety precautions are essential for a successful DIY project.
How Long Does It Typically Take to Redo a Repair?
Redoing a repair usually takes a few hours to a full day, depending on the complexity. With DIY tips, you can speed up the process by organizing your repair materials beforehand and following step-by-step instructions. Make certain to allow enough curing or drying time for the materials you use. Taking your time ensures the new repair is durable and looks professional, saving you time and effort in the long run.
Are There Any Warranties on Professional Repair Services?
Most professional repair services offer warranty coverage and repair guarantees, giving you peace of mind. For example, if you hire a technician to fix your HVAC system and it breaks down again within the warranty period, they’ll typically return to fix it free of charge. Always ask about warranty coverage before hiring, so you understand repair guarantees and how long they last, ensuring your investment stays protected long-term.
Conclusion
So, are you ready to wipe the slate clean and do it right this time? Removing a bad repair might seem intimidating, but with patience and the right steps, you can start fresh and get it right. Remember, rushing only leads to more mistakes. Think of it as a chance to learn and improve—aren’t the best results worth a little extra effort? Now, take a deep breath, and begin your journey toward a perfect repair.
Fall Picks
fall essentials
As an affiliate, we earn on qualifying purchases.