The main mistake that causes miter joints to open up later is neglecting proper alignment and clamping pressure. If you don’t carefully match miter angles, use enough clamps, and apply even pressure, the joint can shift or settle during drying. Poor alignment, inconsistent glue, or inadequate clamping weakens the bond, leading to gaps over time. To avoid this, focus on accuracy and proper technique—you’ll find more tips to keep your joints tight and durable.
Key Takeaways
- Improper alignment or inaccurate miter angles cause gaps to form as the joint shifts during drying.
- Insufficient or uneven clamping pressure allows joints to settle or open up over time.
- Using low-quality or unevenly applied glue weakens the bond, leading to joint separation.
- Failing to test-fit and adjust pieces before gluing results in misaligned joints that open later.
- Not verifying or maintaining tight joints during curing causes gaps to develop as the wood shrinks or moves.

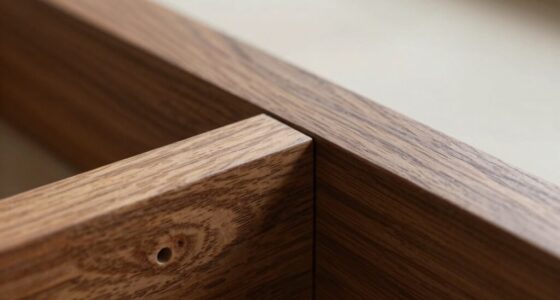
Miter joints are prized for their clean, seamless appearance, but they can sometimes open up over time if you’re not careful during assembly. The key to preventing this common issue lies in proper joint alignment and effective glue application. If you neglect these steps, even the most perfectly cut miter can weaken and eventually gap, ruining the finished look and compromising the structure’s stability.
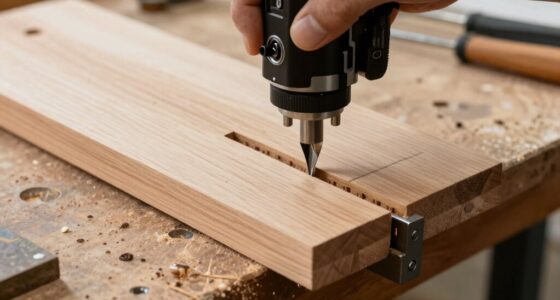
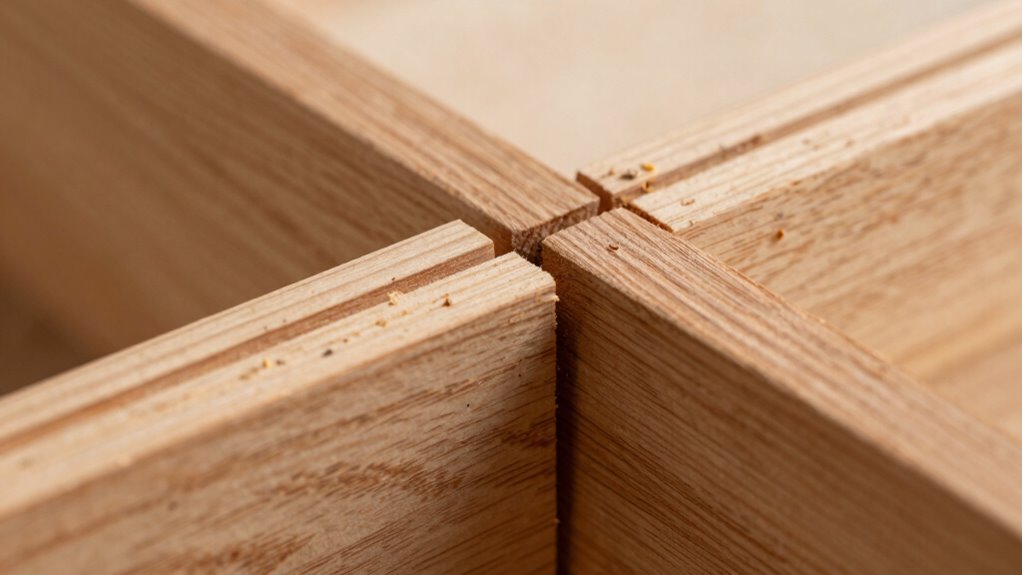
First, pay close attention to joint alignment. When you’re cutting the miter angles, ensure they’re precisely matched and fit together tightly. Use a sharp miter saw and double-check your angles before making the cut. During assembly, don’t just rely on the cut itself—test-fit the pieces first. If they don’t align perfectly, adjust your cuts or sand lightly to achieve a snug, gap-free fit. Proper joint alignment is essential because any misalignment results in uneven pressure distribution when glued, increasing the risk of gaps forming as the adhesive dries or under load. Proper joint alignment is fundamental for ensuring a durable and visually appealing miter joint.
Ensure perfect fit with precise angle cuts and test assembly for seamless, gap-free miter joints.
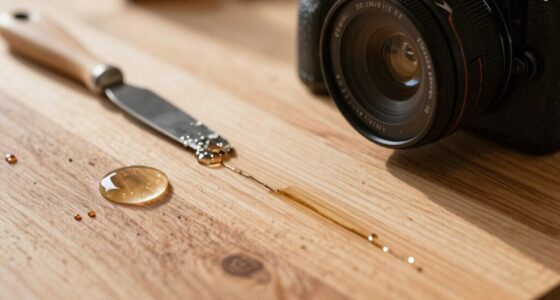
Next, focus on glue application. Applying the right amount of glue is vital—too little, and the joint won’t have enough adhesion; too much, and excess glue will seep out, creating a mess and weakening the bond. Use a high-quality wood glue and apply it evenly along the entire mitered edge. A small brush or squeeze bottle makes it easier to control the amount and distribution. Be diligent about covering the entire joint surface, ensuring a thin, uniform layer. When clamping the joint, wipe away any excess glue that squeezes out with a damp cloth before it dries. Proper glue application combined with tight, even clamping creates a strong, durable bond that holds the joint firmly in place, preventing gaps from developing over time.
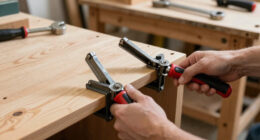
Another mistake that often leads to open miter joints is not clamping tightly enough during drying. Clamping applies the necessary pressure to keep the joint aligned and glued properly. Use enough clamps to distribute pressure evenly, and leave them in place for the recommended drying time. If you skip this step or don’t clamp tightly enough, the joint can shift or settle as the glue cures, resulting in an open gap later.
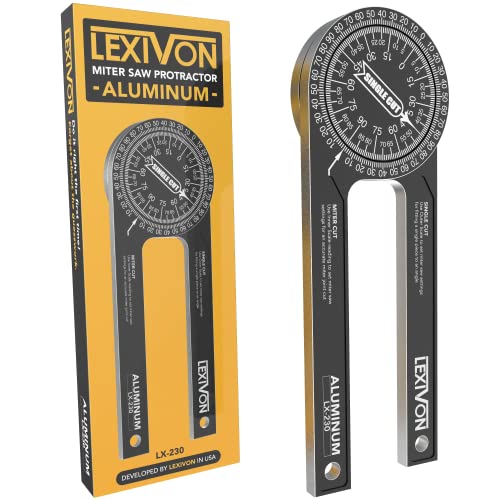
LEXIVON Aluminum Miter Saw Protractor | 7-Inch Rust Proof Angle Finder Featuring Precision Laser Engraved Scales (LX-230)
- Material: CNC-machined anodized aluminum alloy
- Precision: Laser engraved scales for accuracy
- Design: Internal Teflon O-ring for smooth swiveling
As an affiliate, we earn on qualifying purchases.
As an affiliate, we earn on qualifying purchases.
Frequently Asked Questions
How Can I Prevent Miter Joints From Opening Over Time?
To prevent miter joints from opening over time, you should focus on proper joint reinforcement and glue application. Apply glue evenly to both mitered edges, ensuring complete coverage, and clamp the pieces tightly until the glue dries. Using reinforcement methods like splines, biscuits, or nails can add extra strength. This approach minimizes movement, keeping your joints tight and stable for years to come.
What Tools Are Best for Creating Perfect Miter Cuts?
You should use a high-quality miter saw for perfect cuts, ensuring tool calibration and precise cutting angles. Many beginners worry about accuracy, but with a well-calibrated saw, you’ll get clean, exact miter cuts every time. Look for a saw with adjustable bevel and miter angles, and double-check the settings before cutting. This guarantees tight joints and professional results, preventing gaps or misalignments later.
Does Wood Type Affect Miter Joint Durability?
Yes, wood type affects miter joint durability. You should consider the wood grain because uneven grain can cause the joint to loosen over time. Hardwoods like oak or maple tend to hold joints better than softwoods like pine, which may expand and contract more. To improve durability, reinforce joints with glue or mechanical fasteners, ensuring the wood’s movement doesn’t lead to gaps or opening up later.
How Does Humidity Influence Miter Joint Stability?
Humidity affects miter joint stability because wood expands and contracts with changes in moisture, leading to potential gaps or misalignment. To prevent this, you should focus on climate control—maintaining consistent humidity levels helps minimize wood expansion and contraction. Properly acclimating your wood before assembly and using stable, high-quality adhesives also contribute to long-lasting, tight miter joints that resist opening over time.
Are There Alternative Joints That Resist Opening Better?
Think of a dovetail joint, the secret of timeless craftsmanship, resisting opening better than miter joints. You can also use joint adhesives and corner reinforcement, like splines or biscuits, to improve stability. These alternatives distribute stress more evenly, preventing gaps over time. By choosing these joints and reinforcing techniques, you guarantee your projects stay tight and durable, much like the enduring strength of historical woodworking masterpieces.
Conclusion
So, don’t ignore the importance of precise cuts and proper clamping. It might seem like a small detail, but skipping these steps can lead to gaps in your miter joints over time. If you’re worried about the extra effort, remember that a well-made joint saves you time and frustration down the line. Trust me, investing a little extra care now keeps your projects looking professional and intact for years to come.