Paint projects often fail at the primer stage when you skip surface preparation or choose the wrong primer. Dirt, grease, or uneven textures prevent proper adhesion, leading to peeling or cracking. Using an incompatible primer can cause bubbling or poor coverage, making your finish look uneven. Taking time to clean, sand, and select the right primer guarantees a smooth start. If you want to avoid common mistakes and achieve a professional finish, there’s more to uncover.
Key Takeaways
- Inadequate cleaning removes dirt, grease, and old paint, preventing proper primer adhesion.
- Skipping sanding or surface prep leads to poor bonding and uneven paint application.
- Using the wrong primer type for the surface causes bubbling, peeling, or poor coverage.
- Rushing the primer application results in uneven coating and compromised durability.
- Ignoring surface imperfections or moisture issues hampers primer effectiveness and paint longevity.
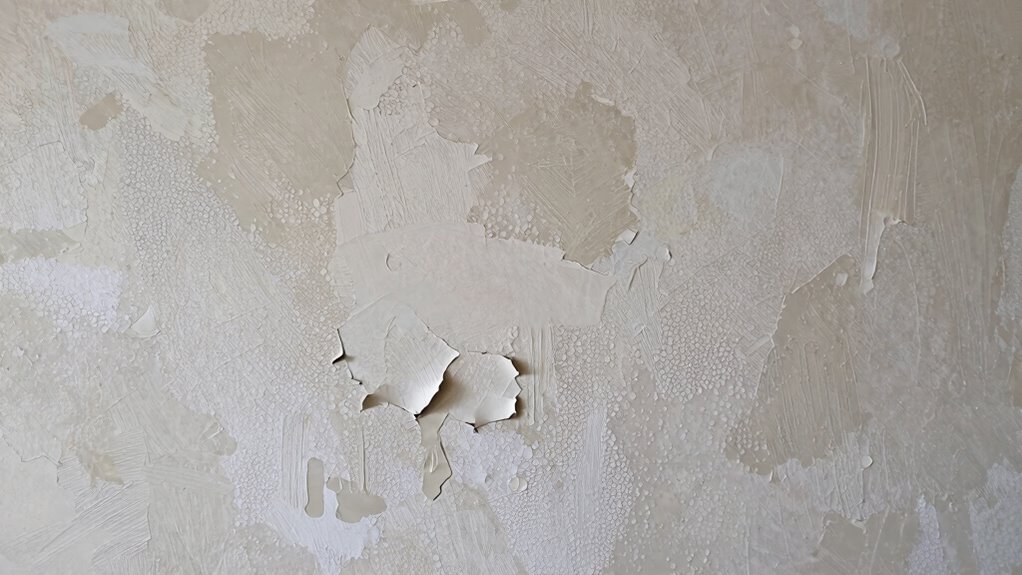
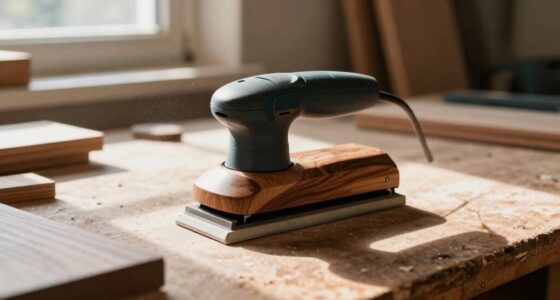
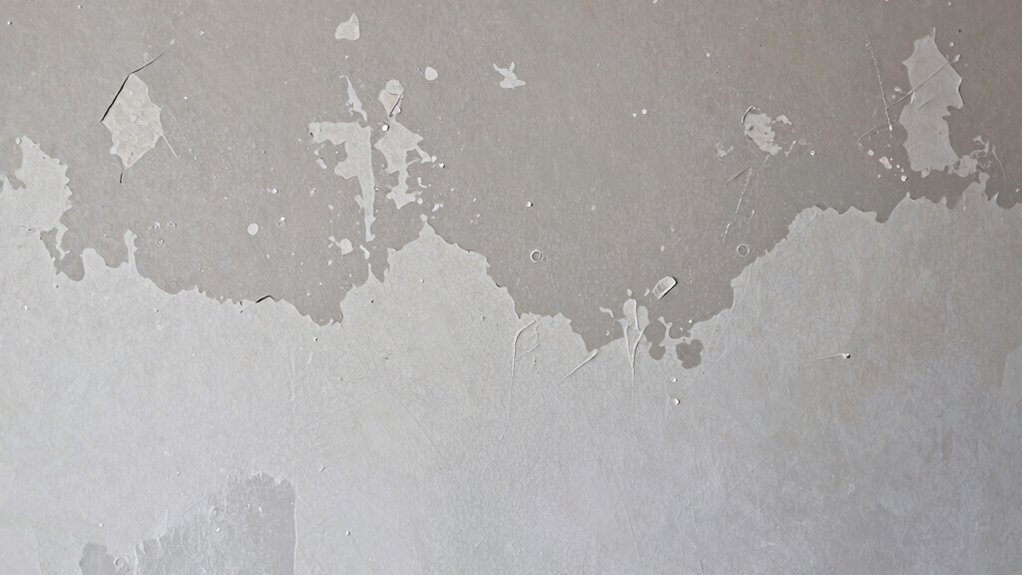
Have you ever wondered why your paint projects sometimes fall flat before they even begin? The answer often lies in the essential first step: surface preparation and primer selection. Skipping or rushing through this stage can cause your paint to peel, crack, or simply not stick as well as it should. When you start without properly preparing the surface, you’re setting yourself up for failure. Dust, grease, or uneven textures create a barrier that prevents the primer from adhering properly. That’s why thorough surface preparation is vital. You need to clean the surface thoroughly, removing any dirt, oil, or old paint that might interfere with adhesion. Sanding rough patches and smoothing out imperfections will give the primer a better grip, ensuring a solid foundation for the topcoat.
Proper surface prep ensures paint sticks, looks professional, and lasts longer—don’t skip this critical first step.
Primer selection is equally important. Not all primers are created equal, and choosing the wrong one can lead to problems down the line. For example, using a water-based primer on a surface that’s exposed to moisture can cause bubbling or peeling. Conversely, oil-based primers are excellent for sealing stains and covering darker colors but may require more effort to clean up afterward. You should match your primer to both the surface material and the type of paint you plan to use. If you’re working on a glossy surface, a bonding primer will help the paint adhere better. For porous surfaces like drywall or bare wood, a high-quality primer that seals the surface and provides an even base is vital. Proper surface preparation and primer choice are fundamental to ensuring long-lasting results.
Many beginners overlook the importance of primer altogether, thinking it’s an optional step. That’s a mistake. Primer guarantees better coverage, color accuracy, and durability of your finished project. It also helps to hide previous colors or imperfections, giving your paint a uniform look. When you skip the proper primer, you’re risking uneven absorption of paint, which can lead to blotchiness and uneven color.
In short, the success of your paint project starts long before you pick up a brush. It hinges on meticulous surface preparation and careful primer selection. Invest time in cleaning, sanding, and choosing the right primer for your specific surface and paint type. Doing so will save you time, money, and frustration later on, and it’ll result in a more professional-looking finish. Remember, the primer stage isn’t just a formality — it’s the foundation that determines whether your project will be a triumph or a failure.
best surface cleaner for painting
As an affiliate, we earn on qualifying purchases.
As an affiliate, we earn on qualifying purchases.
Frequently Asked Questions
How Long Should Primer Dry Before Painting?
You should wait at least 1 to 2 hours for the primer to dry before painting, but check the manufacturer’s instructions for precise drying times. Proper surface preparation guarantees the primer adheres well, and compatibility is key for a smooth finish. Rushing the process can cause peeling or uneven coverage. Make sure the primer is completely dry and feels tack-free before applying your topcoat to achieve the best results.
Can I Skip Primer on Certain Surfaces?
Skipping primer might seem tempting, but it’s a risky move. On certain surfaces, like glossy or stained ones, neglecting proper surface preparation and primer compatibility can lead to peeling or uneven coverage. You could face costly mistakes and a repaint sooner than expected. Always assess your surface carefully, choose the right primer, and follow recommended preparation steps. Skipping primer isn’t worth the potential hassle and compromised finish.
What Types of Paint Work Best Over Primer?
You should choose a paint that works well over your primer, typically a high-quality latex or acrylic for most surfaces. For color matching, consider a primer with a tint that matches your topcoat to make sure of even color. Proper primer selection guarantees good adhesion and a smooth finish, so always match your paint type to the primer and surface, and follow manufacturer recommendations for best results.
How Do I Know if the Primer Is Properly Adhered?
Think of primer adhesion like a handshake—you want it firm and confident. To check if your primer’s properly adhered, gently touch or press on the surface; it shouldn’t peel or lift. Good surface preparation is key—make sure the surface is clean, dry, and smooth before applying primer. If the primer feels tacky or bubbles, it might not have bonded well. Proper surface prep guarantees your paint sticks and lasts.
Is It Necessary to Sand Primer Before Painting?
Yes, sanding primer before painting is necessary. Proper surface preparation guarantees good adhesion and a smooth finish. Sanding helps remove any imperfections, rough spots, or excess primer that might hinder the paint’s bond. Make certain to use a fine-grit sandpaper to maintain primer compatibility and avoid damaging the surface. After sanding, clean off dust thoroughly to guarantee a clean surface, promoting ideal adhesion and a professional-looking result.
Conclusion
If you skip proper primer application, your paint project is likely to fail. Studies show that 80% of paint failures originate from poor surface preparation, especially inadequate priming. Imagine pouring your time and money into a project only to see chips and peeling within months—that’s the harsh reality of neglecting primer. To guarantee a smooth, long-lasting finish, prioritize thorough priming. It’s the foundation that guarantees your painting efforts stand the test of time.