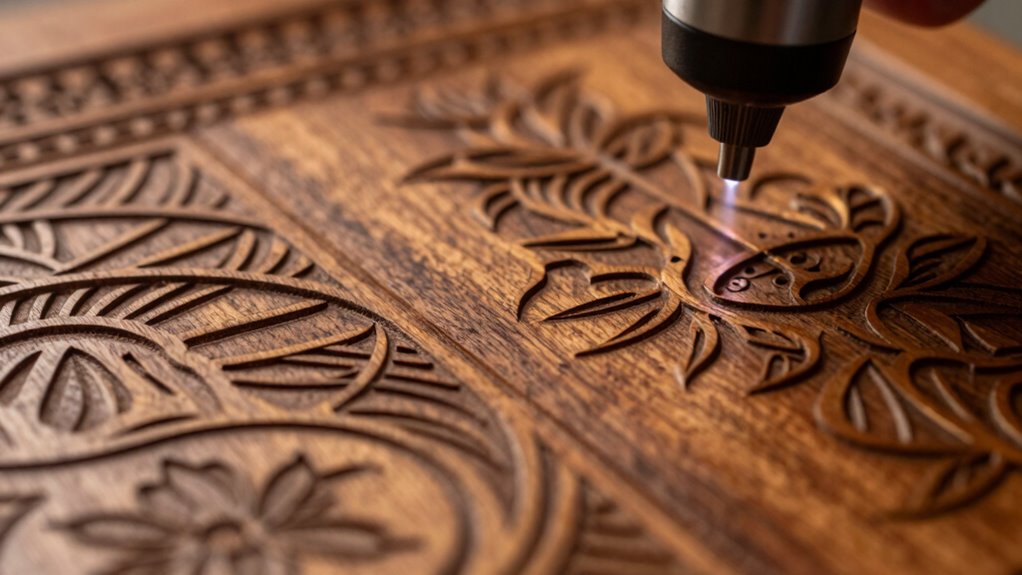

When you’re laser engraving wood, key settings like power and speed are vital. You’ll want to adjust power based on the wood type—hardwoods need more power while softer woods require less. Slower speeds enhance depth, while faster speeds can lead to shallow engravings. Don’t forget about design intricacies; fine details often need shallower engravings. Good ventilation’s essential for both your health and equipment longevity. There’s more to explore about perfecting your technique, so keep going!

Get tools and workshop supplies delivered free — and shop member deals
- Fast, free delivery on millions of items
- Access to Prime Big Deal Days deals on October 6–7
- Prime Video, Amazon Music and more included
Key Takeaways
- Power Settings: Adjust power based on wood density to avoid burns or faint engravings; higher power for denser woods, lower for softer types.
- Speed Adjustments: Balance engraving speed to ensure depth; slower speeds enhance detail while faster speeds may result in shallow engravings.
- Material Types: Understand how different woods react; hardwoods require more power and slower speeds, while softer woods need less power for effective engraving.
- Design Intricacies: Match engraving depth to design details; finer designs need shallow engravings, while bolder ones can accommodate more depth.
- Ventilation: Ensure proper ventilation to manage smoke and fumes, improving air quality and prolonging laser equipment lifespan.
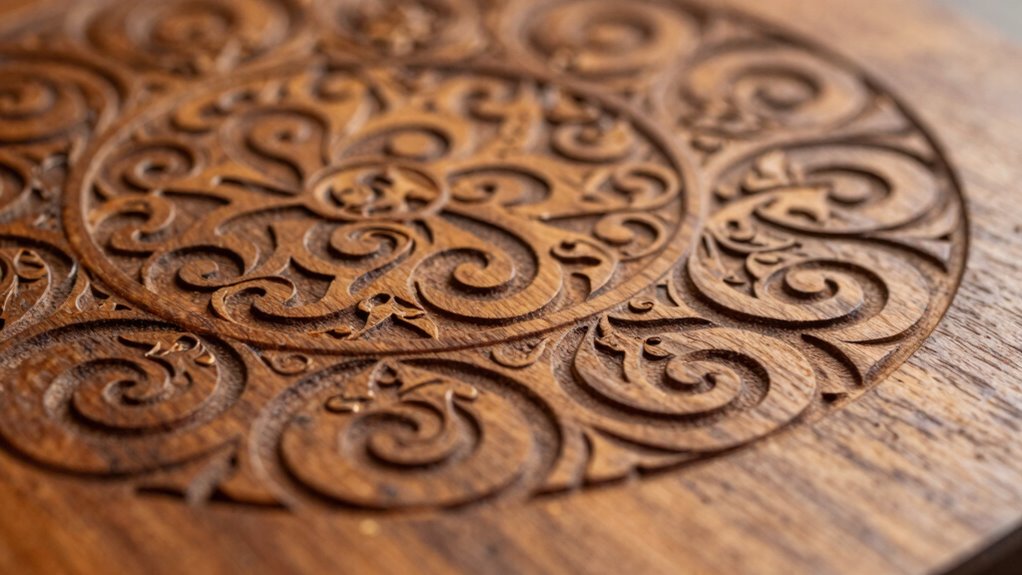
When you immerse yourself in wood laser engraving, understanding the right settings can make all the difference in your results. The journey begins with power settings, which dictate how deeply the laser penetrates the wood. Too much power can lead to burns or uneven surfaces, while too little may result in faint engravings. Finding the sweet spot requires testing, but a good rule of thumb is to start with a higher setting for denser woods and dial it back for softer materials.
Next, consider speed adjustments. The speed at which your laser moves affects the engraving quality. If you go too fast, you risk a shallow engraving that lacks detail. Conversely, slowing down can enhance the engraving depth, allowing for a richer design. Balancing power and speed is essential, especially when you’re working with intricate designs. It’s about trial and error, so keep a log of what works best for each project. Additionally, keeping detailed records of your settings can help you achieve consistent results over time.
Balancing speed and power is crucial for achieving detailed engravings; trial and error will help you refine your technique.
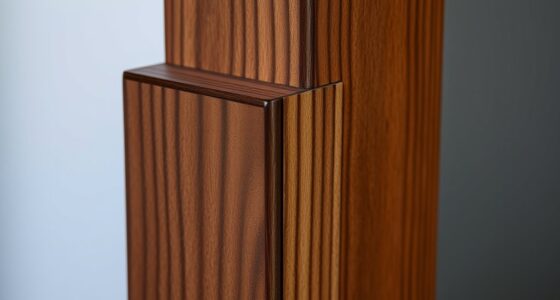
Material types also play a significant role in your settings. Different woods react differently to laser engraving. Hardwoods like oak require more power and slower speeds compared to softer woods like pine. Knowing your material can save you time and frustration. Don’t forget to account for the grain and finish of the wood, as these factors can affect how the laser interacts with the surface.
As you explore design intricacies, remember that your engraving depth should align with the details of your design. Finer details may need shallower engravings, while bolder designs can handle more depth. Adjusting your focus calibration is crucial here. If the focus isn’t sharp, even the best settings won’t yield the quality you desire. Always check your focus before starting a new engraving.
Ventilation needs shouldn’t be overlooked. As you engrave, smoke and fumes can build up, affecting both your work and your health. Make sure your workspace has proper ventilation to keep the air clear and your vision focused on the task at hand. Proper ventilation can also prolong the life of your laser equipment by reducing residue buildup.
Finally, understanding the material properties and how they interact with laser settings can help you achieve consistent results and avoid damage to your pieces. Verify your software compatibility aligns with your laser machine. Using the right software can streamline your workflow and make it easier to adjust settings on the fly. By mastering these detail settings, you’ll transform your wood laser engraving into a refined art form, producing stunning pieces that reflect your creative vision.
laser engraving wood power and speed settings
As an affiliate, we earn on qualifying purchases.
As an affiliate, we earn on qualifying purchases.
Frequently Asked Questions
What Types of Wood Are Best for Laser Engraving?
For laser engraving, hardwoods like oak, maple, and cherry offer distinct advantages. They provide a crisp, detailed finish that enhances your designs. On the other hand, softwood options like pine and cedar can be more affordable and easier to work with, but they may not deliver the same level of detail. Choose hardwoods for intricate designs, but don’t overlook softwoods for simpler projects. It all depends on your engraving goals!
How Do I Maintain My Laser Engraving Machine?
To maintain your laser engraving machine, start with regular machine cleaning. Wipe down the surfaces and components to remove dust and debris. Check the lenses and mirrors for residue, cleaning them gently with appropriate solutions. Lubricate moving parts as recommended by the manufacturer, and inspect belts for wear. Following these maintenance tips will keep your machine running smoothly and extend its lifespan, ensuring consistent engraving quality.
Can I Engrave Painted or Finished Wood?
Yes, you can engrave painted or finished wood, but it’s crucial to take into account paint adhesion and finish compatibility. Picture your laser cutting through vibrant colors, revealing the natural wood grain underneath. However, not all finishes react well to laser engraving. Some might burn, while others may not adhere properly. Always test on a small area first to guarantee you achieve the desired effect without damaging your project.
What Safety Precautions Should I Take When Laser Engraving?
When laser engraving, prioritize laser safety by wearing protective gear like goggles and gloves. Verify your workspace has proper ventilation systems to avoid inhaling fumes and particles. Handle materials carefully to prevent accidents. Keep your workspace free of flammable items, and always have a fire extinguisher nearby. By taking these precautions, you’ll create a safer environment for yourself while achieving great results in your engraving projects. Stay safe and focused!
How Do I Troubleshoot Common Engraving Issues?
To troubleshoot common engraving issues, start by checking your speed settings and engraving depth. If the engraving is too shallow, increase the depth or reduce the speed for a more pronounced result. Conversely, if it’s too deep, try increasing the speed. Always make sure your material is properly secured and clean for best results. Adjusting these parameters can greatly enhance your engraving quality, so don’t hesitate to experiment until you find the right balance.
Conclusion
When it comes to wood laser engraving, the settings you choose truly make a difference. By fine-tuning your speed, power, and resolution, you can reveal intricate designs and textures that pop. Remember, it’s not just about the machine; it’s about your understanding of materials and techniques. Trust the process, experiment, and watch your creations come to life. The right settings can transform a simple piece of wood into a stunning work of art.
Fall yard work Picks
leaf blowers
As an affiliate, we earn on qualifying purchases.