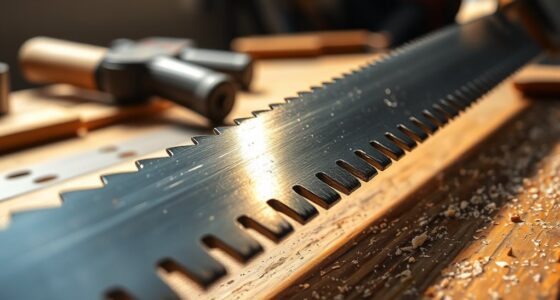

To use a jointer better for your furniture parts, start by selecting the flattest rough lumber available. Set up your jointer by confirming the infeed and outfeed tables are level and aligned. Feed the lumber steadily against the cutter head, applying even pressure without forcing it. After jointing one edge, flip the board to verify squareness and check your work with a square. Mastering these techniques will enhance your craftsmanship, and there’s more to explore for flawless results.
Key Takeaways
- Select the flattest rough lumber available to simplify the jointer process and reduce the risk of uneven results.
- Ensure proper alignment of infeed and outfeed tables to avoid misalignment and achieve flat edges.
- Feed the lumber steadily against the cutter head without forcing it to prevent ridges or burns.
- Flip the board and joint the opposite edge to ensure squareness and alignment of all edges.
- Flatten one face against the jointer’s fence for stability, maintaining consistent feeding speed and pressure throughout.
Using a jointer can transform rough lumber into perfectly flat and straight edges, making it an indispensable tool for any furniture-making project. When you’re preparing lumber for furniture, having flat and straight edges isn’t just a convenience; it’s a requirement. With the right jointer techniques, you can guarantee your pieces fit together seamlessly, enhancing both the aesthetic and structural integrity of your furniture.
First, start by selecting the right piece of rough lumber. Inspect it for any large defects or warping. You’ll want to use a board that’s as flat as possible since this will make your job easier. Before you even turn on the jointer, take a moment to set it up correctly. Adjust the infeed and outfeed tables to confirm they’re level and aligned. This is vital for achieving flat edges. If the tables aren’t set up properly, your boards might come out uneven.
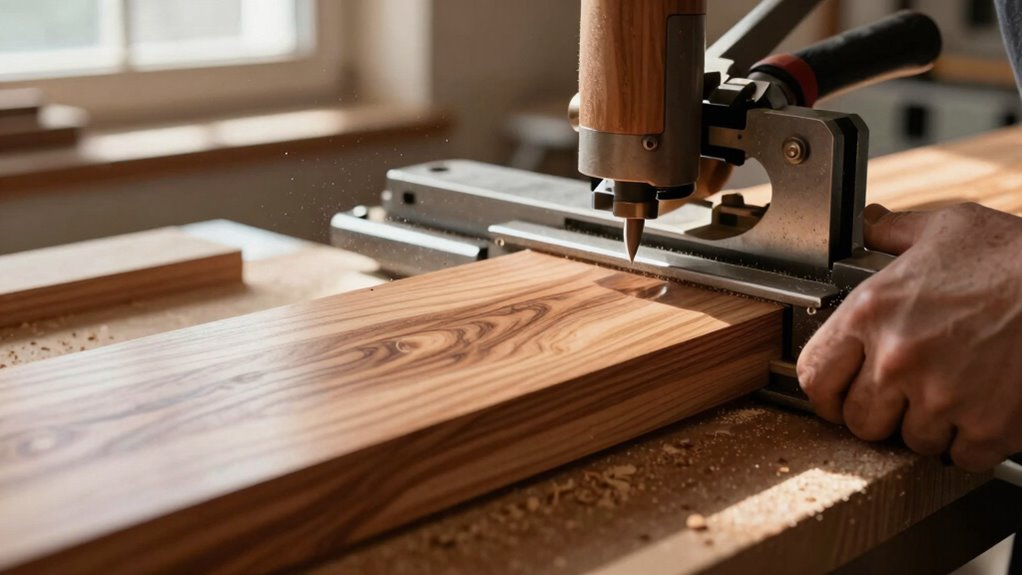
Once everything’s in place, you can begin with your jointer techniques. Always feed the lumber against the cutter head and maintain a steady pace. Too fast, and you risk leaving ridges; too slow, and you might burn the wood. As you pass the board through, focus on applying even pressure. Let the jointer do the work; forcing the board can lead to mistakes. Developing proper jointer techniques can significantly improve your woodworking results. Additionally, understanding how to work around lumber defects will help you avoid potential issues during the process.
Feed the lumber steadily against the cutter head, applying even pressure to achieve smooth, flat edges without mistakes.
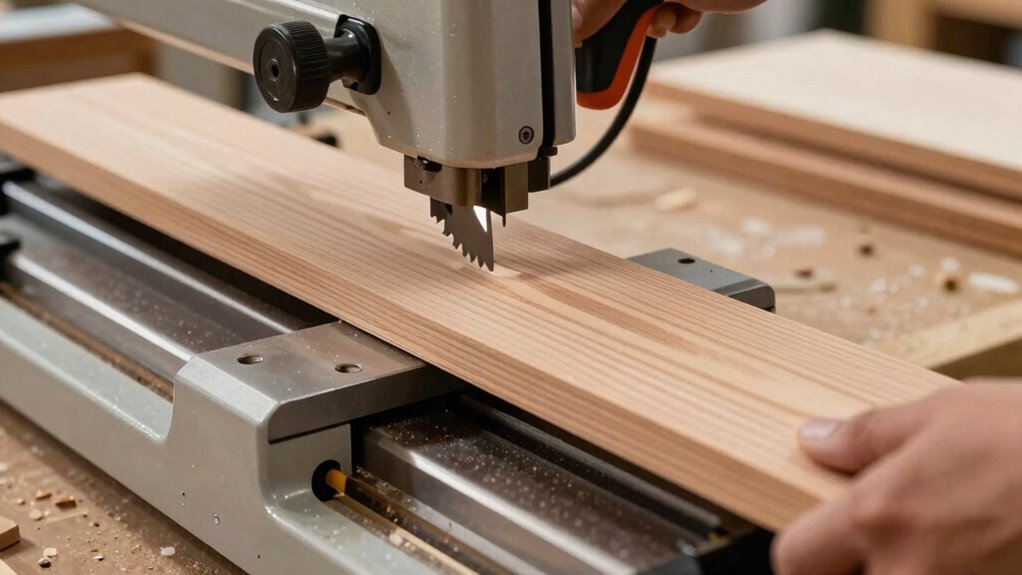
After running one edge through, flip the board to jointer the opposite edge. This second edge should be square to the first. Use a square to check your work. If it’s not right, don’t hesitate to make another pass. Remember, precision is key in furniture preparation.
Once you’ve got both edges flat and square, you can move on to flattening one face of the board. Place the flattened edge against the jointer’s fence to confirm it’s stable. This face will serve as the reference surface for the rest of your work. Again, keep your feeding speed consistent, and maintain even pressure. Understanding lumber defects and how to work around them can help prevent issues during this process.
Lastly, after you’ve flattened your boards, you can begin cutting them to size. A jointer not only helps prepare the edges but also sets the foundation for accurate measurements. The better your preparation, the more satisfying your final product will be. With practice, you’ll master these jointer techniques, leading to beautifully crafted furniture pieces that showcase your skill and attention to detail.
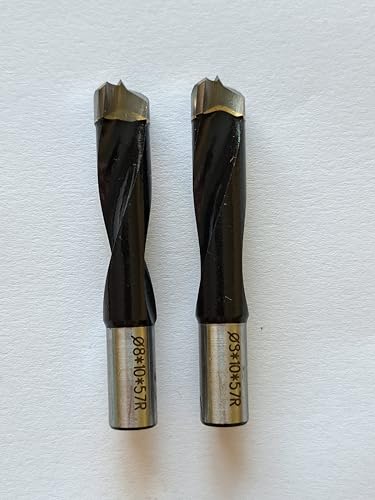
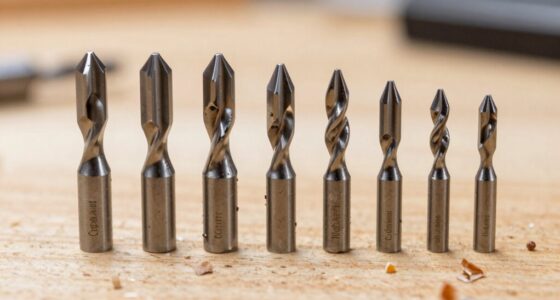
One Pair of Drilling Bits for igooo Dual-Spindle Doweling Jointer DJ710 (10mm)
- Number of bits: 2 drilling bits
As an affiliate, we earn on qualifying purchases.
As an affiliate, we earn on qualifying purchases.
Frequently Asked Questions
What Types of Wood Are Best for Jointing?
When jointing, hardwoods like oak and maple are great choices due to their density and stability. They hold up well during jointing techniques, providing a smooth finish. Softwoods, such as pine or cedar, can also work, but they may require more careful handling due to their tendency to dent or warp. It’s essential to adjust your technique based on the wood type for the best results, ensuring a clean, even joint every time.
How Often Should I Sharpen My Jointer Blades?
Think of your jointer blades as the sharp edge of a sword—without proper maintenance, they dull and lose their effectiveness. You should sharpen your blades every 20 to 30 hours of use, depending on your wood type and frequency. Regular blade maintenance keeps your cuts clean and smooth. Use effective sharpening techniques, like honing or grinding, to guarantee your blades stay in top shape, making your woodworking projects shine.
Can I Use a Jointer for Plywood?
Yes, you can use a jointer for plywood, but you need to take into account a few techniques. Plywood is often thinner and can splinter easily, so adjust your jointer settings to avoid tear-out. Make certain to use a push block for better control and support the panels evenly. Keep an eye on the grain direction and feed slowly to guarantee a smooth finish. With these plywood factors, you’ll get great results!
What Safety Gear Should I Wear While Using a Jointer?
When using a jointer, you should always wear essential safety gear. Put on safety glasses to protect your eyes from flying debris. Ear protection’s vital, too, since jointers can be loud. Don’t forget a dust mask to avoid inhaling wood particles. Using proper jointer techniques and following safety practices helps keep you safe while working. Finally, secure your hair and avoid loose clothing to prevent any accidents. Stay safe and focused!
How Do I Maintain My Jointer for Longevity?
To maintain your jointer for longevity, regularly check the jointer alignment to verify it’s accurate. Adjust the infeed and outfeed tables as needed. Keep the blades sharp; replace them when they start to dull, as this prevents strain on the motor and produces cleaner cuts. Clean dust and debris after each use to avoid buildup. Lubricate moving parts periodically to keep everything running smoothly and extend your jointer’s life.
Conclusion
By mastering your jointer, you’ll discover the perfect balance between precision and creativity. Imagine this: as you smooth the edges of a tabletop, the grain reveals its hidden beauty, almost as if the wood is whispering its story to you. Each pass brings you closer to your vision, transforming raw lumber into stunning furniture parts. So, embrace the process, trust your instincts, and watch your craftsmanship flourish—each moment spent at the jointer is a step toward your masterpiece.