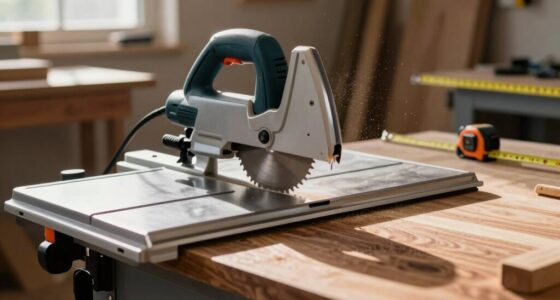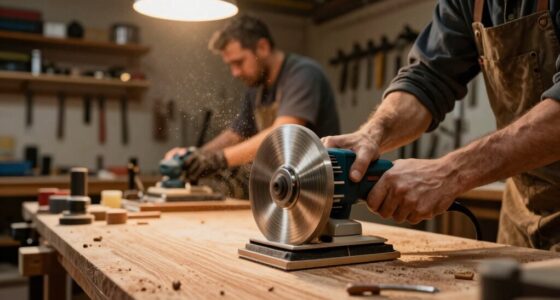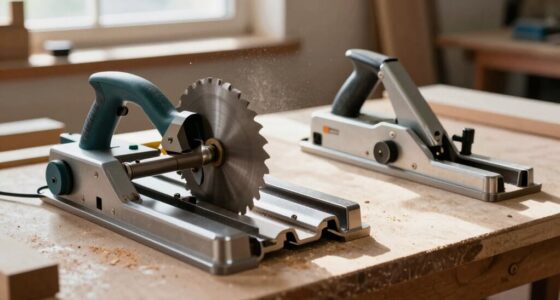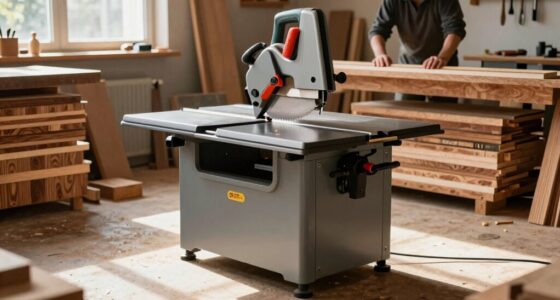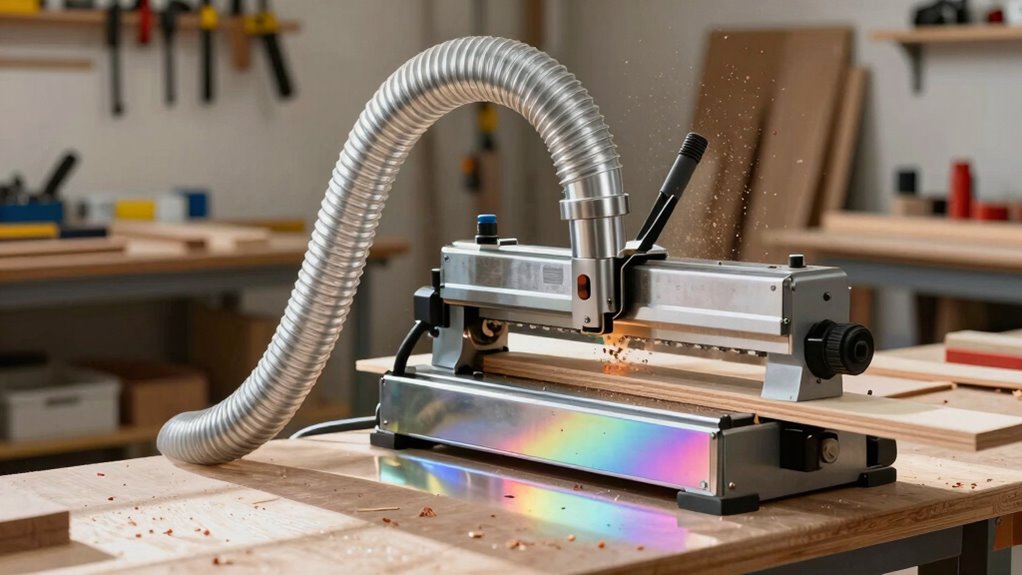
A well-designed dust collection setup for your jointer can make your workspace feel cleaner and safer. Choose a dedicated dust collector with a high CFM rating to optimize airflow. Position it close to the jointer to minimize dust travel and prevent leaks. Use smooth ducting with gradual curves to enhance efficiency, and invest in high-quality filters for better particle capture. By making these adjustments, you’ll enjoy a tidier workspace—there’s even more you can do to elevate your setup.

Get tools and workshop supplies delivered free — and shop member deals
- Fast, free delivery on millions of items
- Access to Prime Big Deal Days deals on October 6–7
- Prime Video, Amazon Music and more included
Key Takeaways
- A dedicated dust collector with a high CFM rating ensures efficient dust capture at the jointer, enhancing cleanliness.
- Smooth, rigid ductwork with gradual curves minimizes airflow resistance, improving dust collection effectiveness.
- Position the dust collector close to the jointer to reduce dust travel distance and maintain an uncluttered workspace.
- Secure connections between the jointer and ductwork prevent dust leaks, ensuring a cleaner environment.
- Regular maintenance of filters and dust bins enhances safety by reducing harmful airborne particles in the workshop.
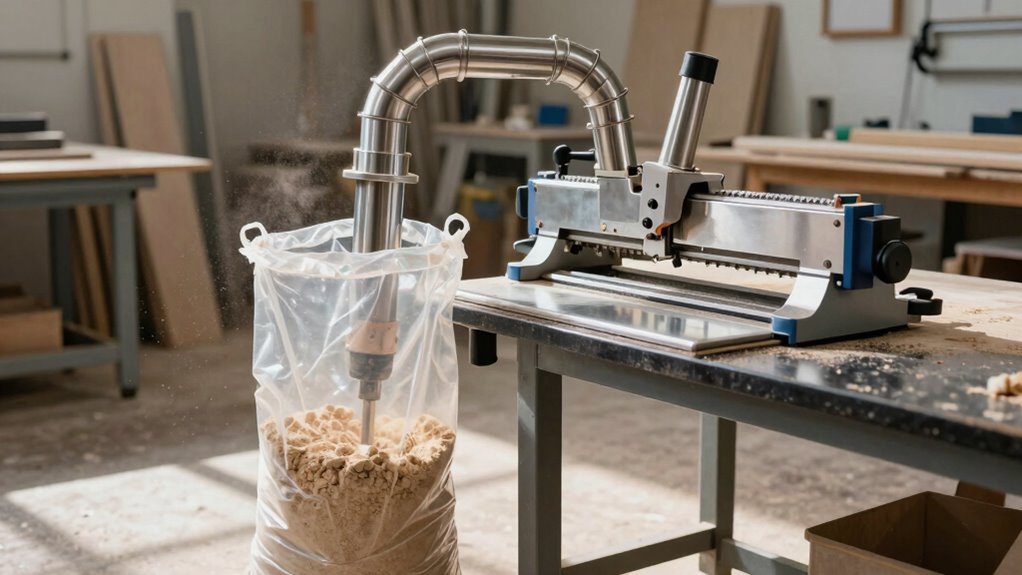
Setting up an effective dust collection system for your jointer is fundamental for maintaining a clean workspace and enhancing your safety. Without a proper system, you’ll find dust accumulating quickly, making it harder to see your work and increasing the risk of accidents. By implementing the right dust extraction techniques, you can improve your overall woodworking experience and guarantee that your shop remains tidy.
Start by choosing a dust collector that suits your needs. A dedicated dust collector is often more efficient than a shop vacuum and can handle larger volumes of debris. Look for one with a high CFM (cubic feet per minute) rating, as this will assure adequate airflow. Airflow optimization is essential; the more air your system can move, the better it can capture fine dust particles. Ensuring your system has proper airflow is critical for effective dust collection.
Next, focus on the ductwork. Use smooth, rigid ducting wherever possible, as this minimizes resistance and maximizes airflow. Avoid sharp bends; instead, opt for gradual curves to maintain a smooth path for the dust. If you’re using flexible hoses, keep them short and straight to reduce clogs. Remember, even the best dust collector can underperform if the ductwork isn’t set up properly. Proper ductwork design plays a crucial role in maintaining optimal airflow and dust collection efficiency. Additionally, paying attention to airflow dynamics can significantly improve dust capture.
Consider the placement of your collection system as well. Position your dust collector close to the jointer to minimize the distance dust has to travel. This not only boosts efficiency but also helps keep your workspace uncluttered. Confirm that the inlet on your jointer is connected securely to the ductwork to prevent any leaks that could let dust escape back into the air.
You’ll also want to think about the type of filters your system uses. A high-quality filter can capture even the smallest particles, which is essential for maintaining air quality. Some systems allow for the addition of HEPA filters, which can greatly improve your dust collection results.
Finally, don’t forget about regular maintenance. Empty your dust collector’s bag or bin frequently, and clean filters as needed. This keeps your system running at peak efficiency and guarantees that you’re not breathing in harmful dust particles. Proper dust collection systems are essential for a safer and cleaner workshop environment.
With these steps, you’ll create a dust collection setup that not only makes your jointer feel cleaner but also makes your entire workspace safer. You’ll notice a considerable improvement in your woodworking experience, allowing you to focus on your craft without the distraction of dust.
high CFM dust collector for woodworking
As an affiliate, we earn on qualifying purchases.
As an affiliate, we earn on qualifying purchases.
Frequently Asked Questions
How Often Should I Clean My Dust Collection System?
You should clean your dust collection system at least once a month, or more often if you notice significant dust buildup. Regular maintenance helps maintain airflow efficiency, ensuring your system works effectively. Check filters and hoses for clogs, and empty the collection bin regularly. Keeping your system clean not only improves performance but also creates a safer workspace by minimizing fire hazards and respiratory issues. Stay proactive, and your setup will thrive!
What Type of Filter Is Best for Jointers?
You might think all filters are the same, but that’s far from true. For jointers, a filter with high efficiency, like a HEPA filter, is your best bet. These filters capture even the tiniest dust particles, ensuring cleaner air in your workspace. Look for filters made from durable materials, like polyester or fiberglass, as they’ll last longer and maintain their filter efficiency. Investing in the right filter can make a big difference in your shop!
Can I Use a Shop Vacuum Instead of a Dust Collector?
Yes, you can use a shop vacuum instead of a dust collector. Shop vacuum benefits include portability and lower cost, making it a great option for smaller projects. However, dust collector drawbacks like reduced suction power and limited capacity might affect your efficiency over time. If you’re tackling larger jobs or need consistent performance, investing in a dust collector could ultimately save you hassle and keep your workspace cleaner.
Are There Specific Maintenance Tips for Jointers?
For effective jointer maintenance, start by regularly checking the blade alignment; misaligned blades can lead to poor cuts and increased wear. Clean the bed and fence frequently to prevent dust buildup, which can affect accuracy. Lubricate moving parts as recommended by the manufacturer to guarantee smooth operation. Finally, inspect the blades for dullness and replace or sharpen them as needed. Keeping up with these tasks will enhance your jointer’s performance and longevity.
How Do I Determine the Right Size for My Dust Collector?
When it comes to collector sizing, you’ve got to measure up! First, determine the airflow requirements of your tools; they usually specify the CFM (cubic feet per minute) needed. Add up the CFM for each tool you’ll use simultaneously. Choose a dust collector that meets or exceeds this total for peak performance. Remember, a collector that’s too small won’t keep your workspace clean, while one that’s too large might waste energy.
Conclusion
By investing in an effective dust collection setup for your jointer, you’re not just cleaning up; you’re prioritizing your health and safety. Some might think it’s unnecessary, but consider the long-term benefits: less respiratory irritation and a cleaner workspace lead to better focus and productivity. It’s not just about tidiness; it’s about creating an environment where you can thrive as a woodworker. So, take the leap—your lungs and your craft deserve it!
Halloween Picks
halloween
As an affiliate, we earn on qualifying purchases.