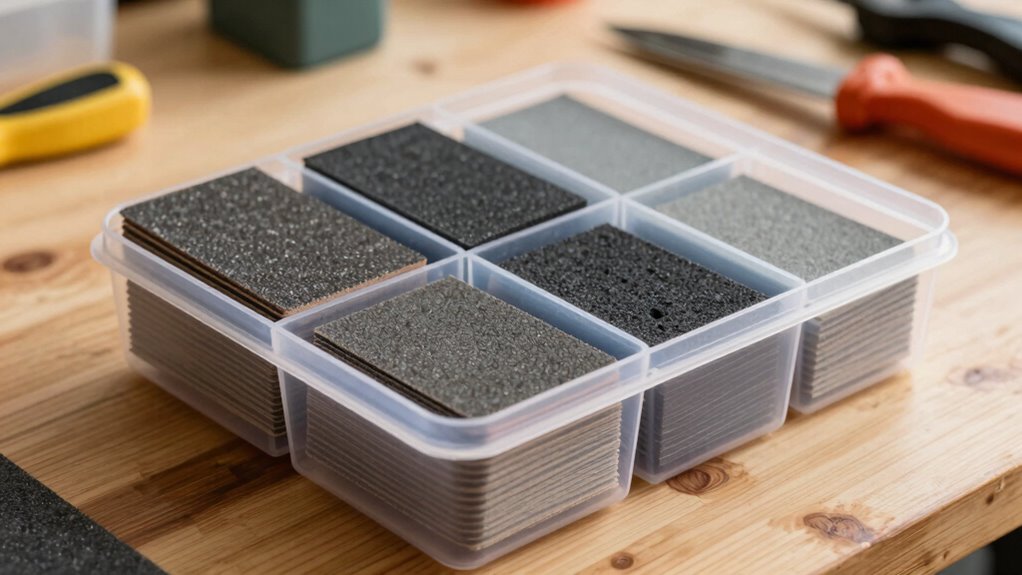

The best way to save money on sandpaper is to organize it properly using labeled storage solutions like racks, binders, or DIY boxes. This prevents sheets from damage, extends their lifespan, and reduces waste. When you can quickly find the right grit, your workflow improves, and you avoid unnecessary purchases. Keeping your sandpaper well-organized also encourages full use of each sheet, saving you money over time. Stick around to discover simple tricks that make this even easier.

Get business pricing on tools and workshop supplies
- Business-only prices and quantity discounts
- Tax-exempt purchasing
- Multiple users, one account, clear invoices
Key Takeaways
- Properly labeled and organized sandpaper reduces waste by preventing sheets from being damaged or misplaced.
- Custom DIY storage solutions extend the lifespan of sandpaper sheets, decreasing replacement costs.
- Easy access to the correct grit minimizes project delays and unnecessary sheet usage.
- Keeping sandpaper in optimal condition prevents environmental damage and preserves sheet quality.
- Efficient storage reduces overall workshop clutter, improving workflow and saving time and money.
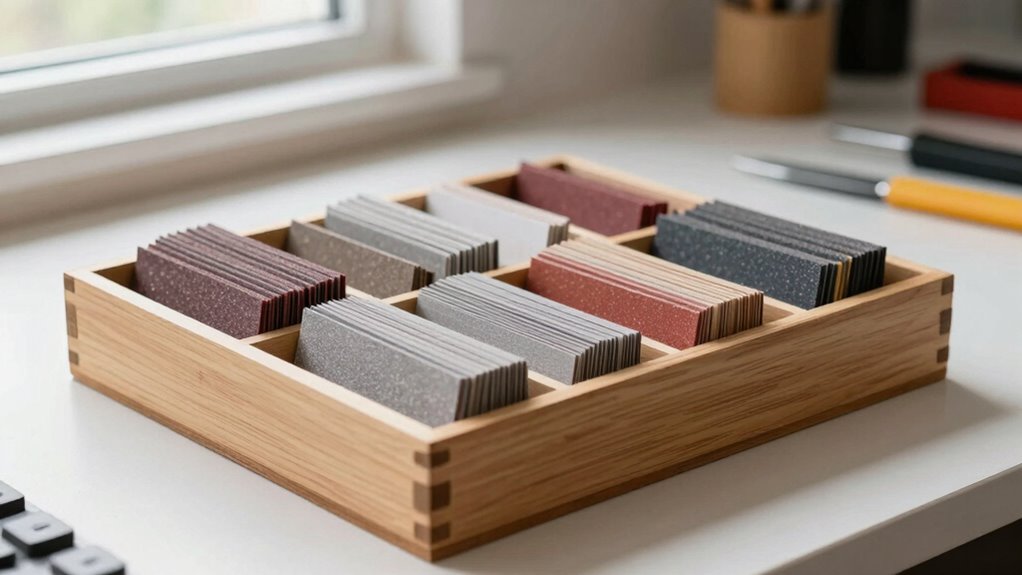
Have you ever struggled to keep your sandpaper organized and easily accessible? If so, you’re not alone. A cluttered workshop can make woodworking organization feel overwhelming, especially when you’re searching for the right grit or size. Luckily, there’s a simple trick that can transform how you store your sandpaper and save you more money than you’d expect. When you implement this method, you’ll reduce waste, extend the life of your sandpaper, and streamline your workflow.
The key is to organize your sandpaper by grit and type using a designated storage system. Instead of tossing sheets into a drawer or stacking them randomly, consider creating a dedicated rack or using a binder with clear plastic sleeves. This DIY workshop tip allows you to see all your options at a glance, making it easier to grab the right piece quickly. Plus, it prevents unnecessary wear and tear that occurs when you’re fumbling through disorganized piles, which can rip or crease the sheets. When your sandpaper is properly stored, it remains in better condition longer, saving you money over time. Proper storage techniques can also help prevent damage caused by improper handling or environmental factors like humidity.
Another smart woodworking organization move is to label your storage clearly. Use stickers or a permanent marker to indicate grit numbers and types on each section or sleeve. This way, you don’t waste time rummaging through various sheets or accidentally using the wrong grit on your project. It’s a simple DIY workshop tip that improves efficiency and keeps your workspace tidy. When you know exactly where everything is, you’ll find yourself reaching for the right sandpaper faster, reducing the temptation to buy duplicates or additional sheets. This small change can *considerably* cut down your expenses in the long run.
Additionally, consider recycling or repurposing old cardboard or wood scraps to create custom storage solutions. For example, a small wooden box with dividers can hold different grits neatly, or a cardboard organizer can be crafted to fit your specific workspace. These DIY options are not only budget-friendly but also tailored to your needs, further enhancing your woodworking organization. Understanding sandpaper storage techniques and proper workshop organization can help you maintain a well-organized and cost-efficient workspace. Incorporating space-saving solutions can make a significant difference in even small workshops. By keeping your sandpaper well-organized and accessible, you minimize waste and ensure each sheet gets used fully before discarding.
Incorporating these simple storage tricks into your workshop makes a noticeable difference. You’ll save money, eliminate frustration, and boost your productivity. Over time, you’ll see that a little upfront effort in organizing your sandpaper pays off in smoother projects and more efficient work sessions. So, give these DIY workshop tips a try, and watch how your workspace transforms into a more organized, cost-effective haven.
As an affiliate, we earn on qualifying purchases.
Frequently Asked Questions
Can This Storage Trick Work for All Types of Sandpaper?
Yes, this storage trick works for most types of sandpaper, thanks to its material durability and storage versatility. You can easily adapt it to fit various grit sizes and backing materials, keeping your sandpaper organized and protected. This method prevents damage and extends the lifespan of your sandpaper, making it a practical solution for different projects and ensuring your tools stay in top condition.
How Long Can Sandpaper Be Stored Using This Method?
In essence, you can store sandpaper for years if you keep it in a cool, dry environment—think of it like the timeless durability of a vintage typewriter. Proper storage extends sandpaper longevity considerably, preventing it from becoming brittle or clogged. Avoid humidity and extreme temperatures, which can degrade its performance over time. With ideal storage, your sandpaper remains effective for several years, making it a smart, cost-saving move.
Does the Trick Prevent Sandpaper From Losing Its Abrasiveness?
Yes, this storage trick helps maintain the abrasiveness of your sandpaper. Proper storage prevents dust accumulation and moisture, which can dull the abrasive surface over time. By keeping sandpaper in a sealed container or wrapping it tightly, you improve abrasive maintenance and extend storage durability. This way, your sandpaper stays effective longer, saving you money and ensuring consistent, quality results on your projects.
Are There Any Safety Concerns With This Storage Technique?
Yes, there are safety concerns with this storage technique. You should always follow safety precautions like keeping sandpaper away from moisture and sharp edges to prevent injuries. Conduct a risk assessment before storing to identify potential hazards, such as tearing or slipping. Properly secure the sandpaper to avoid accidental falls or cuts, and store it out of reach of children. Taking these steps helps guarantee safe handling and storage.
Can This Method Be Adapted for Other Small Tools or Materials?
Did you know that well-organized tools can boost efficiency by up to 30%? You can definitely adapt this sandpaper storage method for other small tools and materials, enhancing your tool organization. This approach promotes cost efficiency by preventing loss or damage. By customizing the storage, you’ll save space and money, making your workspace more functional. Plus, it’s easy to implement with common materials, keeping your tools accessible and in great condition.
Conclusion
By trying this simple sandpaper storage trick, you’ll save more money than you ever imagined—it’s like discovering a secret treasure chest in your workshop. Keep your sandpaper organized and accessible, and you’ll cut down on waste and unnecessary purchases. This small change can transform your projects and your budget, proving that sometimes, the tiniest hacks have the power to save you a fortune. Don’t overlook the power of clever storage—your wallet will thank you.
Halloween Picks
halloween
As an affiliate, we earn on qualifying purchases.