
Maintaining your Milwaukee impact driver is key to ensuring it performs at its best and lasts for years. Regular cleaning removes dust, debris, and grime that can impair its function. This guide provides clear, safe steps to clean your impact driver properly.
Follow these instructions to keep your tool in top condition, and consider using recommended accessories to enhance its longevity.
Key Takeaways
| Regular Maintenance | Cleaning prevents dust buildup that can hinder performance. |
| Safety First | Always unplug or remove the battery before cleaning. |
| Use Proper Tools | Soft brushes and compressed air are ideal for cleaning. |
| Avoid Water Damage | Keep the tool dry and avoid submerging it in liquids. |

Milwaukee Electric - M18COMPACT BRUSHLESS 1/2 INCH Hammer Drill/Driver
- Compact Design: Ideal for tight spaces and overhead use
- Brushless Motor: Delivers powerful, efficient performance
- All-Metal Gear Case: Ensures durability and impact resistance
As an affiliate, we earn on qualifying purchases.
Gather Necessary Cleaning Supplies
- Compressed air canister
- Soft-bristled brush or toothbrush
- Cloth or microfiber rag
- Mild soap and water (for external cleaning)
Prepare the Impact Driver for Cleaning
Ensure the impact driver is turned off and disconnected from any power source. Remove the battery to prevent accidental activation during cleaning.
Clean the Exterior
- Use a dry cloth or microfiber rag to wipe down the exterior surfaces.
- For stubborn dirt, dampen the cloth slightly with mild soap water—avoid excess moisture.
- Wipe down the vent areas with a soft brush to remove dust buildup.
Clear Dust and Debris from Inside
- Use compressed air to blow out dust from vents, air vents, and around the chuck. Hold the can upright and use short bursts.
- Avoid using too close or prolonged blasts to prevent damage.
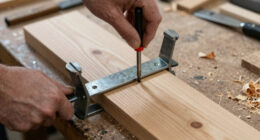
- If accessible, remove the chuck and clean the internal parts with a brush or cloth.
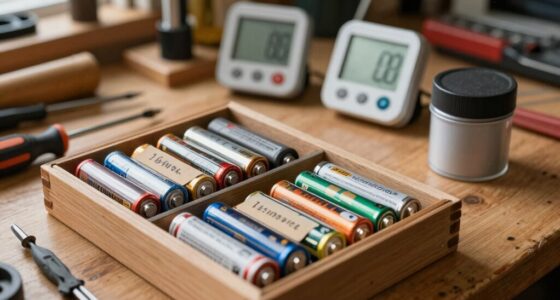
Inspect and Maintain the Battery
Clean the contact points on the battery and the tool with a dry cloth. Check for corrosion or damage. Reinstall or replace if necessary.
The Products in This Guide

Milwaukee Electric – M18COMPACT BRUSHLESS 1/2 INCH Hamme
- ✔ Weight: 3.7 lbs
- ✔ Chuck Size: 1/2 inch
- ✔ Torque: 550 inch-lbs
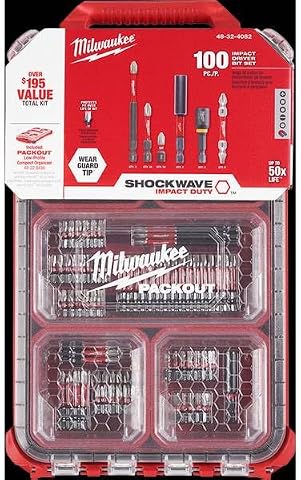
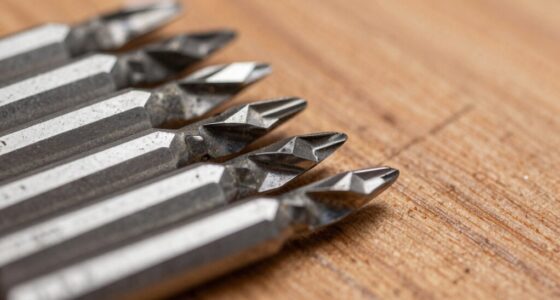
Milwaukee Shockwave 100pcs Impact Driver Bit Set Packout
- ✔ Pack Size: 100 pieces
- ✔ Case: Packout case
- ✔ Material: Impact-rated steel
Milwaukee Electric – M18COMPACT BRUSHLESS 1/2 INCH Hamme
Regularly cleaning your Milwaukee impact driver ensures it operates smoothly and lasts longer. Follow these simple steps to maintain performance and avoid costly repairs.
Pros:
- Prevents dust buildup
- Maintains optimal performance
- Easy to do with common tools
- Cost-effective maintenance
Cons:
- Requires some disassembly
- Must be careful with electrical parts
- Avoid excessive moisture
Best for: DIY enthusiasts, professional contractors, anyone using impact drivers regularly
Not ideal for: Heavy dirt or corrosion that requires professional servicing
Bottom line: Consistent cleaning keeps your Milwaukee impact driver performing like new.
Milwaukee Shockwave 100pcs Impact Driver Bit Set Packout
Pair your impact driver with this Milwaukee Shockwave 100pcs impact driver bit set for maximum versatility and durability on the job.
Pros:
- Wide variety of bits
- Durable Shockwave design
- Organized case included
- Perfect for heavy-duty tasks
Cons:
- Bulkier storage case
- Bits may be overkill for light tasks
- Some bits may wear over time
Best for: Professional contractors, DIYers needing a comprehensive bit set
Not ideal for: Light occasional use or minimal projects
Bottom line: Enhance your impact driver’s versatility with this durable bit set.
Frequently Asked Questions
Can I use water to clean my impact driver?
No, avoid using water or submerging your impact driver in liquids to prevent damage to electrical components.
How often should I clean my impact driver?
Clean your impact driver regularly, especially after heavy use or exposure to dust and debris, to maintain optimal performance.
Is it safe to clean the motor with compressed air?
Yes, using compressed air to blow out dust from vents and internal parts is safe when done carefully and with the tool unplugged.
Should I oil my impact driver during cleaning?
Generally, impact drivers with brushless motors require minimal lubrication. Check your user manual for specific maintenance recommendations.
Keep Your Milwaukee Impact Driver Performing at Its Best
Regular cleaning and maintenance are essential for ensuring your impact driver remains reliable and efficient. With simple tools and careful procedures, you can extend its lifespan and avoid costly repairs. Make cleaning part of your routine to enjoy consistent performance on every project.
Affiliate disclosure: As an Amazon Associate we earn from qualifying purchases. Prices and availability are accurate as of the time of publishing.