
Did you know that over 3 million cans of expanding foam sealant are sold annually in the United States? This versatile material is commonly used for insulation and sealing projects around the home, but when it comes time for removal, it can be tricky. Mastering the techniques for expanding foam removal is essential for achieving clean results without damaging your surfaces.
In this article, you’ll discover the power of WD-40 as an effective foam cleaner, making your home maintenance tasks easier and more efficient. You’ll also learn practical tips and tricks to tackle that stubborn expanding foam with confidence. So, let’s dive into the world of foam removal and unleash the full potential of WD-40 uses!
Key Takeaways
- Expanding foam is commonly used for insulation in homes.
- WD-40 offers a simple solution for foam removal.
- Clean results can be achieved with the right techniques.
- Knowing how to safely remove expanding foam can prevent damage.
- Practical tips will enhance your home maintenance skills.
Introduction to Expanding Foam
Expanding foam is a versatile material commonly employed for various applications in both construction and DIY projects. This foam, primarily made from polyurethane, expands significantly upon application, making it ideal for filling gaps and cracks in different surfaces. Its excellent insulation properties contribute to energy efficiency, while its sealing ability prevents air and moisture infiltration.
Many professionals and enthusiasts appreciate the strong adhesion characteristics of expanding foam. It works effectively in various scenarios, such as around windows, doors, and plumbing fixtures, enhancing both structural integrity and thermal performance. Understanding the practical uses of expanding foam can greatly benefit your projects.
While expanding foam offers numerous benefits, its removal can present challenges. Proper techniques are essential to manage its strong bonding capabilities, which is vital for effective cleanup. Embracing the right strategies will make the removal process smoother and more efficient.

![WD-40 Specialist Machine & Engine Degreaser Foaming Spray, 18 OZ [4-Pack]](https://m.media-amazon.com/images/I/510ul-hk9iL._SL500_.jpg)
WD-40 Specialist Machine & Engine Degreaser Foaming Spray, 18 OZ [4-Pack]
- Powerful degreasing action: Removes oil, dirt, grime, and grease
- Low-residue foaming formula: Penetrates deep into crevices for thorough cleaning
- Versatile application: Suitable for auto, truck, industrial, and farm equipment
As an affiliate, we earn on qualifying purchases.
As an affiliate, we earn on qualifying purchases.
The Benefits of Using WD-40 for Foam Removal
When tackling tough jobs like foam removal, the WD-40 benefits cannot be overstated. This versatile multi-purpose cleaner serves as both a lubricant and a powerful cleaning agent, making the removal process more efficient. The unique formula helps to break down stubborn foam residues that might otherwise stick to surfaces.
Using WD-40 simplifies the challenging task of foam removal. Its application is straightforward, making it accessible for everyone, whether you are a DIY enthusiast or a professional. Just a few sprays can effectively loosen the foam, allowing for easier cleaning without damaging the surface underneath.
Another advantage of WD-40 lies in its protective qualities. Many cleaning agents can strip surfaces of their finish or even cause more harm than good. With WD-40, you can enjoy the dual benefit of cleaning without the risk of damaging your valuable surfaces. This makes it an excellent choice over traditional cleaning agents, reinforcing its status as a reliable household staple.
Furthermore, the ability of WD-40 to combat sticky residues and prevent future build-up showcases its role as an essential tool for maintaining cleanliness. For homeowners and professionals alike, understanding the benefits of using WD-40 for foam removal can lead to more effective and efficient cleaning practices.

How Expanding Foam Works
Understanding how expanding foam operates is key to utilizing it effectively. The science behind foam expansion hinges on its chemical composition and the precise application process. When you apply expanding foam, it typically releases gases that allow it to increase in volume significantly, filling any gaps it encounters.
This foam acts as an insulator, preventing drafts and enhancing thermal efficiency. One critical aspect of its mechanism is moisture displacement. As the foam expands, it pushes out any air or moisture present in the area, creating a tight seal that can withstand varying environmental conditions.
It’s essential to allow adequate curing time after application. This time frame allows the foam to reach its full structural integrity. Rushing the clean-up may interfere with the foam’s proper function and adhesion, so be patient.

Understanding the Composition of Expanding Foam
Expanding foam is widely recognized for its versatility in sealing gaps and providing insulation. The expanding foam composition primarily revolves around polyurethane, a unique polymer that contributes to the foam’s effective expansion and adhesion properties. Within polyurethane formulations, isocyanates serve as critical active ingredients that trigger the foam’s expansion upon mixing with water and other agents.
In addition to polyurethane and isocyanates, various propellant agents are utilized to assist in getting the foam into a sprayable form. These agents are responsible for the initial expansion when the can is activated, allowing the foam to fill crevices and voids effectively. It’s essential to note that the formulation of these components can significantly influence how the foam behaves once applied.
Understanding the makeup of expanding foam will help you determine the best methods for its removal. Different surfaces may react variably, depending on the specific expanding foam composition used. Knowing the materials involved equips you with better strategies for tackling removal processes while addressing any potential hazards associated with isocyanates found in many polyurethane foams.

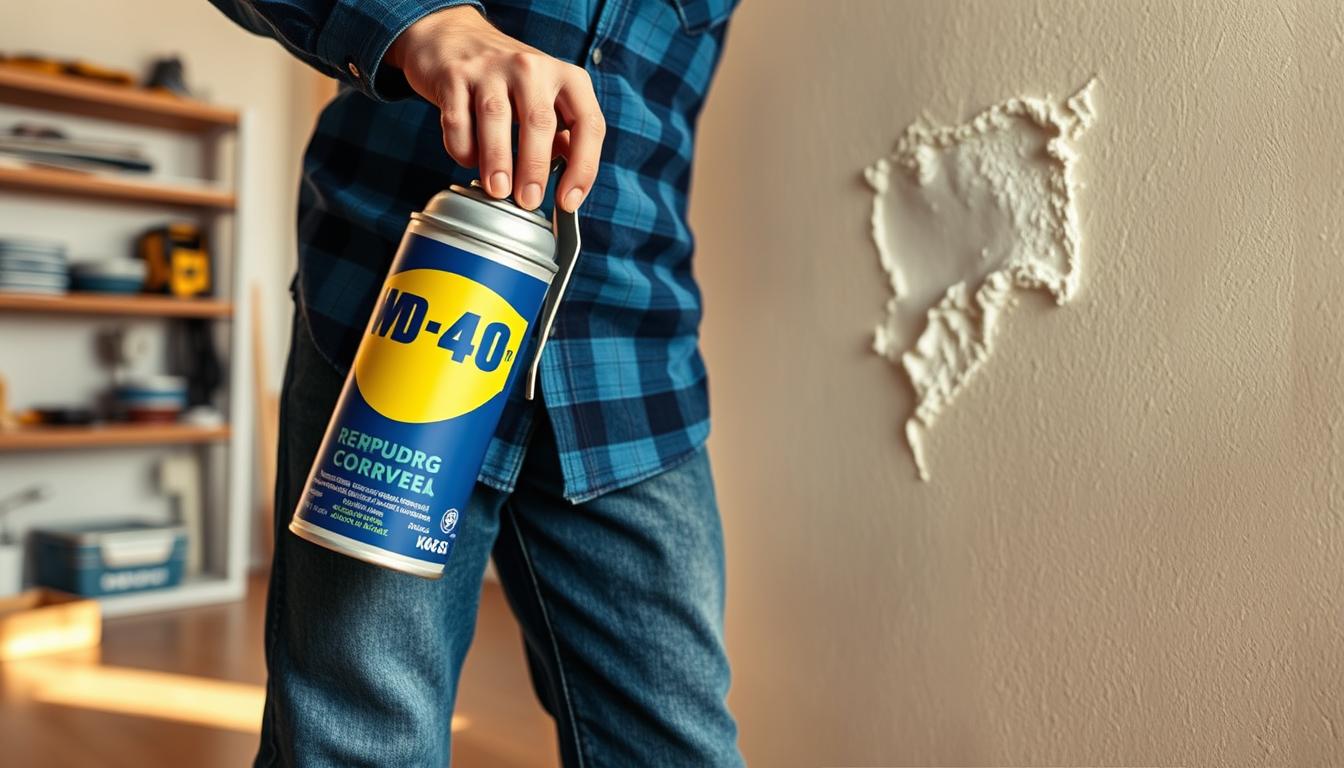
Mastering the Art of Removing Expanding Foam with WD-40
Removing expanding foam can feel like a daunting task, but with the right techniques, it becomes manageable. This foam removal guide focuses on using WD-40 for effective results. Follow these instructional steps to ensure a successful cleanup.
Step-by-Step Guide to Foam Removal
- Assess the area: Before starting, identify the extent of the foam you need to remove.
- Scrape excess foam: Use a scraper or putty knife to carefully remove as much excess foam as possible. This step minimizes the amount of WD-40 needed.
- Apply WD-40: Spray WD-40 on the remaining foam. Allow it to soak in for about 10 minutes, helping to break down the foam’s structure.
- Wipe away residues: With clean cloths, wipe off the softened foam and WD-40 mixture. Repeat the process if necessary.
- Final cleanup: Once you have removed all the foam, perform a final cleaning of the area to ensure no residues remain.
Tools and Supplies Needed
- Scraper or putty knife
- WD-40
- Cleaning cloths
- Safety gloves
- Protective eyewear

Common Mistakes to Avoid When Removing Expanding Foam
When tackling the process of removing expanding foam, you may encounter several common errors that can hinder your efforts. Understanding these foam removal mistakes is essential for achieving optimal results and maintaining the integrity of your surfaces. Below, we discuss improper tool usage and the importance of adhering to safety precautions.
Using Inappropriate Tools
One prevalent mistake involves the utilization of improper tools. Relying on harsh chemicals or sharp objects can lead to surface damage, making your work harder in the long run. Proper tools for foam removal not only enhance efficiency but also ensure that surfaces remain undamaged. Always select tools specifically designed for foam removal, as they cater to the unique properties of the material.
Neglecting Safety Precautions
Another significant oversight is ignoring safety precautions. Engaging in foam removal without protective gear can expose you to skin irritations and respiratory issues. Wearing gloves and protective eyewear is crucial when using WD-40 and similar products. By prioritizing safety, you protect yourself from common errors and ensure a smoother removal experience.

Best Practices for Using WD-40
When it comes to effective WD-40 usage for foam removal, following best practices can make a significant difference. Begin by selecting a well-ventilated area to work in. Proper ventilation reduces inhalation risks while ensuring a proper environment for your application techniques. A clean surface will enhance WD-40’s effectiveness, so make sure to remove any debris before you start.
Understanding the correct amount of WD-40 to use is crucial. Too much product can lead to unnecessary mess and prolong cleaning efforts. Start with a small amount, applying it directly to the foam or the tools you are using. This approach allows you to tailor your cleaning tips on the go, adjusting based on the foam’s stubbornness.
To avoid spreading the product beyond the intended area, use a controlled spray method. Holding the can at an appropriate distance offers better accuracy. This technique prevents excess overspray while focusing on the problem areas. After application, let WD-40 sit for a few moments for it to fully penetrate the foam before attempting to remove it.
Finally, clean any residual WD-40 from surfaces after foam removal. Use cloths or towels that can effectively capture the product without spreading it further. Implementing these practices not only promotes efficiency but also enhances your overall experience with foam removal.

Cleaning Up After Foam Removal
Once you have successfully removed the expanding foam, it’s crucial to focus on the clean-up process. This phase not only ensures a tidy workspace but also minimizes potential issues with residues and stains. Following the right clean-up tips can help maintain the integrity of surfaces and prevent unwanted messes.
Disposing of Leftover Materials
Proper disposal is key to an environmentally friendly clean-up. Familiarize yourself with local disposal guidelines regarding leftover expanding foam and packaging. Aim to:
- Check if the materials are recyclable.
- Seal any leftover foam in a container to avoid leakage.
- Follow hazard waste procedures if applicable.
By adhering to these disposal guidelines, you contribute to eco-conscious practices while managing your project efficiently.
Final Cleaning Tips to Prevent Residues
Once the foam is gone, focus on post-removal cleaning to ensure no residues remain. Consider these effective strategies:
- Use a solvent such as rubbing alcohol to wipe down surfaces.
- Employ a damp cloth to remove any lingering dust or debris.
- Inspect areas carefully to catch any problem spots.
Implementing these techniques helps in preventing residues and ensures your area is clean and ready for its next use.

Alternative Methods to Remove Expanding Foam
When it comes to foam removal alternatives, there are several effective cleaning methods beyond using WD-40. Each method has its own benefits, while some may be more suitable for specific situations than others. Understanding these DIY solutions can empower you to tackle expanding foam removal tasks with confidence.
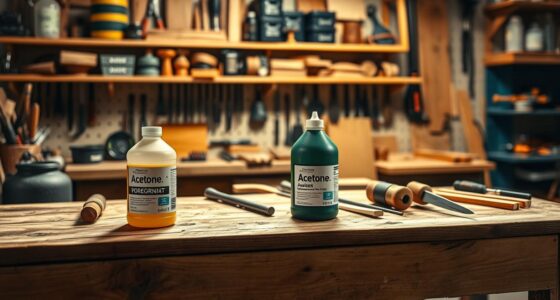
One popular cleaning agent is acetone, which works well to dissolve expanding foam. This solvent is effective on surfaces but requires caution due to its strong fumes. Always ensure proper ventilation when using acetone and test it on a hidden area first to avoid damage.
Vinegar is another alternative, and its natural acidity can help break down the foam. It’s an excellent choice for those looking for eco-friendly options. Though it may take a bit longer to see results, vinegar is a safe method for removing foam residues on various surfaces.
For those interested in natural oil-based cleaners, consider options like olive oil or coconut oil. These DIY solutions can help loosen foam while providing a gentle touch to your surfaces. While they may not act as quickly as harsher chemicals, they offer a non-toxic choice for removal.
Each of these cleaning methods comes with limitations. Acetone, for example, can damage some plastics. Vinegar might require more time to yield results, and oil-based cleaners may not fully remove stubborn foam. Evaluate what works best for your particular project by weighing the effectiveness and safety of each option. Experimenting with different foam removal alternatives allows you to find the right balance for your cleaning needs.

Maintenance Tips for Future Foam Projects
To ensure the success of your foam projects, effective foam project maintenance becomes crucial. Start by selecting the right type of foam for your specific application. This choice impacts the durability and effectiveness of the seal. When applying foam, precision is key. Make sure to follow the manufacturer’s instructions closely to achieve the best results.
Implementing proper sealing tips can significantly reduce the likelihood of messy clean-ups in the future. Consider using a primer or other additive that enhances the adhesive properties of the foam. After completing your project, it’s important to store leftover materials correctly. Keep them in a cool, dry place to prolong their shelf life and maintain performance for your future projects.

Real-Life Success Stories of Using WD-40
Many individuals have shared their inspiring success stories about using WD-40 for expanding foam removal. These real-life user experiences highlight the product’s effectiveness and versatility. From homeowners tackling renovation projects to professionals managing complex jobs, WD-40 has proven itself as a reliable solution in various situations.
One user recalls a challenging DIY project involving an improperly applied expanding foam that caused a mess around windows. After multiple failed attempts to remove the foam with standard tools, they decided to try WD-40. The user experienced a remarkable transformation, as the foam lifted away effortlessly, revealing a clean surface underneath.
WD-40 testimonials from contractors further emphasize the product’s reliability. Many have praised its ability to tackle stubborn foam without damaging surfaces. One contractor mentioned that utilizing WD-40 helped save significant time during a critical project, allowing them to complete the job ahead of schedule.
The collective feedback from various users reinforces the idea that WD-40 is not just another household product, but a vital tool that offers practical solutions. With these success stories and genuine user experiences, anyone facing challenges with expanding foam can feel motivated to embrace WD-40 as their go-to solution.

Where to Buy WD-40 and Expanding Foam
Finding reliable sources to purchase WD-40 and buy expanding foam is crucial for your projects. Local hardware stores often carry these essential products, ensuring you can grab them conveniently. Be sure to ask about their product availability, as certain brands might be stocked more frequently than others.
Online retailers present another excellent option. Websites like Amazon and Home Depot usually have a wide range of products, including WD-40 and various types of expanding foam. You can filter results by customer reviews, price, and availability, allowing you to make an informed decision.
When you choose where to purchase WD-40, inspect labels and specifications. This check ensures that the product meets your needs for effective foam removal. For expanding foam, consider the application type. Different brands offer various formulations tailored to specific uses. Understanding these details will enhance your project outcomes.
| Retailer | Product Offerings | Shopping Method |
|---|---|---|
| Local Hardware Stores | WD-40, Expanding Foam | In-Store |
| Amazon | WD-40, Expanding Foam | Online |
| Home Depot | WD-40, Expanding Foam | Online/In-Store |
| Lowe’s | WD-40, Expanding Foam | Online/In-Store |
Whether you decide to visit a store or make a purchase online, ensuring quality and checking product availability will make a significant difference in your results. Happy shopping!

Conclusion
In summary, mastering the art of expanding foam removal with WD-40 can dramatically transform your cleaning experience. The techniques and foam removal tips outlined throughout this article not only emphasize the effectiveness of using WD-40 but also highlight the importance of preparation and proper execution. By following these strategies, you can tackle any foam mess efficiently and restore cleanliness to your space.
As you apply the methods discussed here, remember that successful foam removal involves attention to detail and a bit of patience. With the right tools and a clear understanding of the process, the task becomes much less daunting. Your home can maintain a tidy, polished appearance, free from the hassles of unsightly foam residue.
In closing, implementing these practices will not only enhance your cleaning prowess but also instill confidence in managing future foam projects. Take the first steps toward transforming your foam removal efforts and enjoy the satisfaction of a job well done. Your space deserves nothing less than a clean, clutter-free environment!
FAQ
How does WD-40 help in removing expanding foam?
WD-40 acts as both a lubricant and cleaning agent, which helps to break down the adhesive properties of expanding foam, making removal easier and preventing damage to surfaces.
Is it safe to use WD-40 on all surfaces?
While WD-40 is generally safe on most surfaces, it’s always recommended to test it on a small, inconspicuous area first to avoid any potential damage to sensitive materials.
What tools should I use for removing expanding foam with WD-40?
Essential tools include scrapers, cloths, and safety gear like gloves and goggles to protect yourself during the removal process.
What are common mistakes people make when removing expanding foam?
Common mistakes include using inappropriate tools that could damage surfaces and neglecting safety precautions, such as not wearing gloves when handling chemicals.
Can I use alternatives to WD-40 for foam removal?
Yes, alternatives like acetone, vinegar, and natural oil-based cleaners can be effective. However, the effectiveness and safety of these options can vary based on the surface and foam type.
How can I prevent the need for future foam removal?
To minimize future removal needs, choose the right type of foam for your project, ensure accurate application, and follow best practices for application and storage.
Where can I purchase WD-40 and expanding foam?
You can find WD-40 and expanding foam at local hardware stores, online retailers, or home improvement centers. Look for reliable brands to ensure quality performance.
What should I do with leftover materials after removing expanding foam?
For leftover materials, it’s important to follow eco-friendly disposal practices. Check local regulations and dispose of any waste materials responsibly.
Are there any special precautions when using WD-40?
Yes, always work in a well-ventilated area and consider wearing protective gear to prevent skin irritation and respiratory issues, especially when using it in enclosed spaces.
What are some success stories of using WD-40 for foam removal?
Many users have shared experiences of effectively using WD-40 to tackle tough foam removal tasks, praising its versatility and quick action in cleaning up their projects.