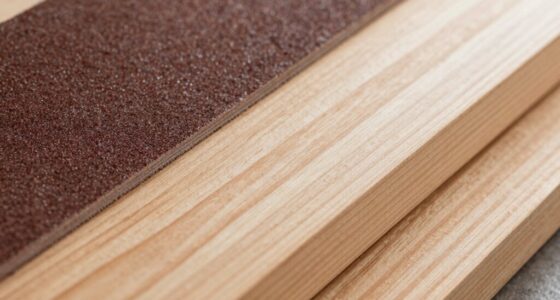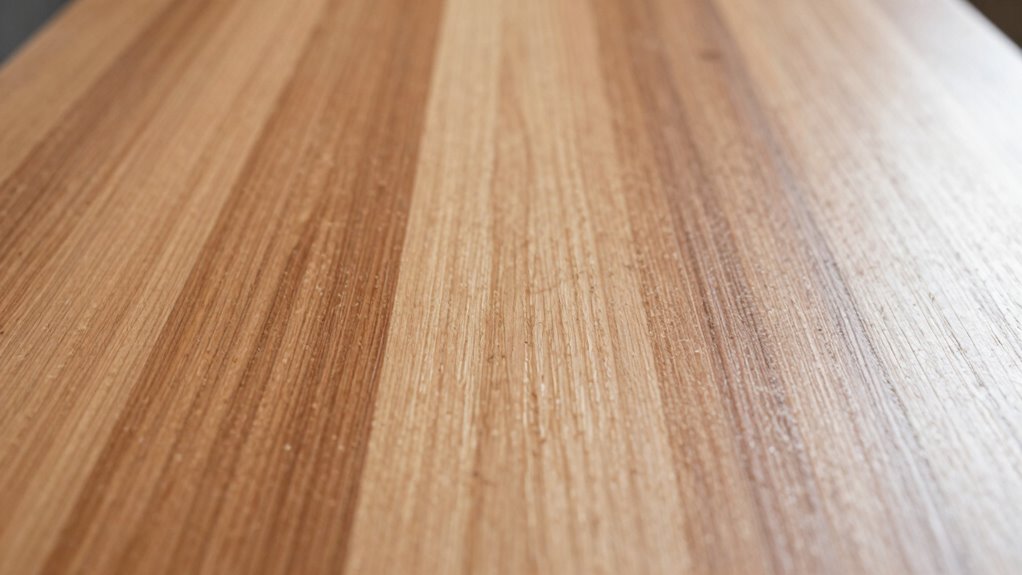

The key sanding step that enhances clear finishes more than adding extra coats is sanding between each coat with a fine grit. This process smooths the surface, removes imperfections, and opens the wood pores for better adhesion. Proper sanding helps the finish become more vibrant, clear, and durable, making additional coats less effective if the surface isn’t prepared correctly. Keep exploring to discover how targeted sanding can transform your project’s final look and longevity.

Get business pricing on tools and workshop supplies
- Business-only prices and quantity discounts
- Tax-exempt purchasing
- Multiple users, one account, clear invoices
Key Takeaways
- Sanding between coats smooths surface imperfections, ensuring a clearer, more transparent finish.
- Proper sanding opens wood pores, improving adhesion and clarity of subsequent coats.
- Sanding removes dust, brush marks, and tiny flaws that can cloud the finish over extra coats.
- It creates a uniform surface that enhances the vibrancy and depth of the clear finish.
- Skipping sanding can cause unevenness and cloudiness, which cannot be fixed by additional coats.
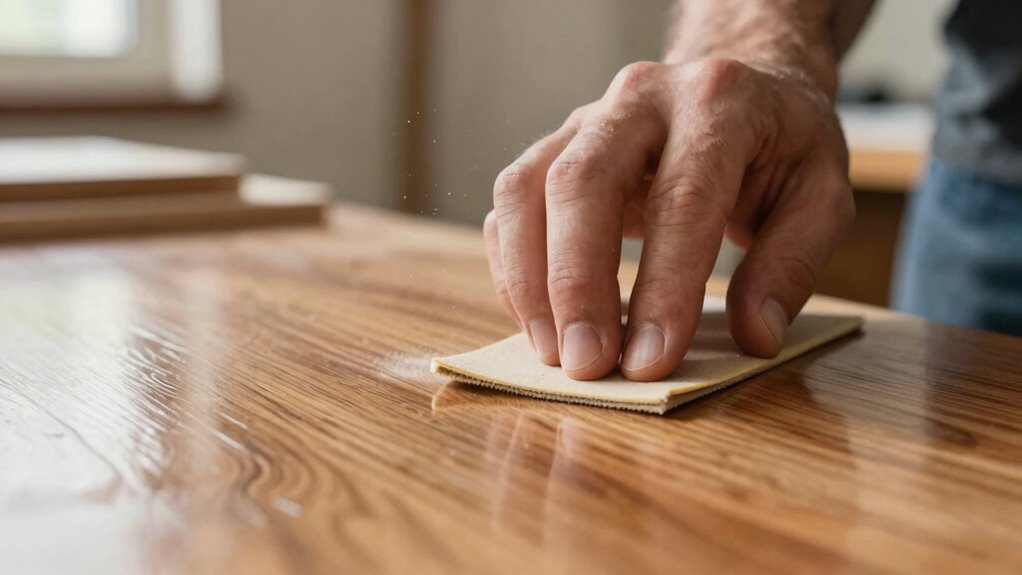
Many woodworkers believe that applying more coats of clear finish will always lead to a smoother, more durable surface, but often, the key to a truly flawless finish lies in the sanding step between coats. When you sand between layers, you’re not just smoothing out imperfections—you’re refining the wood grain and guaranteeing each coat bonds perfectly. Without this essential step, the surface can feel uneven or sticky, and the finish might crack or peel over time. Sanding enhances surface smoothness by removing tiny dust particles, brush marks, or any imperfections that can mar the final look. It’s a simple yet powerful way to elevate the quality of your project.
Sanding between coats ensures a smooth, durable finish that enhances both appearance and longevity.
The secret to a professional-looking finish is paying attention to the wood grain during sanding. As you work, you should follow the direction of the grain to prevent scratches that stand out when the finish is applied. Sanding with the grain helps you achieve a uniform surface that feels silky to the touch and looks visually appealing. The right grit of sandpaper makes all the difference—starting with a coarser grit to level out any roughness, then progressively moving to finer grits to achieve that smooth, polished feel. This process not only refines the surface but also opens up the wood’s pores just enough for the subsequent coats to adhere better, resulting in a clearer, more vibrant finish.
You might think that adding more coats will cover up any tiny flaws, but if you skip the sanding step, those flaws can become more noticeable. The extra coats may fill in some gaps, but they won’t correct unevenness or roughness caused by poor surface preparation. Sanding between coats fundamentally re-levels the surface and guarantees each layer bonds tightly, preventing issues like peeling or cloudiness. It’s a step that requires patience but pays off with a finish that’s both beautiful and durable. When you take the time to sand properly, you’re actively improving the surface smoothness, which makes the final coat look flawless and professional. Proper surface preparation is essential for achieving a high-quality finish that lasts.
Achieving a high-quality finish is also about understanding the importance of surface preparation and the role of sanding techniques in that process. In the end, the difference between a good finish and a great one often comes down to how well you prepare the surface. Sanding between coats isn’t just about aesthetics; it’s about creating a foundation that highlights the wood’s natural beauty while ensuring longevity. When you master this step, you’ll find your clear finishes look more vibrant, feel smoother, and last longer—making all your effort worth it.
As an affiliate, we earn on qualifying purchases.
Frequently Asked Questions
What Type of Sandpaper Is Best for Clear Finishes?
You should use fine-grit sandpaper, like 220 to 320 grit, for clear finishes. Always sand with the grain direction to avoid scratches and guarantee a smooth surface. Starting with a medium grit and progressing to finer grits helps achieve a polished look. Be gentle during sanding to prevent removing the finish, and always clean off dust before applying additional coats for the best results.
How Do I Know When to Stop Sanding?
They say, “Don’t overdo it,” and that’s true for sanding. You’ll know to stop when your surface feels smooth, even, and free of scratch marks. Use proper sanding techniques, like light, consistent strokes, and check frequently. Surface preparation is key, so don’t rush. Once the finish looks clear and flawless, and there’s no visible roughness, you’ve likely gone far enough. Trust your touch and the feel of the surface.
Can Sanding Damage the Underlying Wood or Finish?
Yes, sanding can damage the underlying wood or finish if you’re too aggressive or skip dust removal. You might create grooves or uneven surfaces that mar the wood grain or weaken the finish. To prevent this, use gentle strokes and always remove dust thoroughly between sanding steps. Proper dust removal guarantees a smooth surface, reducing the risk of scratches or damage, so your clear finish applies evenly and looks flawless.
What Safety Precautions Are Necessary During Sanding?
Sanding safety is your shield against a storm of dust and debris. Wear safety gear like goggles, a dust mask, and hearing protection to guard your eyes, lungs, and ears. Use dust control measures, such as a vacuum attachment or sanding in a well-ventilated area, to keep particles at bay. These precautions guarantee your workspace stays safe and dust-free, letting you focus on perfecting your finish without worry.
How Long Should I Wait Between Coats and Sanding?
You should wait about 2-4 hours between coats and sanding, but it depends on your finishing techniques and the product used. Make certain each coat is dry before sanding to achieve a smooth, professional look. Use quality sanding tools like fine-grit sandpaper or pads for best results. Lightly sand in between coats to remove imperfections and promote adhesion, which ultimately improves the clarity and durability of your clear finish.
Conclusion
So, next time you’re finishing a project, remember that a good sanding can be your secret weapon—more than just slapping on extra coats. Think of it like polishing a knight’s armor at a royal court; it’s the fine detail that makes everything shine. Don’t skip this step, or your clear finish might look as dull as a forgotten scroll. Trust me, your finished piece will thank you, and you’ll feel like a true craftsman in no time.
Fall yard work Picks
leaf blowers
As an affiliate, we earn on qualifying purchases.