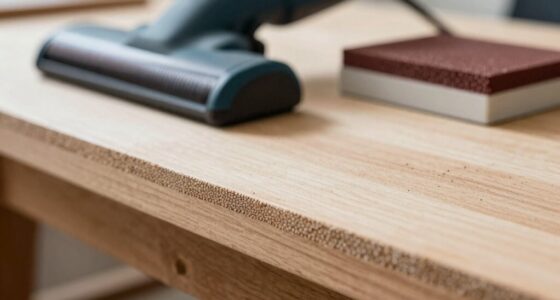
To achieve a professional finish efficiently, follow proper sanding grit progression. Start with a coarse grit to quickly remove imperfections and establish a smooth surface. Then, move to finer abrasives to refine and smooth out scratches from the previous step. Choosing the right abrasive materials like aluminum oxide or silicon carbide helps improve efficiency. This step-by-step approach ensures a flawless result and reduces rework—if you want to learn the key details behind this method, keep exploring the next steps.
Key Takeaways
- Use a coarse grit (e.g., 80-120) to quickly remove imperfections and establish an even surface foundation.
- Progress to medium grit (e.g., 180-220) to smooth out scratches and refine the surface.
- Finish with fine grit (e.g., 320-400) for a polished, professional-looking finish.
- Proper grit progression prevents rework and ensures a seamless, high-quality surface.
- Choose abrasive materials suited to the material for efficient, professional results.
When it comes to achieving a smooth, professional finish, understanding sanding grit progression is essential. The way you move through different abrasive materials directly impacts the quality of your project. Using the right sequence of grits ensures you remove imperfections efficiently while maintaining a polished look. The goal is to refine your surface gradually, avoiding scratches or uneven spots that could ruin the final result.
Starting with a coarse grit allows you to strip away rough imperfections, old paint, or deep scratches quickly. This initial step is vital for establishing a clean, even foundation for the subsequent finishing techniques. Once you’ve achieved a uniform base, you shift to finer abrasives, which gently smooth out the surface. Each advancement in grit size should remove the scratches left by the previous, coarser abrasive, creating a seamless transition from rough to smooth.
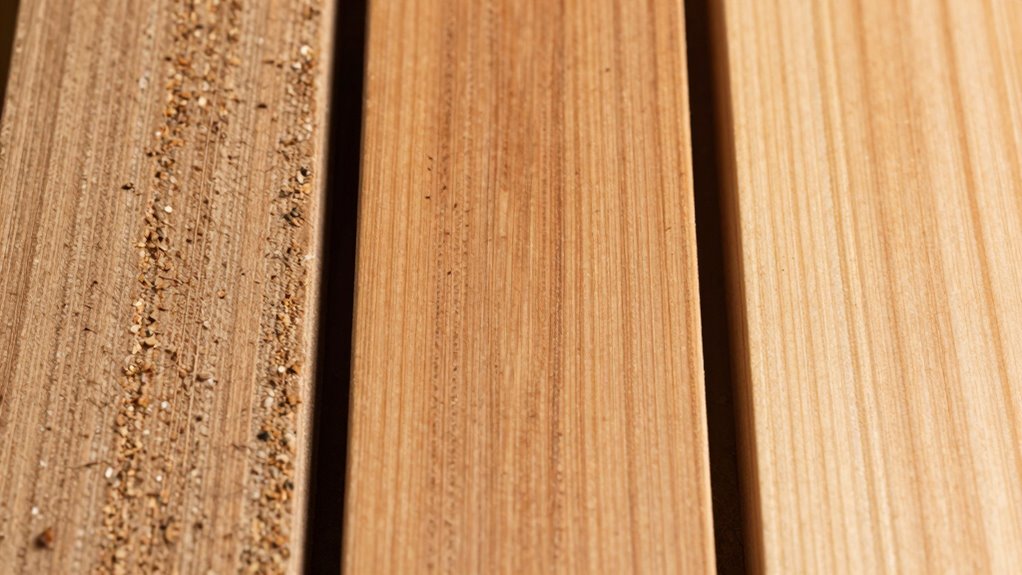
Begin with coarse grit to remove imperfections, then progress to finer abrasives for a smooth, seamless finish.
Your choice of abrasive materials plays a significant role in how effectively you progress through the grits. For instance, aluminum oxide and silicon carbide are popular because they cut quickly and last longer, making them suitable for different materials like wood, metal, or plastic. Using the appropriate abrasive materials ensures you don’t waste time or effort, and it helps produce a more refined finish.
Moving through grit sizes methodically isn’t just about speed; it’s about precision. Skipping grits might save time initially, but it often results in a rougher surface that demands more work later. Proper grit progression allows you to achieve a professional-looking finish without excessive sanding or reworking. Think of it as a layering process—each step builds on the last, gradually refining the surface for the best possible outcome.
Additionally, understanding abrasive materials ensures you select the most effective tools for your specific project, further streamlining your workflow and enhancing the final appearance.

133 PCS Sanding Disc Drill Polishing Kit Sanding Attachment, 3 Inch Wet Dry Headlight Restoration Kit, Hook and Loop Sandpaper Buffing Pads with Rotary Tools for Car Wood Metal Glass Resin Expoxy
- Full-Cycle Sanding Support: Includes 3-inch grit range for wet and dry use
- Durable and Clearly Marked: Silicon carbide sandpaper with visible grit for precision
- Easy Installation and Removal: Hook and loop backing for quick, secure attachment
As an affiliate, we earn on qualifying purchases.
As an affiliate, we earn on qualifying purchases.
Frequently Asked Questions
Can I Skip Grits for Faster Sanding?
You shouldn’t skip grits for faster sanding because it can damage your project and compromise the finish. Using proper sanding tools with the right grit progression ensures smooth, professional results. Skipping steps may save time initially, but it can lead to uneven surfaces and require more work later. Always follow safety precautions, such as wearing masks and goggles, to guard yourself from dust and debris, especially when changing grits or working with power sanders.
What Grit Should I Start With for Rough Surfaces?
Starting with a coarse grit, like 60 or 80, is like using a rough brush for surface preparation. This grit efficiently removes old paint and uneven areas on rough surfaces. Your sanding techniques should focus on maintaining even pressure to prevent gouging. Progress to finer grits gradually, ensuring a smooth finish. Skipping grits isn’t recommended, as each step helps achieve a professional look and a better overall surface.
How Do I Choose the Right Grit for Finishing?
To select the right grit for finishing, you should consider the abrasive materials and sanding techniques that suit your project. Typically, start with a fine grit like 220 or higher to achieve a smooth surface without damaging the material. Use gentle, even pressure, and follow proper sanding techniques for an even finish. This approach helps you avoid scratches and guarantees a professional-looking result.
Is There a Universal Sanding Grit Progression?
While there’s no universal sanding grit progression, you can follow a simple sequence with abrasive materials and sanding techniques. Start with coarse grit to remove imperfections, then move to medium grit to smooth surfaces, and finish with fine grit for a polished look. This progression, from rough to refined, guarantees professional results, regardless of project. Adjust based on material and desired finish for the best outcome.
How Do I Maintain Consistent Grit Progression?
To maintain consistent grit progression, you should plan your sanding steps carefully, moving gradually from coarse to fine abrasives, and keep track of each grit used. Incorporate sanding automation for precision and efficiency, ensuring uniform results. Opt for eco-friendly abrasives to reduce environmental impact while maintaining quality. Regularly inspect your work and adjust your process as needed, so your grit progression stays smooth and professional every time.
Conclusion
Just like a master painter layers colors to create depth, your sanding grit progression builds a flawless finish. By thoughtfully moving from coarse to fine, you’re shaping a surface that whispers professionalism. Remember, even the most intricate masterpiece starts with a simple stroke—so trust the process, and let each grit be your brush. Soon, your work will shine with the quiet confidence of a well-crafted art piece, leaving others marveling at your skill.