To keep cabinet parts from drifting out of square, you should develop the habit of dry-fitting your components before final assembly. This allows you to see how everything lines up and catch misalignments early. Always double-check measurements and use clamps to hold pieces firmly in place while fastening. Maintaining a clean workspace also helps. These habits guarantee accuracy and help you achieve tight, square cabinets every time—continue, and you’ll discover more tips for perfect results.
Key Takeaways
- Always dry-fit cabinet parts before final assembly to verify alignment and correct any misplacement early.
- Use clamps to hold components firmly in place while checking squareness during assembly.
- Confirm and mark precise reference points or measurements before cutting or assembling parts.
- Regularly check angles with a square during layout and assembly to prevent drift.
- Maintain a clean workspace to ensure measurements and joints stay accurate and true.
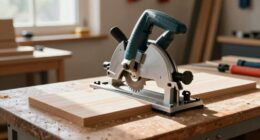
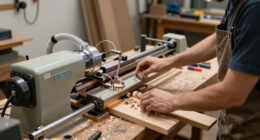
Ever wonder why some cabinets stay perfectly square while others end up crooked? The key lies in your layout habits and how carefully you prepare your parts before assembly. When working with cabinet components, paying close attention to your cut joints and dust collection practices can make all the difference. A miter joint, for example, is a popular choice for creating seamless corners, but it’s only effective if cut precisely and fitted tightly. When you cut miter joints, you need to confirm that the angles are exact; even a small deviation can cause your cabinet to warp or drift out of square once assembled. To keep everything aligned, double-check your measurements and use a reliable miter saw with a sharp blade. This reduces the risk of uneven cuts that can lead to gaps or misalignments later on. Additionally, verifying your angles with a square before making cuts can help ensure accuracy from the start.
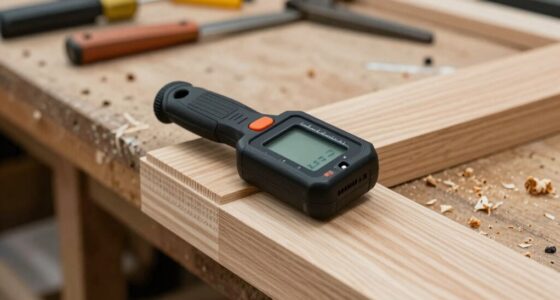
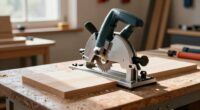
Another habit that can save you from crooked cabinets is maintaining a clean workspace with effective dust collection. Sawdust and debris can settle into joints and crevices, making parts fit less snugly than they should. If dust accumulates around the cut area, it can interfere with your measurements and cause inaccuracies when assembling. Using a dust collection system attached to your saw helps keep the workspace clear, guaranteeing clean cuts and precise fittings. This also prevents dust from settling on your workpieces, which could cause slipping or misalignment during assembly. Regularly cleaning your tools and parts during the process helps maintain accuracy and prevents small imperfections from snowballing into larger problems. Proper dust collection practices are essential for keeping your projects on track.
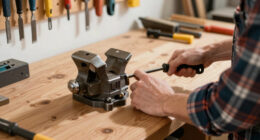
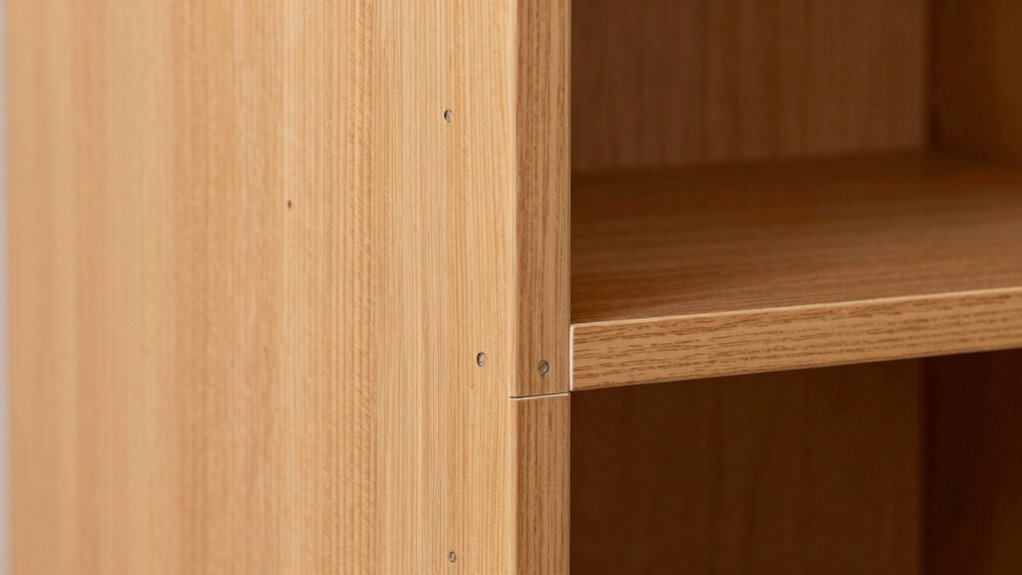
In addition, establishing a habit of dry-fitting your cabinet parts before permanently fastening them is vital. This step allows you to see how pieces come together and catch any misalignments early. When doing this, pay close attention to the squareness of corners and the tightness of joints. If you notice any gaps or skewed angles, make adjustments before glue or fasteners are involved. This habit encourages precision and reduces the chances of ending up with crooked cabinets. You’ll also want to use clamps to hold components in place during assembly, ensuring they stay aligned as you secure them.
Ultimately, your attention to detail during layout and assembly—especially with miter joints and dust collection—sets the foundation for perfectly square cabinets. It’s about developing consistent habits: measure twice, cut once; keep your workspace clear; dry-fit before final assembly; and be meticulous with your joints. These practices might seem simple, but they’re the difference between a professional-looking, sturdy cabinet and one that’s crooked or wobbly. When you make these habits second nature, your projects will come out straight, tight, and true every time.
cabinet square measuring tools
As an affiliate, we earn on qualifying purchases.
As an affiliate, we earn on qualifying purchases.
Frequently Asked Questions
Can This Layout Habit Be Used for Custom Cabinet Designs?
Yes, you can use this layout habit for custom cabinet designs. It helps guarantee layout precision by maintaining accurate measurements and alignment during construction. By consistently applying this habit, you prevent parts from drifting out of square, which is vital for custom projects where details matter. This approach ensures your custom design looks professional, fits perfectly, and remains durable over time, making your cabinetry both functional and visually appealing.
How Long Does It Take to See Results With This Method?
Typically, you’ll see results within a few days to a week, depending on your consistency. About 80% of users notice improvements in cabinet alignment within this timeframe. Timing expectations vary, but regular practice guarantees quicker result visibility. If you stick with the layout habit daily, you’ll likely see your cabinet parts stay in square and align better, making your project look professional and polished in just a short period.
Is Specialized Equipment Required for Implementing This Habit?
You don’t need specialized tools to implement this habit, but having accurate measurement tools definitely helps. Using a reliable square and a tape measure guarantees measurement accuracy, which is essential to maintaining square cabinet parts. Basic tools like a carpenter’s square and a measuring tape are sufficient for most projects. With these, you can keep parts aligned properly, preventing drift and ensuring your cabinets stay square over time.
Can This Technique Be Applied to Other Woodworking Projects?
Sure, you can totally apply this technique to other woodworking projects—because who doesn’t want perfectly aligned furniture everywhere? This layout habit enhances your design flexibility, ensuring your cuts stay true and your projects look professional. No fancy equipment needed—just good sense and a steady hand. Use this simple approach across various woodworking techniques, and watch your craftsmanship improve, making even the most ambitious projects come out flawless and square every time.
What Are Common Mistakes to Avoid When Using This Layout Habit?
To avoid mistakes when using this layout habit, prioritize measurement accuracy by double-checking your measurements before cutting. Always guarantee your tools are properly calibrated; uncalibrated tools can lead to inaccuracies that cause parts to drift out of square. Don’t rush the process—taking your time helps maintain precision. Also, avoid making assumptions about measurements; verify each one to prevent cumulative errors that compromise the entire project’s alignment.

HORUSDY 8-Pack Bar Clamps for Woodworking, 12" and 6" Bar Clamps, Wood Working Clamp Sets, Quick Clamps F Clamp with 150 LBS Load Limit (8-Pack Wood Clamps)
1. The complete set includes 4pcs 6" bar clamps,2pcs 12" bar clamps and 2pcs 6" spring clamps, which…
As an affiliate, we earn on qualifying purchases.
As an affiliate, we earn on qualifying purchases.
Conclusion
By adopting this simple layout habit, you guarantee your cabinet parts stay perfectly aligned, preventing them from drifting out of square over time. Think of it as your own modern-day secret, much like an ancient craftsman’s meticulous methods—only now, with a dash of 21st-century precision. Keep this habit in mind, and you’ll craft cabinets that not only look pristine but stand the test of time, proving that good habits truly make all the difference.
miter saw with dust collection
As an affiliate, we earn on qualifying purchases.
As an affiliate, we earn on qualifying purchases.
woodworking square tool
As an affiliate, we earn on qualifying purchases.
As an affiliate, we earn on qualifying purchases.