
To keep your curves clean after cutting, start by using fine-tipped tools like mechanical pencils or marking knives for sharp, precise lines. Lightly sketch your curves, and use flexible rulers or templates to maintain smooth, accurate shapes. Double-check your markings and run your fingers along lines to catch imperfections. Keep your tools sharp and stable while cutting, and score lines beforehand if needed. Practicing these techniques will help you achieve professional-looking results in your project.
Key Takeaways
- Use light, smooth sketching techniques to prevent heavy marks that can smudge or distort during cutting.
- Employ flexible curves or templates for precise, clean curved lines.
- Double-check and refine lines before cutting to ensure accuracy and neatness.
- Score along curved lines with a utility knife for a cleaner cut and better edge control.
- Maintain sharp marking tools to produce crisp, consistent lines that remain clean after cutting.
Marking curves precisely is essential if you want your cuts to stay clean and professional-looking. When working with curves, your goal is to transfer the shape accurately onto your material so that your cut follows the intended design seamlessly. To do this, you need to master effective marking techniques and select the right marking tools. The key is to ensure your lines are clear, visible, and easy to follow, which makes cutting along them more precise and results in a neat finish.
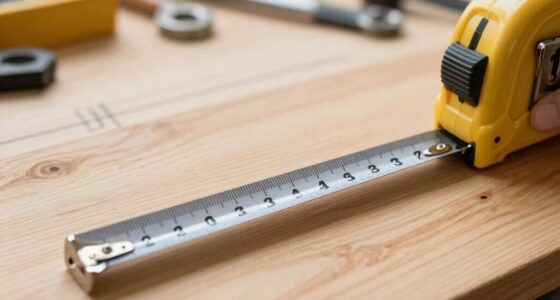
Start by choosing your marking tools carefully. Pencils are common, but for more precision, consider using fine-tipped mechanical pencils, marking knives, or specialized marking pens designed for specific materials. For wood, chalk or wax pencils work well because they leave visible but easily erasable marks. For metal or plastic, marking knives or fine-tip markers provide sharp lines that won’t smudge easily. Always ensure your tools produce consistent lines, and keep them sharp or well-maintained for accuracy.
Choose precise marking tools like fine-tipped pencils, knives, or pens for clean, accurate curves on any material.
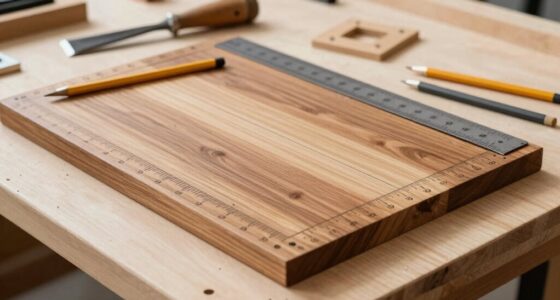
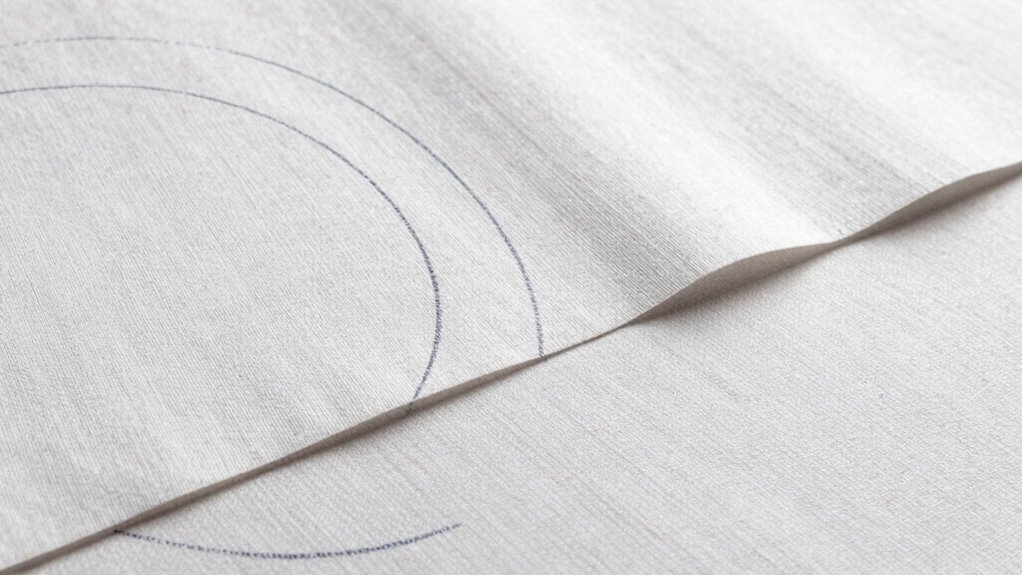
When it comes to applying your marking techniques, start by sketching your curve lightly. Use a flexible ruler, French curve, or a template to help you draw smooth, flowing lines. Avoid pressing too hard, as heavy marks can be difficult to erase or may smudge during cutting. If your design is complex, break it into segments and mark each carefully, checking your lines from different angles to confirm accuracy. For curved shapes, you can also use a flexible curve ruler or a tracing paper to transfer the shape onto your material. This helps ensure your markings are true to the original design, especially when dealing with intricate curves. Additionally, understanding precision marking techniques can significantly improve your results.
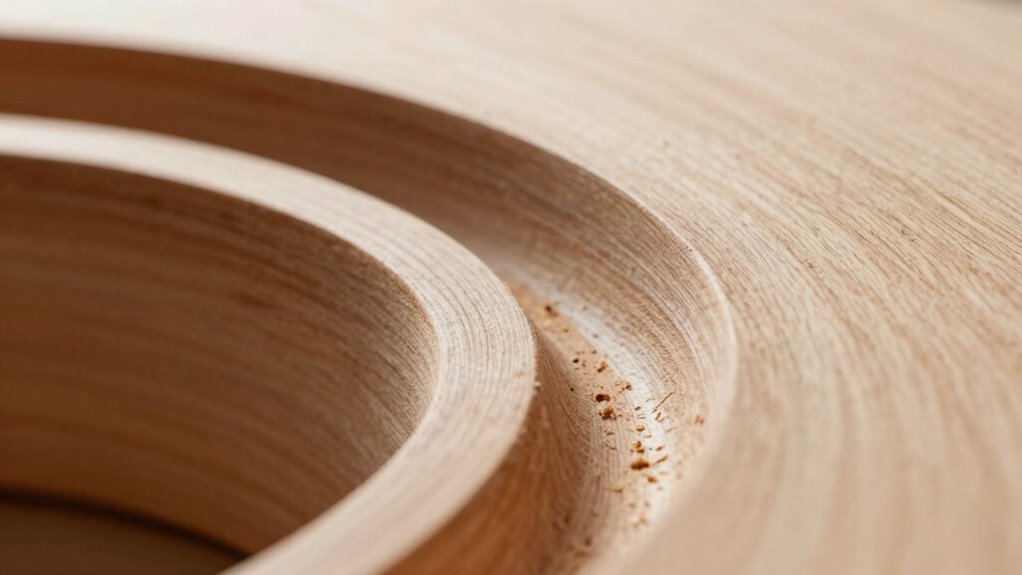
Once your curve is marked, take a moment to double-check its accuracy. Lightly run your finger over the line to see if it’s smooth and continuous. If you notice any irregularities, correct them immediately. When you’re ready to cut, use your chosen cutting techniques to follow the line closely. Keep your tools steady and maintain a consistent speed to prevent jagged edges or deviations. If you’re working with power tools, guide them along the marked line carefully, and consider scoring the line first with a utility knife or scoring tool to make the cut more controlled.

BIC Xtra-Precision Mechanical Pencils with Erasers, Fine Point (0.5mm), 24-Count Pack Mechanical Drafting Pencil Set
- Pack Size: 24 mechanical pencils with erasers
- Tip Size: 0.5mm fine point
- Ideal For: Everyday writing and drafting
As an affiliate, we earn on qualifying purchases.
As an affiliate, we earn on qualifying purchases.
Frequently Asked Questions
What Tools Are Best for Marking Curved Lines Precisely?
You should use marking templates and fine-tipped pens for precise curved lines. Marking templates help you trace smooth, consistent curves easily, ensuring accuracy. Fine-tipped pens provide sharp, clear lines that stay neat after cutting, making your markings easy to follow. Together, these tools give you control and precision, helping you produce clean, professional-looking curves in your projects.
How Do I Prevent My Marking From Smudging?
To keep your markings pristine, choose your fabric wisely, as some materials are more prone to smudging. Use high-quality marking tools, like tailor’s chalk or fine-tip pens, and let the markings dry fully before handling. Avoid common marking myths, like pressing too hard, which can smudge. Instead, gently trace your curves, and keep your workspace clean. This approach guarantees your lines stay sharp and neat through every cut.
Can I Use Tape to Improve Marking Accuracy?
Yes, using tape masking can greatly improve your marking accuracy. Apply the tape carefully along the curve, then use chalk marking to trace the desired line. This method guarantees clean, precise lines without slipping or smudging. Once you’ve marked the curve, remove the tape gently. Tape masking combined with chalk marking gives you sharp, accurate lines, making cutting easier and the final result much cleaner.
What Techniques Help Maintain Clean Edges After Cutting?
Think of your project as a dance, with each step needing precision. To keep edges clean after cutting, use marking templates that serve as your choreographed guide. Guarantee a strong color contrast between your marking tool and material, making lines stand out like neon signs. Carefully follow the template’s curves, and don’t rush—smooth, steady cuts keep your edges crisp and professional, like a perfectly choreographed routine.
Is There a Way to Erase or Correct Marks Easily?
Yes, you can easily correct marking mistakes with proper erasing tips. Use a gentle eraser designed for your material to maintain marking accuracy without damaging your surface. Lightly erase, avoiding excessive pressure that could smudge or distort your work. For more precise corrections, consider using a craft knife to carefully lift marks, or switch to erasable markers for easier adjustments. These techniques help keep your curves clean and professional-looking.
Conclusion
Now that you know how to mark curves for a clean cut, you’re ready to tackle even the most delicate details. Think of your markings as the blueprint for precision, guiding your blade like a steady hand. It’s the quiet promise of perfection behind every smooth, untouched edge. Embrace the process, and watch your craftsmanship shine—because a well-marked curve isn’t just a line, it’s the gateway to flawless results that speak for themselves.