
To prevent cloudy coats when finishing in humidity, follow the weather rule: aim for days with low humidity, ideally between 40-60%. Use tools like a hygrometer to monitor moisture levels and avoid working outdoors during high humidity or rain. Controlling the environment by employing dehumidifiers or choosing early morning or late evening hours helps guarantee a smooth, clear finish. Keep excess moisture at bay for durable results—you’ll discover more tips as you continue.
Key Takeaways
- Aim for ambient humidity levels between 40-60% to ensure optimal drying and prevent cloudiness.
- Choose days with low humidity forecasts, preferably early mornings or late evenings for outdoor finishing.
- Use dehumidifiers or air conditioning indoors to maintain consistent, low humidity during application and drying.
- Apply thin coats and allow ample drying time to avoid moisture entrapment and cloudy finishes.
- Monitor humidity with a hygrometer and postpone finishing if moisture levels are too high to ensure clarity and durability.
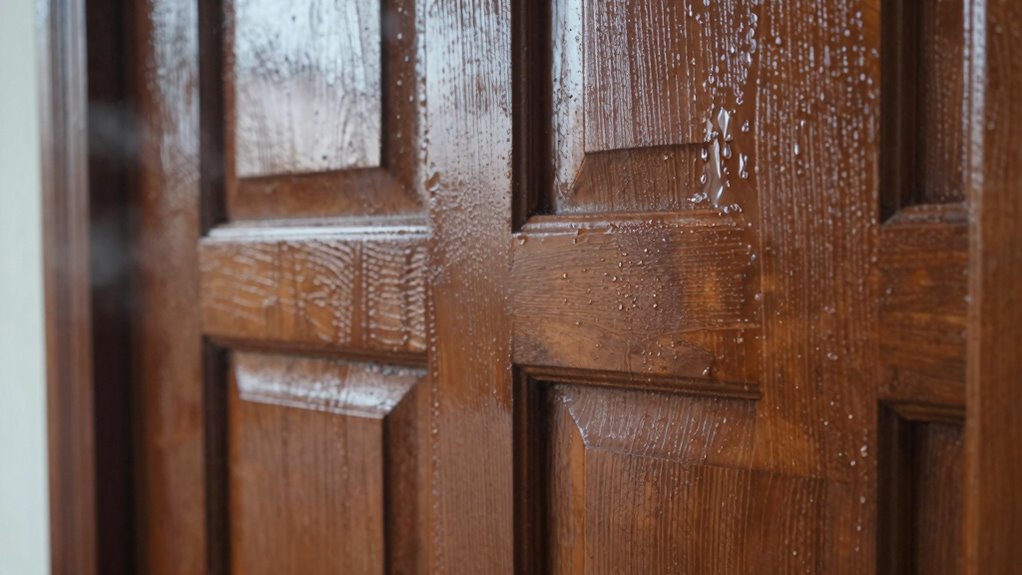
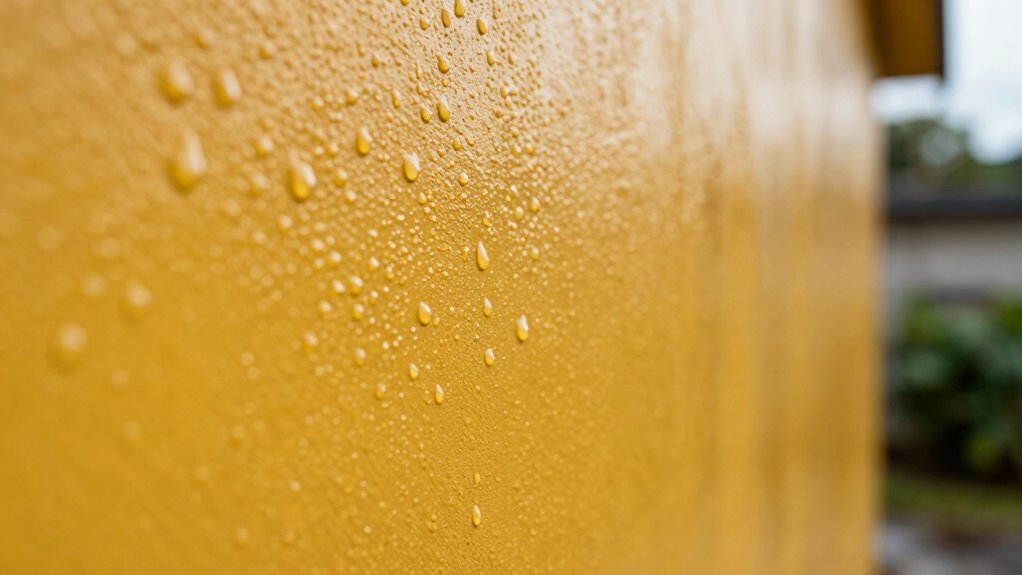
When finishing a project in humid conditions, understanding how moisture affects the process is fundamental. Humidity effects can markedly influence how your paint, varnish, or finish cures, often leading to undesirable results like cloudy coats or extended drying times. High humidity means more moisture in the air, which can interfere with the evaporation of solvents and slow down the drying process. If you ignore these humidity effects, you risk ending up with finishes that look uneven, cloudy, or sticky, ultimately compromising the quality and durability of your work.
Understanding humidity’s impact is key to achieving smooth, durable finishes in damp conditions.
To combat these issues, you’ll need to adapt your drying techniques to the environment. One effective approach is to control the humidity levels as much as possible. If you’re working indoors, consider using dehumidifiers or air conditioners to reduce moisture in the air. Proper ventilation also plays a crucial role; it helps circulate air and remove excess moisture, promoting faster, more even drying. When outdoors, choose days with lower humidity forecasts or work during times when the air is less saturated—early mornings or late evenings tend to be better options.
Understanding the importance of humidity effects goes hand-in-hand with applying suitable drying techniques. Thin coats dry faster and more evenly, reducing the chances of moisture getting trapped in the finish. Avoid applying thick layers, especially in humid conditions, as they tend to trap moisture underneath and cause cloudiness or tackiness. Patience is key; sometimes, it’s better to wait longer between coats to ensure each layer dries thoroughly. Using a fan or heater can help accelerate evaporation, but be cautious—excessive heat can cause other issues like cracking or uneven drying.
Monitoring the environment is vital. Use a hygrometer to measure humidity levels, aiming for a range that supports ideal drying—usually between 40-60%. If conditions are too humid, postpone finishing until the air dries out or modify your workspace with moisture-control strategies. Keep surfaces clean and dust-free, as trapped dust particles can worsen the appearance of finishes when moisture interferes with curing. Additionally, maintaining consistent temperature and humidity levels throughout the drying process helps achieve a smooth, clear result.
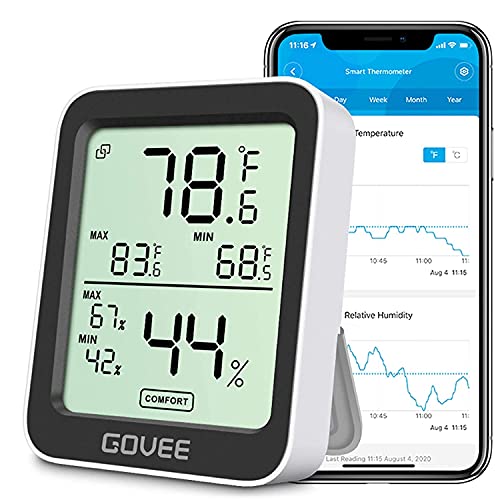
Govee Indoor Hygrometer Thermometer H5075 with Bluetooth App Control
- Smart Remote Monitoring: Supports Bluetooth connection up to 164ft
- High Accuracy Sensors: Temperature ±0.54°F, Humidity ±3%RH
- Fast Refresh Rate: Updates every 2 seconds
As an affiliate, we earn on qualifying purchases.
As an affiliate, we earn on qualifying purchases.
Frequently Asked Questions
Can Artificial Humidity Control Help When Outdoor Conditions Are Unsuitable?
Yes, artificial humidity control can help when outdoor conditions are unsuitable. By using humidity regulation and environmental control systems, you can maintain ideal moisture levels, preventing a cloudy coat or uneven finish. This guarantees your work stays consistent and high-quality, regardless of outside weather. So, employing these systems allows you to create a stable environment, making your project less dependent on unpredictable weather and improving your overall results.
How Does Humidity Affect the Longevity of Painted Finishes?
Humidity effects can considerably impact paint durability, causing finishes to peel, blister, or develop mold over time. When you expose painted surfaces to high humidity, it slows drying and can weaken adhesion, reducing longevity. To guarantee your paint lasts longer, it’s best to apply finishes in low-humidity conditions. Properly managing humidity during painting helps maintain the integrity of your finish, keeping it looking fresh and durable for years.
Are There Specific Finishes Better Suited for High-Humidity Environments?
Sure, some finishes are better suited for high-humidity environments—think of moisture-tolerant, humidity-resistant options. You’ll want products like epoxy or polyurethane that bravely withstand the dampness, despite the irony of applying a finish that fights humidity’s sneaky invasion. These finishes create a barrier, preventing moisture from seeping in and ruining your work. So, when humidity’s high, choose wisely to keep your project looking fresh and flawless.
What Are Signs of Improper Finishing Due to Humidity Issues?
You’ll notice signs of improper finishing caused by humidity issues when paint starts peeling or develops an uneven sheen. These problems happen because excess moisture interferes with proper adhesion and drying. If you see peeling paint or patches with inconsistent gloss, it’s a clear indication that humidity affected your finish. To avoid this, make sure the environment is dry and well-ventilated before starting your project, especially in humid conditions.
How Quickly Should a Finish Be Applied After Preparing the Surface?
Did you know that delays in applying finish can cause adhesion issues? You should apply your finish within 2 hours of surface preparation, as longer drying times can lead to dust or debris settling on the surface. Being prompt helps make certain of proper bonding. Keep the surface dry and free of dust, and work efficiently to prevent humidity from affecting the drying time, ensuring a smooth, professional-looking coat.
Conclusion
Remember, when finishing your coat in humidity, you’re not just following a weather rule—you’re embracing nature’s subtle dance. By respecting the moisture’s quiet influence, you prevent cloudy coats from becoming a foggy mistake. Think of humidity as the unseen hand guiding your craft, reminding you that sometimes, the most delicate touch yields the clearest perfection. So, trust the weather’s whispers, and let humidity’s gentle influence shape your masterpiece—because in its presence, clarity is truly an art.