
Choosing the wrong sanding grit can make your surfaces feel worse, not better. Starting with coarse grit might seem tempting, but it can leave deep scratches that show through finishes. Instead, begin with medium grit for a smoother leveling and gradually progress to finer grits. Different materials also require different grit choices. By understanding the right techniques and grit selection, you can avoid common pitfalls. Stick around to uncover how proper grit choices can elevate your projects.
Key Takeaways
- Starting with too coarse a grit can create deep scratches, worsening the surface feel instead of improving it.
- Gradual grit progression is essential; jumping to finer grits too soon can leave imperfections.
- Different materials require tailored grit selections; using the wrong grit can damage the surface.
- Understanding surface preparation techniques ensures smoother finishes and optimal results without unnecessary rework.
- Planning your sanding process and technique minimizes mistakes and enhances the overall finish quality.
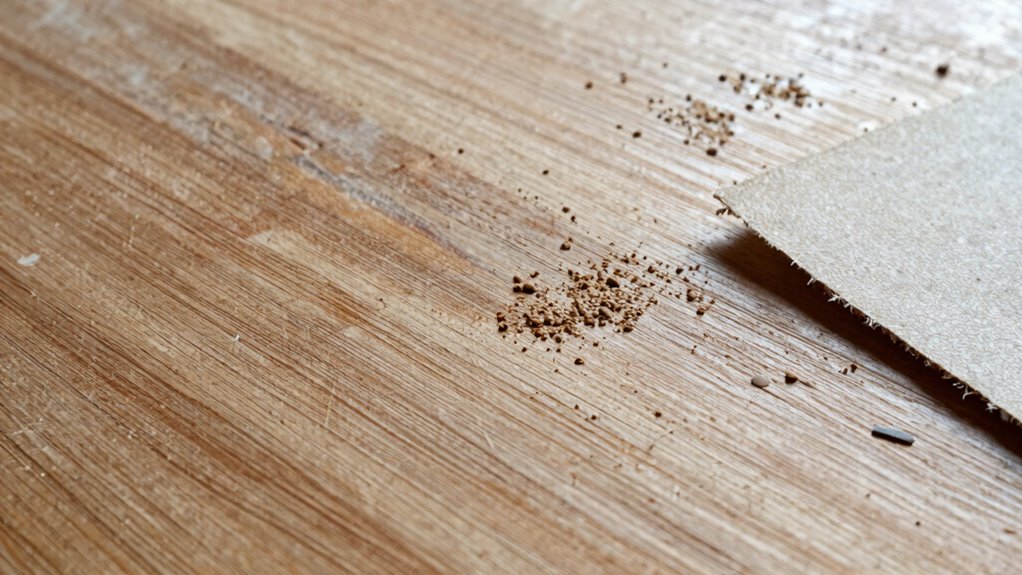
When you’re tackling a sanding project, choosing the right grit can make or break your results. Many folks jump straight into sanding without giving much thought to grit selection. While it might seem like a minor detail, using the wrong grit can lead to surfaces that feel worse, not better. You might think you’re smoothing things out, but in reality, you’re making them rougher and more unpleasant to the touch.
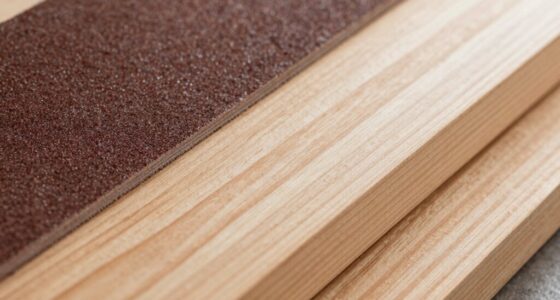
One common misconception is that starting with a coarse grit is always the way to go. Sure, if you’re removing heavy material or old finishes, a coarser grit can help. But if you skip the necessary steps in surface preparation, you risk damaging the material underneath. Instead, consider a more gradual approach. Begin with a medium grit to level the surface before moving to finer grits for finishing. This technique not only improves your results but also enhances user experience by making the surface feel more refined. Proper surface preparation is essential for achieving optimal results and avoiding unnecessary rework. Additionally, understanding the effects of grit on different materials can help you make more informed choices.
Starting with a medium grit allows for better surface preparation, leading to a more refined finish and protecting the material underneath.
Material compatibility plays an essential role in your grit selection. Different materials respond differently to sanding, and what works well for wood might not be suitable for metal or plastic. Always match your tool choice to the material you’re working with. For example, using a random orbit sander with the right grit can make the process smoother and more efficient, whereas a belt sander might create unwanted scratches if you’re not careful.
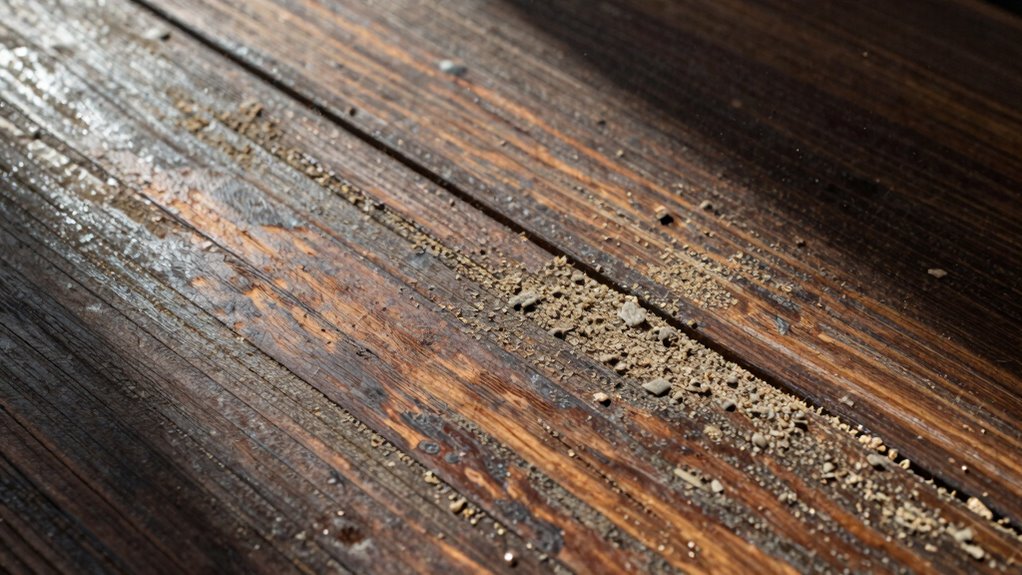
Another mistake many make is not considering the finish application. If you’re preparing a surface for paint or varnish, using too coarse a grit can leave deep scratches that become visible once the finish is applied. Instead, focus on gradually refining the surface. Start with a coarser grit to eliminate imperfections, then switch to finer grits to achieve a smooth finish. This method guarantees that the final look is polished and professional. Understanding the importance of material compatibility and selecting the appropriate grit can prevent costly mistakes and ensure a superior result.
Ultimately, a keen understanding of sanding techniques and their implications can save you time and frustration. Don’t fall into the trap of thinking that more grit equals better results. Instead, take the time to plan your sanding project, considering your desired outcome. By carefully selecting your grits based on the job at hand, you can avoid the pitfalls that lead to surfaces that feel worse than before. So next time you reach for that sander, remember: grit matters, and choosing wisely can transform your project.
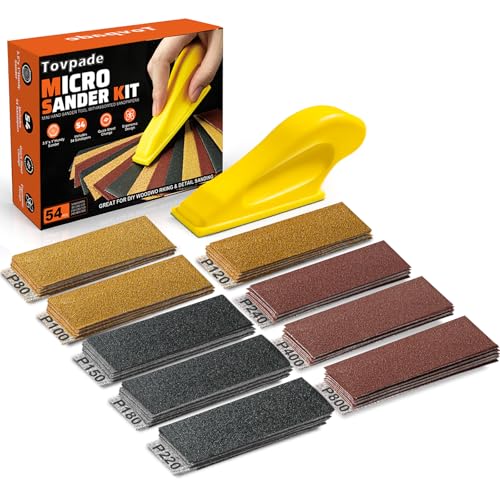
TOVPADE 54PCS Premium Micro Sander, Detail & Mini Sander Block – Precision Small Hand Sanding Tool, 80–800 Grit Sandpaper Kit, 3-in-1 Set for Wood, Crafts, Furniture, Tight Spaces & DIY Projects
- All-in-One Sanding Kit: Includes sanding block and 54 sandpapers
- Nine Grit Types: Grits from 80 to 800 for versatile sanding
- Color-Coded Grit System: Easily identify coarse, medium, and fine grits
As an affiliate, we earn on qualifying purchases.
As an affiliate, we earn on qualifying purchases.
Frequently Asked Questions
What Tools Are Best for Sanding Surfaces Effectively?
To sand surfaces effectively, you’ll want to use a combination of sanding equipment like orbital sanders, belt sanders, and hand sanders. For grit selection, start with a coarser grit to remove imperfections, then move to finer grits for a smooth finish. Make sure you choose the right grit based on the material you’re working with. This way, you can achieve a professional-looking surface without any unnecessary roughness.
How Do I Choose the Right Sanding Technique?
To choose the right sanding technique, start by evaluating your project. For rough surfaces, use a coarser grit to remove material quickly. As you refine the surface, switch to finer grits for a smoother finish. Remember, different sanding techniques, like hand sanding or using a sander, can affect the outcome. Experiment with both methods to see what works best for you, ensuring your grit selection aligns with your desired result.
Can I Sand Without Damaging the Underlying Material?
Yes, you can sand without damaging the underlying material. Imagine a gentle breeze versus a raging storm; that’s how your sanding techniques can vary. Use finer grit sandpaper for delicate surfaces and always check material compatibility. Start with a light touch and gradually increase pressure if needed. Testing on a small area first guarantees you maintain the integrity of the material while achieving the smooth finish you desire. Keep your tools steady, and you’ll succeed!
What Safety Precautions Should I Take While Sanding?
When you’re sanding, always prioritize safety. Wear a dust mask to avoid inhaling harmful particles and use eye protection to shield your eyes from debris. Don’t forget hearing safety; if you’re using loud tools, ear protection’s a must. Finally, put on work gloves to protect your hands from splinters and rough surfaces. By taking these precautions, you’ll guarantee a safer and more comfortable sanding experience.
How Often Should I Sand Surfaces for Maintenance?
If you’ve just refinished a dining table, you should sand it lightly every six months to maintain its beauty. For sanding frequency, aim for this regular upkeep to prevent deeper scratches and damage. Use fine grit sandpaper and follow up with a protective finish. Maintenance tips include inspecting the surface for wear and adjusting your sanding schedule based on usage. Keeping up with this routine guarantees your surfaces stay looking great and last longer.
Conclusion
So, next time you grab that sandpaper, remember: going too fine can backfire. It’s funny how aiming for smoothness can sometimes lead to a rougher finish. You might find it surprising that the right grit choice can completely change your project’s outcome. Just like that unexpected plot twist in a favorite book, the right grit can reveal a finish you never saw coming. Trust your instincts, and your surfaces will thank you for it!