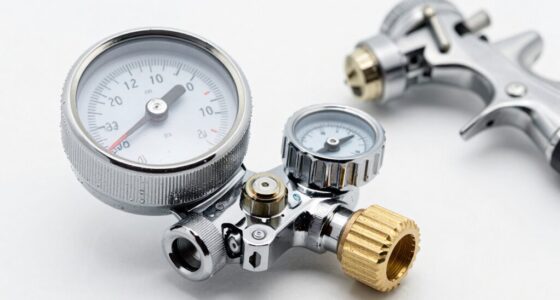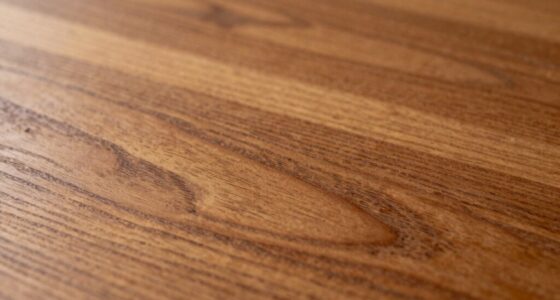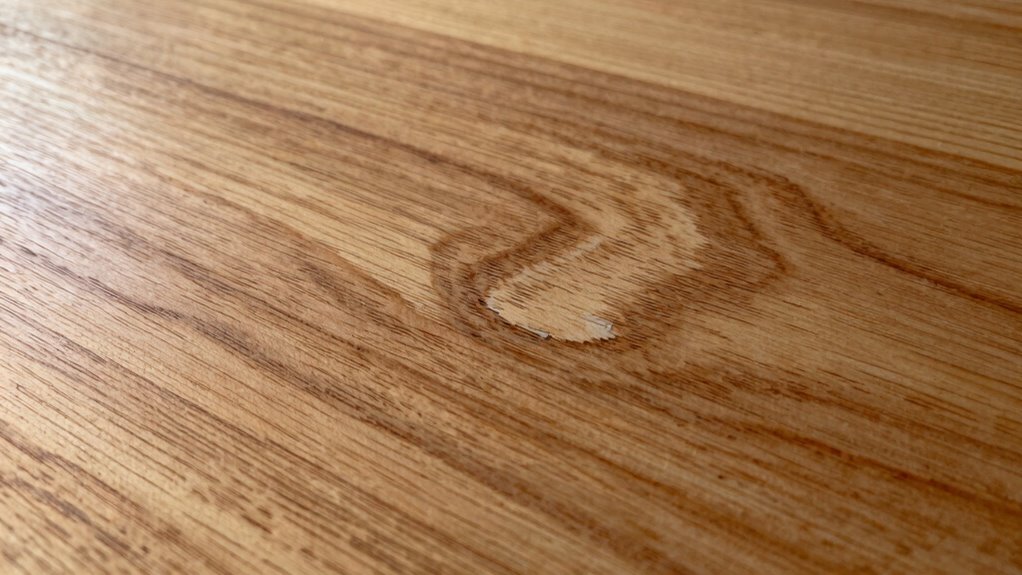

To match a repair finish without recoating everything, start by accurately sampling the original color using small, carefully chosen areas and professional tools. Apply matching paint or stain gradually with fine brushes, blending edges smoothly to avoid visible lines. Adjust the sheen by adding a gloss or matte topcoat, and gently sand the area to refine progressions without damaging the surface. If you keep following these steps, you’ll discover how to create a seamless, professional-looking repair.

Get business pricing on tools and workshop supplies
- Business-only prices and quantity discounts
- Tax-exempt purchasing
- Multiple users, one account, clear invoices
Key Takeaways
- Accurately sample the original finish’s color, gloss, and texture using professional tools or store analysis.
- Use small, controlled applications of touch-up paint or stain, gradually building up to match the surrounding area.
- Feather edges with fine brushes and light sanding to create seamless transitions without re-coating entire surfaces.
- Adjust sheen levels by adding gloss or matte topcoats as needed for a consistent finish.
- Focus on patience and precision during application for an almost invisible, professional-looking repair.
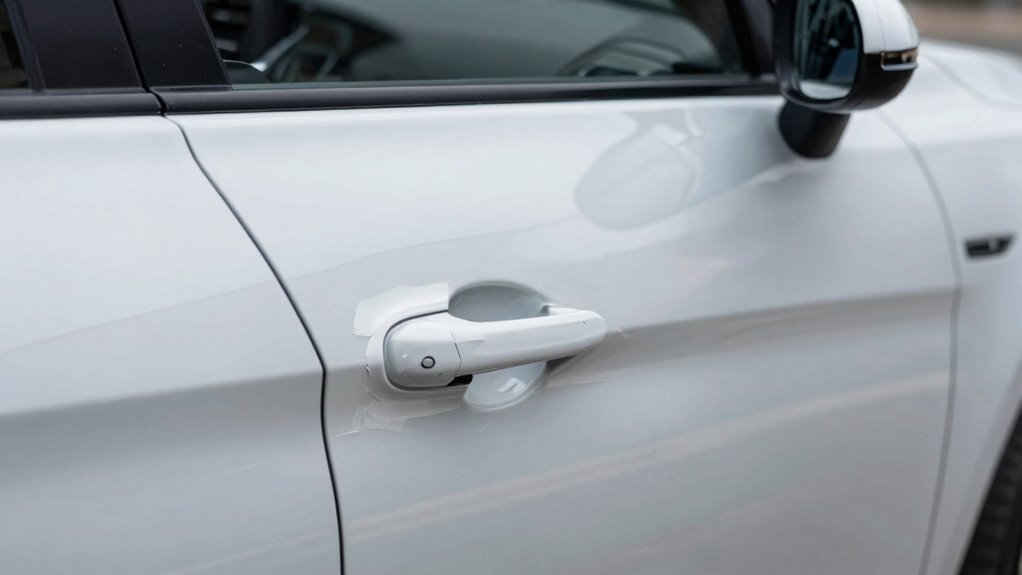
When a damaged repair finish needs to blend seamlessly with the surrounding surface, recoating isn’t always necessary. Instead, your goal is to achieve a smooth gradual change that makes the repair virtually invisible. To do this effectively, you’ll want to start with accurate color sampling. Color sampling involves carefully selecting small areas of the existing finish to match the hue, gloss level, and texture. You can use a color-matching tool or simply take a sample to a professional paint store for analysis. This step guarantees you pick a color that closely aligns with the original finish, reducing the need for multiple adjustments later.
Accurate color sampling ensures seamless blending by matching hue, gloss, and texture for a nearly invisible repair.
Once you have your sample, you can move on to finish blending. This process involves applying small amounts of touch-up paint or stain precisely to the repair area, gradually building up the color and sheen. Instead of repainting the entire surface, you focus on the spot, feathering the edges to seamlessly merge the new finish with the old. Using fine brushes or blending tools can help you control the application, ensuring you don’t create harsh lines or uneven patches. It’s important to work slowly and check your progress frequently, stepping back to view the repair from a distance to see how well it matches. Incorporating proper technique ensures a more natural transition. Developing a good understanding of finishing techniques can also improve your results. Additionally, understanding the layering process can help you better control the depth and appearance of the repair.
A key part of finish blending is adjusting the sheen level to match the surrounding surface. If the existing finish is glossy, you might need to add a clear coat or glossing agent to your touch-up paint. Conversely, if the surface is matte, dulling the touch-up area with a matte finish can help it blend naturally. Sometimes, light sanding with very fine grit paper can help smooth the changeover, removing any excess paint or uneven edges. Be cautious not to sand too aggressively—your goal is to refine, not damage the surrounding finish. Additionally, understanding paint application methods can help you achieve a more uniform blend. Knowing how to properly prepare the surface before applying touch-up materials can also make a significant difference in the final outcome. Proper surface prep can prevent issues like peeling or uneven texture after the repair.
Throughout this process, patience is your best tool. Small, incremental applications allow you to control the blend and avoid overdoing it. Remember, the key to successful finish blending lies in your ability to sample the color accurately and apply touch-up materials with precision. By focusing on these techniques, you can achieve a repair that’s virtually indistinguishable from the original surface without the need for a full recoating. The result will be a seamless, professional finish that restores your surface’s appearance with minimal effort and maximum accuracy.
As an affiliate, we earn on qualifying purchases.
Frequently Asked Questions
Can I Match a Repair Finish on Glossy Surfaces?
Yes, you can match a repair finish on glossy surfaces. Start with color correction by blending the new paint carefully to match the existing color. Then, adjust the sheen by lightly sanding the repaired area with a fine-grit sandpaper, and apply a gloss or clear coat that matches the original finish. This process helps your repair blend seamlessly, restoring the surface’s uniform gloss without needing a full recoat.
What Tools Are Best for Blending Repair Finishes?
You should use fine-grit sandpaper for blending repair finishes, focusing on gentle sanding techniques to smooth edges. Color matching tools, like a paint-matching guide or digital colorimeter, are essential for precise results. These tools help you select the right shade, while careful sanding helps seamlessly blend the repair without overdoing it. Always test your color first and work gradually for the best, nearly invisible, finish.
How Long Should I Wait Before Applying Touch-Up Paint?
Don’t jump the gun; give the paint enough time to dry completely before applying touch-up techniques. Usually, waiting 24 hours guarantees the paint has cured properly, preventing smudges or mismatched finishes. When doing paint color matching, verify the original surface is fully dry and clean. This patience lets the new paint blend seamlessly with the existing finish, giving you a flawless repair that’s worth the wait.
Is It Possible to Match a Finish on Textured Surfaces?
Yes, you can match a finish on textured surfaces by focusing on color consistency and proper surface preparation. Start by cleaning the area thoroughly, then use a small amount of paint or texture spray that closely matches the original. Apply in thin layers, blending carefully to match the surrounding texture. Patience and precise application help you achieve a seamless look without re-coating the entire surface.
What Environmental Factors Affect Repair Finish Matching?
Environmental factors like humidity, temperature, and light greatly affect repair finish matching. Humidity can cause paint to dry unevenly, impacting color consistency, while temperature influences how finishes cure and blend. Proper surface preparation is essential to guarantee the repair adheres well and matches seamlessly. By controlling these conditions and carefully preparing the surface, you can achieve a more precise match without needing to recoat the entire area.
Conclusion
To successfully match a repair finish without recoating everything, take your time to analyze the existing surface and choose the right tools and techniques. For example, imagine fixing a small scratch on a vintage chair; carefully blending the new finish with the original, using a fine brush and patience, can make the repair virtually invisible. With practice and attention to detail, you’ll master seamless touch-ups that preserve your furniture’s beauty without the hassle of full recoats.
Fall Picks
fall essentials
As an affiliate, we earn on qualifying purchases.