To build a picture ledge shelf, start by measuring and marking the wall where you want to install it. Use a level to draw straight, even lines, then locate wall studs with a stud finder. Drill pilot holes into the studs and secure brackets or supports with screws. Cut the shelf board to size, sand edges, and optionally paint or stain it. Mount the shelf on the supports, ensuring it’s level and stable, then display your favorite artwork or photos. Keep reading for detailed steps to make your project a success.
Key Takeaways
- Measure and mark the desired length and height for the ledge, ensuring it’s level and appropriate for your artwork.
- Cut a sturdy wooden board to size, then sand edges smooth and optionally paint or stain for a finished look.
- Locate wall studs using a stud finder and mark support placement, then drill pilot holes into studs for secure mounting.
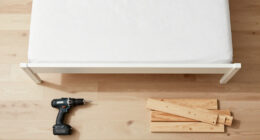
- Attach wall brackets or supports to the wall with screws into studs, ensuring they are level and evenly spaced.
- Place the ledge onto supports, verify stability and levelness, then display artwork or photos as desired.
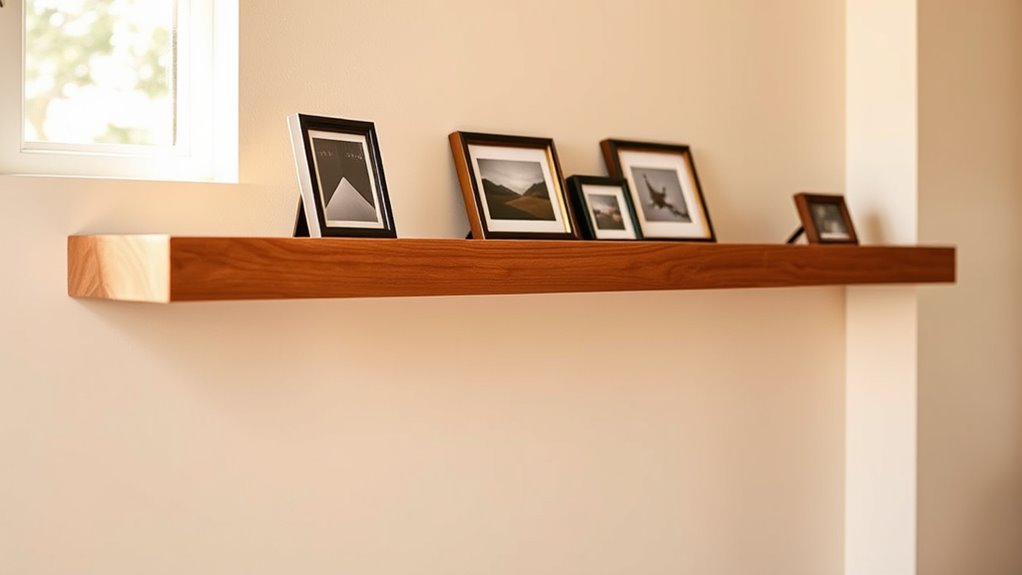
A picture ledge shelf is a stylish and practical way to display your favorite artwork, photos, or decorative items. Building your own gives you the freedom to customize the length, depth, and finish to match your space perfectly. Before you start, gather your DIY tools—such as a saw, drill, level, tape measure, screws, and a stud finder. Having the right equipment makes the process smoother and guarantees your shelf is sturdy and level.
Safety should be your top priority while working with tools. Always wear safety glasses to protect your eyes from dust and debris. Use ear protection if you’re operating power tools for an extended period. Keep your workspace clean and well-lit to prevent accidents, and handle sharp tools carefully. When drilling into walls, make sure to locate studs to secure your shelf properly; avoid drilling into electrical wires or pipes. A stud finder is an essential safety tool, helping you avoid hidden hazards and ensuring your shelf stays firmly mounted. Pinball is an example of a game that also requires precise mechanical and electronic components, similar to those used in building sturdy shelves.
Prioritize safety: wear glasses, protect ears, keep workspace tidy, and locate studs to avoid hazards.
Once you’ve gathered your tools and reviewed safety tips, measure the space where you want to install your shelf. Decide on the length and depth based on what you plan to display. Mark the spots for the brackets or supports, ensuring they’re level. Use a level and pencil to draw straight lines, confirming your measurements before drilling. When drilling into walls, start with small pilot holes to prevent cracking or splitting, especially if you’re working with drywall or plaster. Secure the brackets or supports with screws, making sure they’re tightly fastened into the studs for maximum stability.
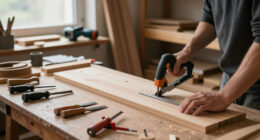
Next, cut your shelf board to size using a saw, taking care to measure twice and cut once. Sand the edges smooth to prevent splinters and give it a clean, finished look. If you want, paint or stain the wood to match your decor, but make sure the paint or stain is fully dry before mounting the shelf.
Finally, place the shelf onto the supports or brackets, double-check that it’s level and secure. Once mounted, you can start displaying your favorite items. Building a picture ledge shelf yourself not only saves money but also gives you a sense of accomplishment. Remember, following DIY tools instructions carefully and adhering to safety tips will help you create a beautiful, functional addition to your space that you can enjoy for years to come.
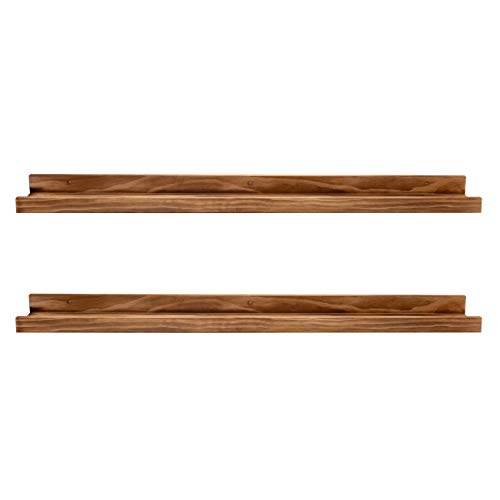
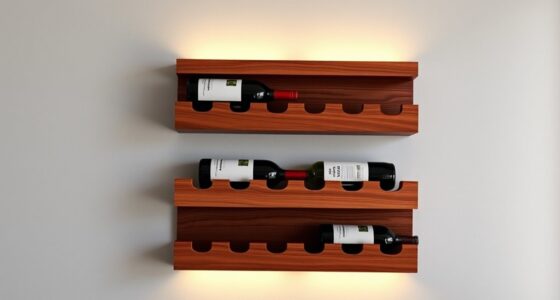
AZSKY Rustic Wood Floating Shelves for Nursery Books Long Wall Bookshelf Photo Picture Ledge Shelf with Lip Wall Shelf for Kids Bedroom Bathroom Living Room Office Frames 36 Inches Set of 2
- Design: Sleek modern minimalist style
- Dimensions: 36 inches long, 4.5 inches wide
- Material: Natural, high-quality wood
As an affiliate, we earn on qualifying purchases.
As an affiliate, we earn on qualifying purchases.
Frequently Asked Questions
What Tools Are Needed for Assembling the Shelf?
You’ll need a drill with the right drill bit selection for your wall type, like masonry or drywall. A level helps guarantee your shelf is straight, and a pencil marks the spots for wall mounting techniques. Additionally, gather wall anchors and screws suitable for your wall material. Using these tools, you can confidently assemble your picture ledge shelf, making sure it’s secure and perfectly aligned.
How Much Weight Can a Picture Ledge Hold?
You can typically hang a picture ledge that holds around 10-15 pounds, depending on the wall type and mounting hardware. When shelf styling with decorative accents, avoid overcrowding, and distribute weight evenly. Use sturdy anchors for heavier items to guarantee safety. Keep in mind that overloading may cause damage or falling, so always check the manufacturer’s weight recommendations and adjust your decorative accents accordingly for a balanced, stylish display.
Can I Customize the Length of the Shelf?
Yes, you can customize the length of your picture ledge shelf. Many options offer customizable length options, allowing you to tailor the shelf to your space. Adjustable shelf designs also provide flexibility, so you can extend or shorten the shelf as needed. Just make sure you measure carefully and choose materials that can support your desired length without sagging or instability. Customizing your shelf makes it perfect for your specific display needs.
What Type of Wall Anchors Are Best?
Think of wall anchors as the backbone of your shelf, holding it strong like roots anchoring a tree. For the best shelf stability, choose toggle bolts for heavy loads, or plastic expansion anchors for lighter items. Drywall anchors work well if you’re not hanging too much. Always match the wall anchor types to your wall material, ensuring your picture ledge stays secure and beautifully displays your favorite photos or art.
How Do I Prevent Pictures From Slipping Off?
To prevent pictures from slipping off, you should use proper hanging techniques combined with thoughtful aesthetic arrangements. Secure your pictures with small, discreet hooks or adhesive bumpers on the bottom edges to keep them stable. Stagger your frames at different heights or angles for visual interest, but guarantee each piece is firmly anchored. Regularly check and adjust the hooks or bumpers to maintain a clean, secure display that looks great and stays in place.
Conclusion
So, now you’ve built your picture ledge shelf—who knew that a few simple steps could turn plain walls into a stylish gallery? Irony’s sweet: all that effort to display your favorite photos and art, only to realize you’ve just created another spot for clutter! But hey, at least your shelves are sturdy enough to hold more than just your pride. Enjoy your new decor—just don’t forget to keep it tidy, or your masterpiece might become a mess!