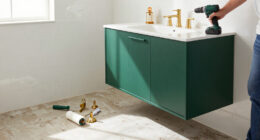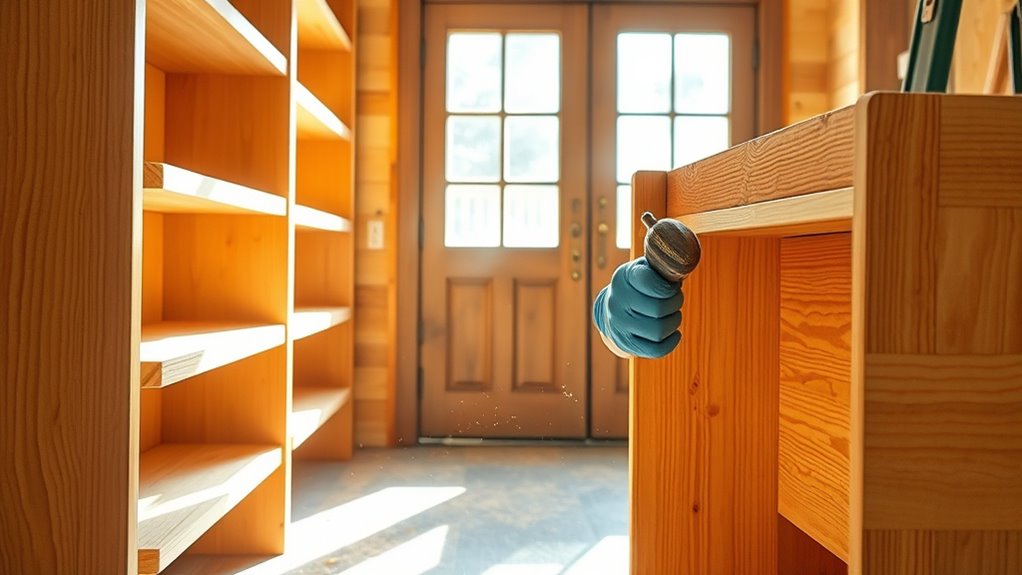

To assemble a wooden shoe rack for the entryway, start by collecting all your tools and materials, ensuring they’re in good condition. Work in a well-lit, spacious area and wear safety glasses and gloves for protection. Measure carefully and use a carpenter’s square to keep pieces aligned. Follow step-by-step instructions, fastening pieces securely with screws and wood glue. Sand rough edges for a smooth finish. If you keep safety and precision in mind, you’ll create a durable, attractive shoe rack—plus some helpful tips await you if you continue.

Get business pricing on tools and workshop supplies
- Business-only prices and quantity discounts
- Tax-exempt purchasing
- Multiple users, one account, clear invoices
Key Takeaways
- Gather all necessary tools, fasteners, and materials, and ensure they are in good condition before starting assembly.
- Follow the manufacturer’s instructions carefully, using a level and measuring tools to ensure proper alignment.
- Work in a well-lit, spacious area, wearing safety glasses and gloves to protect against dust and splinters.
- Assemble the shoe rack step-by-step, securing each part tightly with appropriate fasteners and adhesives for stability.
- Smooth rough edges with sandpaper and double-check the level and sturdiness of the final structure before use.

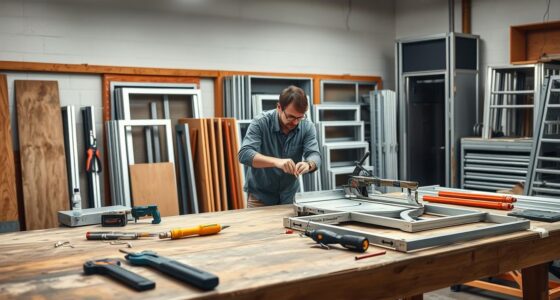
Assembling a wooden shoe rack might seem intimidating at first, but with the right tools and clear instructions, you can complete the project efficiently. Before you embark on this task, it’s essential to prioritize safety precautions to prevent accidents and injuries. Make sure you work in a well-lit area with enough space to move freely. Wear safety glasses to protect your eyes from dust or splinters, and use gloves if handling rough or splintered wood. Keep your workspace tidy by clearing away clutter that could cause trips or falls. Remember, safety should always come first, especially when working with power tools or sharp edges.
Prioritize safety with proper lighting, protective gear, and a tidy workspace for efficient, risk-free assembly.
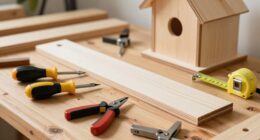
When it comes to tool selection, choosing the right tools makes all the difference in the ease and quality of your assembly. You’ll likely need a cordless drill with a variety of drill bits for making precise holes and driving screws efficiently. A screwdriver is handy for delicate adjustments or tightening screws in tight spaces. A measuring tape or ruler is essential for ensuring accurate placement of shelves and panels, helping you achieve a balanced, professional-looking rack. A carpenter’s square can assist in maintaining right angles, so your rack doesn’t wobble once assembled. Additionally, a level ensures your shelves are perfectly horizontal, preventing items from sliding off. Finishing with sandpaper or a sanding block will smooth rough edges and surfaces, making your rack safer and more visually appealing. Incorporating appropriate fasteners and adhesives can also enhance the stability and durability of your assembled shoe rack.
When selecting tools, opt for quality over quantity. Invest in a good drill that offers variable speed settings, which gives you better control, especially when working with different types of wood. If you don’t already own these tools, consider borrowing from a friend or renting from a hardware store to save costs. Ensure your tools are in good condition—blunt drill bits or worn-out screwdrivers can damage your materials or make assembly more difficult. Keep extra screws, nails, and wood glue on hand to address any issues that might arise during the process.
Taking the time to choose the right tools and follow safety precautions establishes a solid foundation for your project. Proper tool selection not only speeds up the assembly but also helps you achieve a sturdy, durable shoe rack. By working carefully and methodically, you can avoid mistakes and ensure your finished entryway piece is both functional and attractive. Remember, patience and preparedness are key—your effort will pay off when you finally see your crafted wooden shoe rack standing proudly in your entryway, ready to organize your shoes efficiently.
As an affiliate, we earn on qualifying purchases.
Frequently Asked Questions
What Tools Are Required for Assembly?
You’ll need a power drill to make assembly easier and faster. Keep the assembly instructions handy to guarantee you follow each step correctly. A screwdriver, hammer, and measuring tape can also be helpful for precise fitting and alignment. Make sure to gather all the hardware, like screws and nails, beforehand. Using the right tools and clear instructions helps you build a sturdy, attractive shoe rack efficiently.
How Long Does the Assembly Process Take?
The assembly time usually takes about 30 to 60 minutes, depending on your experience and the complexity of the design. If you’re comfortable with DIY projects, you’ll find the assembly difficulty manageable, and the process should go smoothly. Take your time, follow the instructions carefully, and you’ll have your wooden shoe rack ready in no time. Rushing can increase assembly time and difficulty, so stay patient.
Can the Shoe Rack Be Customized for Size?
Absolutely, you can customize the shoe rack for size! Imagine having shoe rack dimensions tailored perfectly to fit your entryway—no more awkward gaps or clutter! With customizable storage, you can design it to hold everything from tiny flats to towering boots. Just measure your space and needs, then adjust the dimensions accordingly. This way, your shoe rack becomes a seamless, personalized storage solution that transforms your entryway into pure organization paradise.
Is the Assembly Suitable for Beginners?
Yes, the assembly is suitable for beginners because it features an easy beginner, step-by-step process. You’ll find clear instructions and simple tools that make putting it together straightforward. The design minimizes complexity, so you don’t need advanced skills or extra help. Just follow each step carefully, and you’ll have your shoe rack assembled quickly and confidently, ready to organize your entryway efficiently.
How Should the Finished Rack Be Maintained?
To maintain your finished wooden shoe rack, regularly clean your shoes to prevent dirt buildup. Use a damp cloth to wipe down the rack itself and avoid excessive moisture. Apply wood treatment or polish every few months to keep the wood looking fresh and protected. For shoe cleaning, keep shoes dry and free of mud before placing them on the rack, ensuring it stays in good shape longer.
Conclusion
Now that you’ve assembled your wooden shoe rack, you’re all set to keep your entryway perfectly organized—until the next rainy day, when muddy shoes quickly undo your neatness. Ironically, you spent so much time building it just to have it filled with shoes in chaos again. But hey, at least you can confidently say you built something with your own hands—now if only your muddy shoes could do the same!
Fall Picks
fall essentials
As an affiliate, we earn on qualifying purchases.