
To build your own wooden flute, start by selecting a dense, dry hardwood or elderberry branch with an inner diameter of at least 15mm. Carefully hollow out and smooth the tube’s interior, drill a sound chamber, and shape a mouthpiece. Then, drill and position tone holes evenly along the tube, testing and adjusting their size for correct pitch. Fine-tune your instrument by evaluating sound and making precise modifications—keep exploring, and you’ll master crafting your perfect flute.
Key Takeaways
- Choose dense, dry hardwoods like elderberry branches or cherry for optimal sound quality and stability.
- Hollow and smooth the wood’s inner lumen, ensuring uniform thickness and removing loose debris for clear airflow.
- Drill and enlarge sound and tone holes gradually, testing pitch frequently with a tuner to achieve accurate tuning.
- Create airtight chambers and secure sound mechanisms, such as the bird in the sound hole, for consistent tone production.
- Fine-tune finger holes and overall length, then assemble and seal all components carefully for optimal playability.
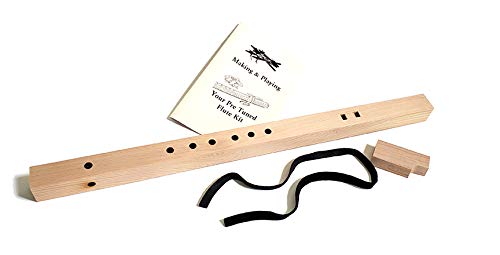
Stellar Pre-Tuned Flute Making Kit Key of G- DIY Cedar Wood Carving Kit
As an affiliate, we earn on qualifying purchases.
As an affiliate, we earn on qualifying purchases.
Choosing the Right Wood and Gathering Materials
When choosing the wood for your flute, it’s essential to select dense hardwoods like cherry, walnut, or red cedar that produce a clear, resonant sound. These materials are ideal because their density guarantees durability and good acoustic properties. Make sure the wood is completely dry—preferably freshly felled or air-dried—to make boring and carving easier. Look for branches or blocks at least 30cm long with an inner diameter of 15mm or more, especially if you’re tuning for G. Steer clear of soft, rotten, or barkless wood, as it tends to be unstable and may not produce a consistent tone. Collect natural materials like elderberry branches or similar hardwoods, ensuring they’re free from cracks, knots, or deformities to guarantee a quality instrument. Proper drying and selection help prevent structural integrity issues that could compromise your project, and understanding wood properties can improve your crafting success.
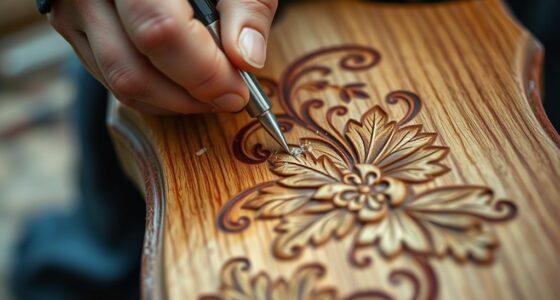
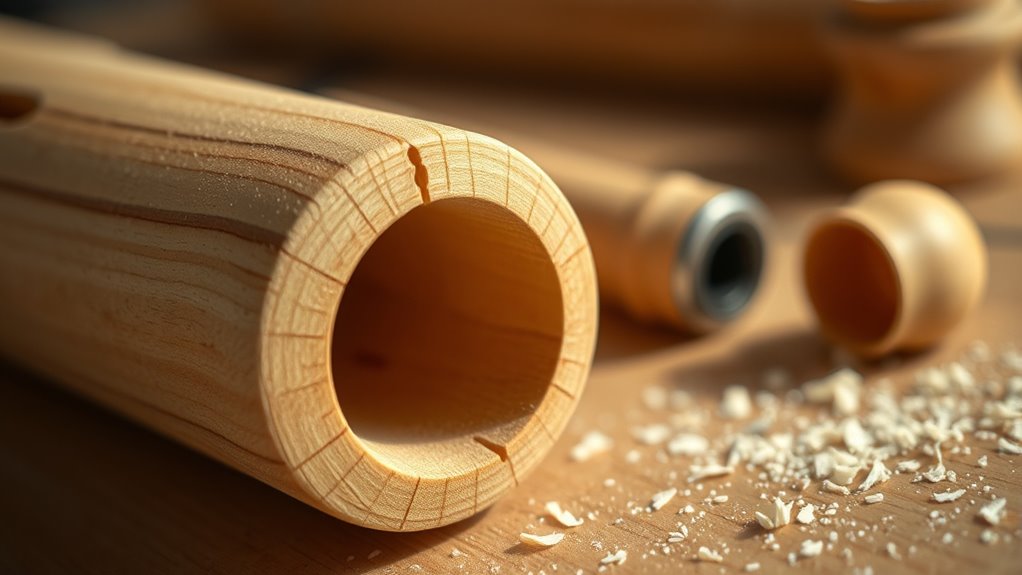
Preparing and Carving the Hollow Tube
Start by selecting an elder branch with a smooth, fresh bark and an inner diameter of at least 15mm. Carefully hollow out the soft core with a thin stick or drill, making sure to remove loosened material regularly for a smooth interior. Then, smooth the inner walls with a scraper or straight-cut stick to guarantee good airflow and consistent sound quality. Additionally, ensuring the design complexity of your flute is appropriate can influence the ease of construction and final sound. Incorporating creative techniques can further enhance the unique tone and character of your handmade instrument. Utilizing email marketing strategies can also help share your craftsmanship journey with a broader audience and gather feedback. Regularly monitoring payment security measures during your project can help protect your work from potential fraud or theft. Moreover, selecting vetted materials from trusted sources ensures durability and safety for your finished flute.
Selecting Suitable Wood
To prepare and carve the hollow tube, select a soft, fresh elderberry branch that’s at least 30 centimeters long and has an inner diameter of around 15 millimeters for a G-tuned flute. Avoid branches with rough bark, uneven inner softness, or those that are too thick or thin, as these can affect the musical sound quality and ease of carving. Harvest during or shortly after the growing season for ideal moisture content, making hollowing easier. Confirm the branch has a growth node about 10 centimeters from one end; this will serve as the mouthpiece and help isolate the sound chamber. Check the inner lumen for uniform softness and smoothness, avoiding loose or hard material that complicates hollowing. Ensuring proper seed germination conditions can also influence the overall health and resilience of the wood during carving. Additionally, selecting wood with proper moisture content helps prevent cracking or warping during the crafting process, especially since self watering plant pots often require consistent moisture levels to maintain their integrity. Proper wood selection is crucial for achieving a clear and resonant tone in your flute.
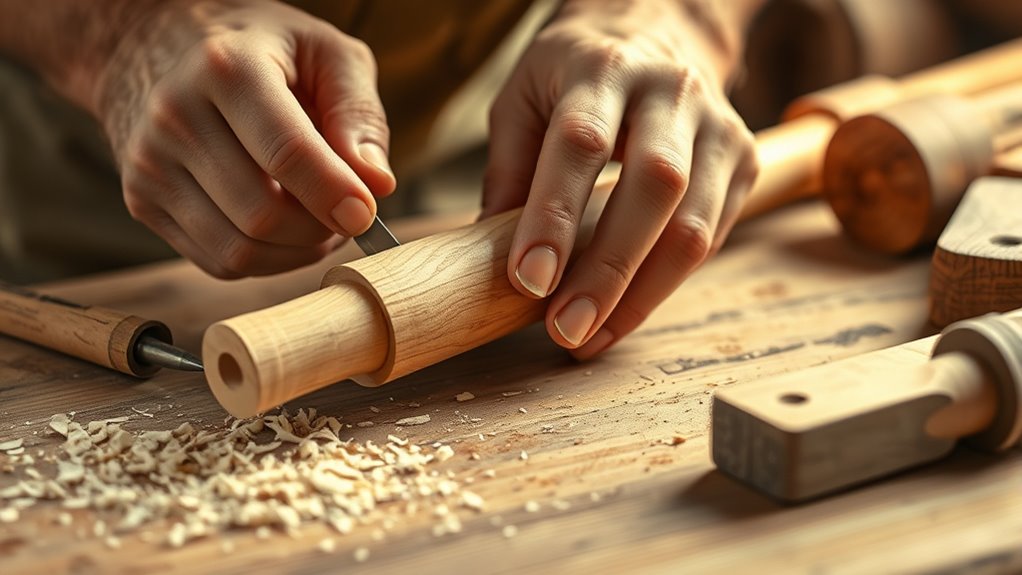
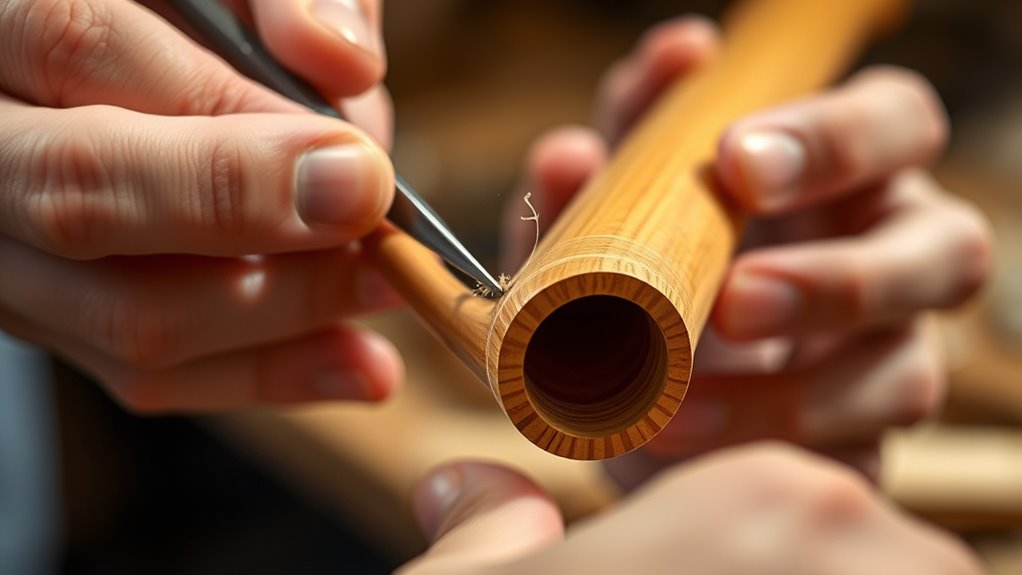
Hollowing the Tube
Have you ever wondered how to hollow out your elderberry branch efficiently? To create the sound chamber, start by drilling a small, straight hole through the center using a thin stick or specialized drill. Regularly remove loosened material to keep the hole accurate and straight. Use a straight-cut stick or scraper to carefully smooth the inner walls, ensuring a consistent surface for sound production. Begin the hollowing process by creating a notch at the tip to prevent slipping and help guide your drilling. Gradually enlarge the hollow by removing soft material inside, aiming for an inner diameter of at least 15mm for a G-tuned flute. Regularly check the hollow’s dimensions and smoothness to ensure a uniform sound chamber that produces clear, resonant tones. Employing appropriate tools or techniques can make the hollowing process more efficient and precise, especially considering the importance of sound quality in building a functional flute. Incorporating automation in crafting can further enhance accuracy and save time during the hollowing process, which is crucial for achieving optimal acoustics.
Smoothing and Preparing
Once the hollowed-out elderberry tube is drilled, focus on smoothing its inner walls to guarantee a clear and resonant sound. You want the inner surfaces to be free of rough spots and debris, ensuring smooth airflow. To do this, carefully use a straight, narrow stick or scraper to smooth the inner walls. Regularly check the smoothness with your finger or a straight edge, feeling for any burrs or irregularities. Here are the key steps:
- Remove all loose material and irregularities from the inner walls.
- Carefully smooth the entire length of the hollow tube, maintaining a consistent thickness.
- Clear out any remaining debris or shavings to keep the airflow path clean.
- Ensuring a consistent inner surface helps promote optimal vibration and enhances sound quality. Proper maintenance of your flute can also help sustain its sound quality over time. Additionally, taking care to foster a consistent airflow can enhance the overall sound and playability of your flute. Incorporating knowledge about machine learning algorithms can inspire innovative techniques for shaping and smoothing the instrument’s interior, leading to more precise craftsmanship.
Creating the Air Chamber and Sound Mechanism
How do you create an effective air chamber and sound mechanism for your wooden flute? First, hollow out the air chamber by drilling a straight, smooth bore through the elder branch with a thin stick or specialized drill. This guarantees an airtight, resonant space. Insert a wooden plug at the branch node to separate the air chamber from the sound chamber, drilling small holes before and after the plug to control airflow and sound production. For the sound mechanism, carve a precise notch or “bird” into a separate piece of wood, which directs air from the chamber through the sound hole. Secure it with a string or ribbon for stability. Proper sealing, shape, and gradual enlargement of holes are essential for tuning and producing clear, stable tones from your wooden flute. Additionally, paying attention to flushing mechanisms can help ensure the overall functionality of your instrument if it incorporates any internal channels or openings. Incorporating safety measures when working with power tools and sharp instruments is also crucial to prevent accidents during construction.
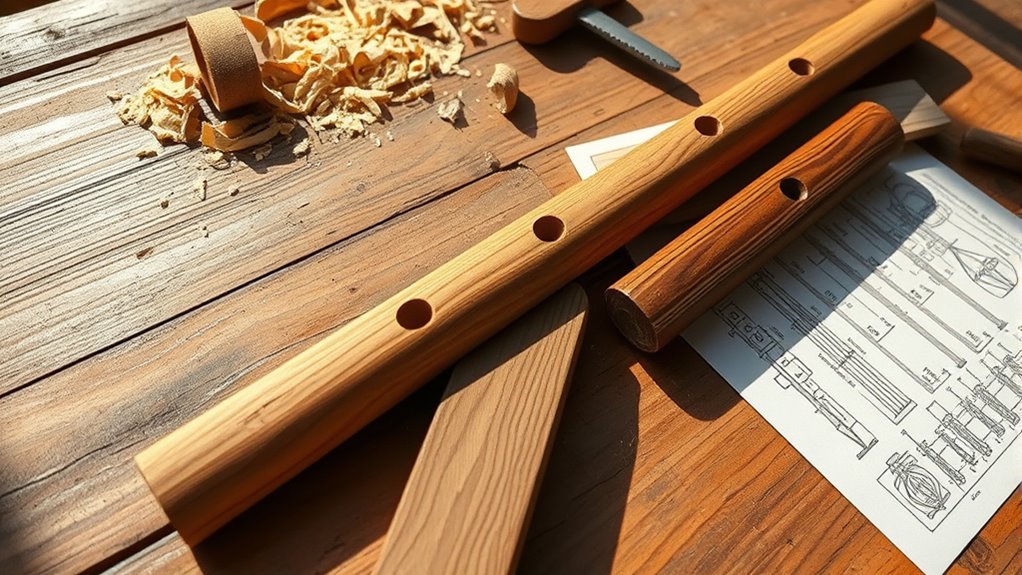
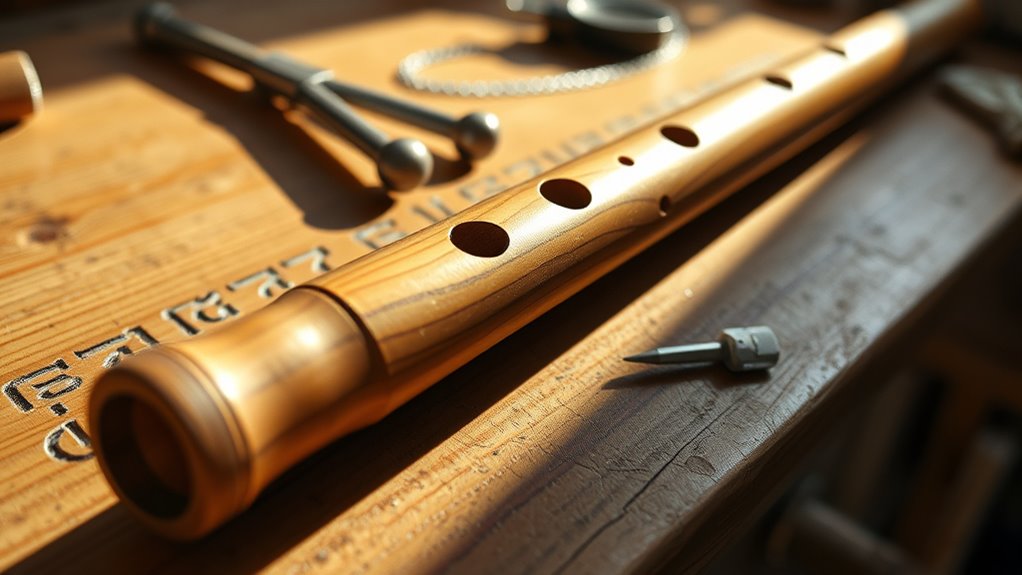
Drilling and Positioning the Tone Holes

Start by marking each hole’s position carefully, about 3-4 cm from the midpoint for the third hole, using precise measurements or tuning tools. Drill small holes first, around 5mm, and gradually enlarge them, testing pitch and sound quality as you go. Be sure to smooth and bevel each edge afterward to prevent air leaks and make certain of clear sound.
Precise Hole Placement
Accurately placing the tone holes is essential for achieving the correct pitch and intonation on your flute. Precise hole placement ensures your Native American flutes produce the right sound. To visualize, consider these steps:
- Measure about 3-4 cm from the midpoint toward the end for the third hole.
- Place the second hole 2.5-3 cm from the third hole, maintaining balanced spacing.
- Position the first hole roughly 2.5-3 cm from the second, aligning with your desired pitch.
If you’re making a 6-hole flute, insert the additional hole between holes 3 and 4, keeping consistent spacing. To get perfect accuracy, use tools like the NAFlutomat online calculator, inputting your flute’s specifics—bore diameter, key, temperature—to determine precise hole locations. This careful planning guarantees your Native American flutes sound harmonious.
Gradual Drilling Technique
To guarantee precise tone holes, you should begin drilling with small pilot holes around 5mm in diameter at the marked positions. Use a drill bit suitable for wood and drill carefully to avoid damaging the material. With the pilot holes in place, proceed with gradual drilling, enlarging each tone hole incrementally. Test the pitch and tone after each increase, ensuring you maintain proper tuning. Enlarge the holes from the center outward and keep consistent spacing based on measurements or online calculators like NAFlutomat. Regularly check the pitch with a tuner or tuning app as you go. Fine-tune each hole by adjusting size or reshaping edges until the notes are clear and in tune. This gradual drilling technique helps you achieve accurate, well-placed tone holes for your wooden flute.
Tuning the Flute and Adjusting Pitch
Tuning your wooden flute involves precise adjustments to both the length of the sound chamber and the size of the finger holes to produce the correct pitch. The fundamental tone, often G or F, is set by the chamber length, where shortening raises the pitch and lengthening lowers it. To fine-tune, you’ll adjust finger holes to match the desired pitch, since enlarging a hole raises the note when open. Using modern tools like smartphone apps or electronic tuners helps measure the pitch and guide your modifications. Keep these steps in mind:
- Measure the fundamental tone with a tuner.
- Adjust finger hole size incrementally for pitch accuracy.
- Fine-tune the sound chamber length if needed.
Adding Finger Holes and Final Refinements
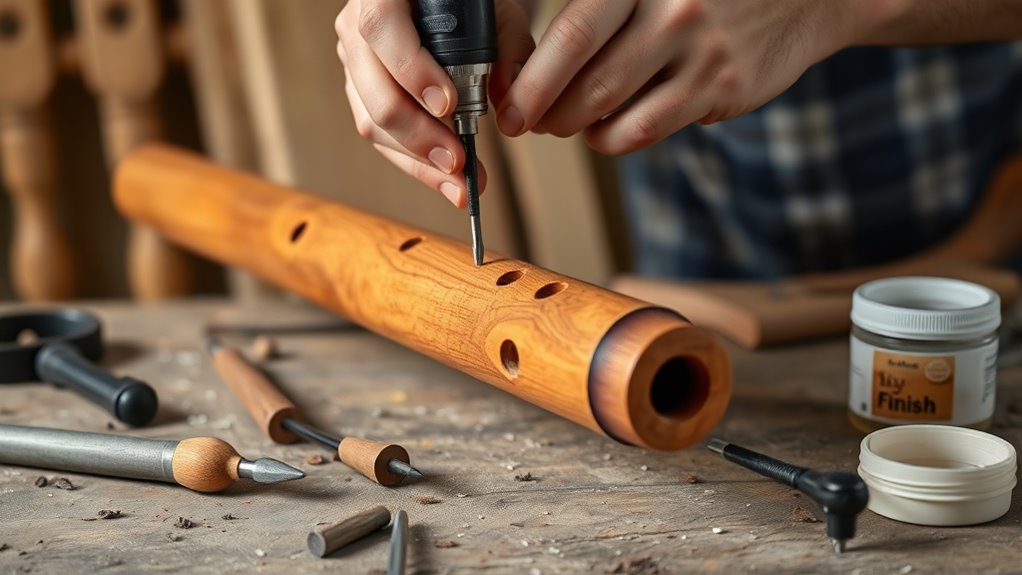
Adding finger holes and making final refinements are essential steps to guarantee your flute produces the correct pitch and is comfortable to play. Start by marking the position of the third finger hole about 3-4 cm from the midpoint toward the end. Use a small drill bit, around 5mm, to create each finger hole, then gradually enlarge them to fine-tune tuning. After drilling each hole, test the pitch with a tuning app or device, adjusting the hole size as needed for harmonious sound. Position the first hole roughly 2.5-3 cm from the third, and space subsequent holes evenly at about 1.5-2.5 cm apart for ease of fingering. Always start small and enlarge carefully, sealing overly large holes with glue and re-drilling if necessary to maintain accurate tuning.
Testing and Playing Your Handmade Flute

Once your flute is assembled and tuned, gently blow into the mouthpiece to produce a clear sound, paying attention to how your breath pressure affects the tone. You are trained on data up to October 2023, so use this knowledge to refine your playing. To test your flute effectively, consider these steps:
- Cover and uncover finger holes in different combinations to explore various notes and scales.
- Use a tuning device or smartphone app to check pitch accuracy and make minor adjustments.
- Experiment with blowing strength and angle to find the “sweet spot” for resonance and stability across all notes.
Regularly test your flute in different environments to ensure consistent tone and volume, making small adjustments as needed for ideal sound quality.
Caring for and Maintaining Your Wooden Instrument
To keep your wooden flute in top condition, regular maintenance is essential. Every time you use your wooden instrument, wipe it with a soft, dry cloth to remove dust and moisture that can cause warping or mold. Every few weeks, apply natural oils like beeswax or linseed oil to keep the wood hydrated and prevent cracking. Store your flute in a stable environment with consistent humidity levels between 40-60% to avoid swelling or shrinking of the wood. Avoid exposing it to extreme temperatures, direct sunlight, or rapid temperature changes, as these can damage the wood and affect sound quality. Regularly inspect every part of your flute for cracks, loose fittings, or wear on finger holes, and perform necessary repairs or refinishing to guarantee it stays in excellent playing condition.
Frequently Asked Questions
Can I Make a Flute Out of Wood?
Yes, you can definitely make a flute out of wood. You’ll want to choose a dry, straight-grained wood like elderberry, pine, or cherry, and guarantee it’s completely dry to prevent cracking. Properly hollow and drill the right holes, considering shape and size, for a good sound. Using natural, untreated wood and following careful techniques will help you craft a beautiful, playable wooden flute tailored to your preferences.
How to Make a Flute for a School Project Step by Step?
Imagine creating a musical gift for your school project. First, pick a fresh elderberry branch, then carefully split and hollow it out. Mark where your finger holes will go, and drill small holes, enlarging them for the perfect sound. Carve a sound hole and attach an air channel, sealing everything tightly. Finally, use a tuning app to adjust and refine your flute until it produces the melody you desire.
What Wood Is Best for a Flute?
When choosing wood for your flute, opt for dense, stable hardwoods like cherry, maple, or walnut, as they produce clear, resonant tones. Beginners might find softwoods like pine or cedar easier to carve, but they may not sustain sound as well. Make sure the wood is fully dry and seasoned to prevent cracking. Select pieces with tight grain and minimal knots for the best airflow and tuning, ensuring a quality sound.
Are Flutes Easy to Build?
Indeed, in the grand scheme of craftsmanship, building a flute is quite accessible. You handle simple tools like a drill and carving knives, especially with pre-dried, straight-grain wood. Patience and precision matter most when hollowing the tube and drilling holes. While fine-tuning pitch takes some trial and error, beginners can achieve a functional, beautiful instrument with proper guidance and careful work, making it a rewarding and doable DIY endeavor.
Conclusion
Building your own wooden flute is like crafting a musical treasure from raw wood. With patience and care, you create an instrument that sings with your unique voice. Keep experimenting and refining, and you’ll enjoy playing your handmade masterpiece for years to come. Just as a gentle breeze brings a melody to life, your dedication transforms simple wood into beautiful music. Happy crafting—your musical journey has only just begun!