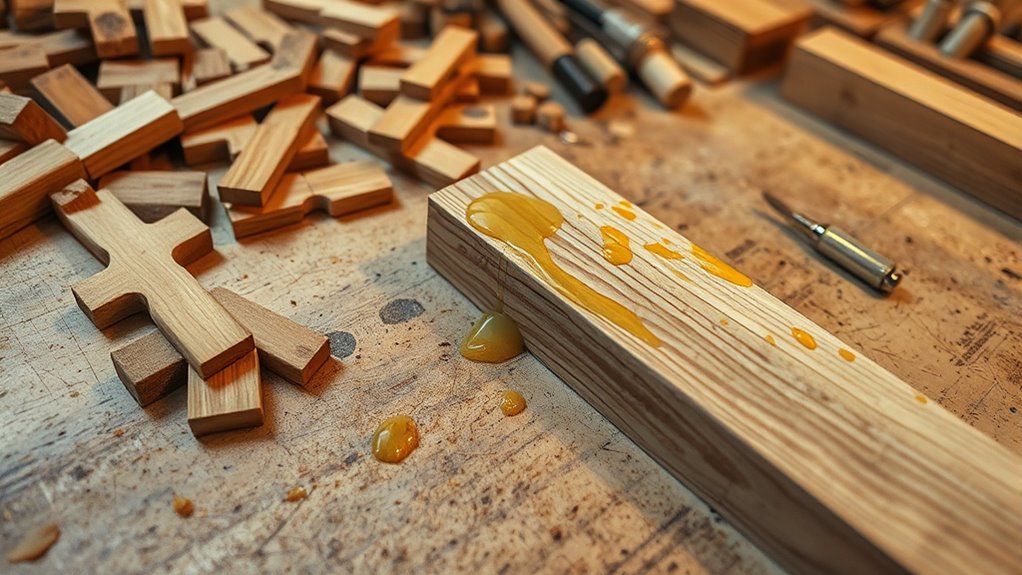
A failed glue-up teaches you that preparation is everything. You may rely on clamps and glue, but if your surfaces aren’t clean, dry, and perfectly fitted beforehand, the joint will likely fail. Proper surface prep, adhesive choice, and fitting guarantee your clamps will do their job effectively. Skipping these steps leads to weak, misaligned joints. Mastering these basics saves time and frustration. Keep exploring these principles, and you’ll improve your woodworking projects markedly.
Key Takeaways
- Proper surface preparation and fitting are crucial; neglecting them leads to weak joints despite good clamping.
- Using appropriate adhesives and understanding their drying times prevent misalignments and weak bonds.
- Even pressure and correct clamping techniques are ineffective if surfaces aren’t clean and well-prepared.
- Failures often result from rushing the process; patience during curing ensures stronger, more durable joints.
- Attention to detail in all steps—preparation, adhesive choice, and clamping—avoids costly mistakes and rework.
Have you ever experienced a glue-up failure that set back your project? It’s frustrating, isn’t it? You spend hours shaping and fitting your pieces, only to watch everything fall apart or come loose once the glue dries. That’s when you realize that proper preparation could have made all the difference. One of the most critical lessons I learned was the importance of mastering clamping techniques and choosing the right adhesive.
When I first started woodworking, I underestimated how essential clamping techniques are. I thought that simply applying pressure with my hands or a few clamps would suffice. But I quickly discovered that uneven pressure or insufficient clamping can cause gaps, misalignments, or weak joints. Proper clamping distributes pressure evenly across the entire glue joint, ensuring a strong bond. I learned to invest in a variety of clamps and to use them strategically, applying enough force without damaging the wood. Sometimes, I used cauls or scrap wood blocks to prevent clamps from denting delicate surfaces. Clamping pressure needs to be firm but gentle enough to avoid squeezing out too much glue or deforming the workpieces. Patience is key; I keep the clamps in place until the adhesive fully cures, which varies depending on the glue type.
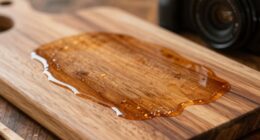
Speaking of adhesive selection, I used to choose glue based solely on what was readily available. That was a mistake. Different projects demand different adhesives. For example, I now know that for stronger, water-resistant joints, I prefer polyurethane or epoxy adhesives over standard PVA glues. The right adhesive not only bonds better but also gives me more leeway during assembly. I’ve also learned to read labels carefully, considering drying times and open times, so I can position parts accurately before the glue starts to set. Using the proper adhesive for the material and application reduces the risk of joint failure.
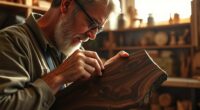
Preparation extends beyond just choosing the right glue and clamps. I now ensure all surfaces are clean, dry, and properly fit before gluing. No amount of clamping or the best adhesive can compensate for poorly prepared surfaces. I take the time to sand and fit pieces tightly, minimizing gaps and ensuring maximum contact. This way, I reduce the risk of weak spots or misalignments.
Ultimately, those failed glue-ups taught me that success hinges on thorough preparation. Clamping techniques and adhesive selection aren’t just technical details—they’re fundamental to achieving durable, professional results. When I pay attention to these details, my projects turn out stronger, more precise, and far less frustrating.
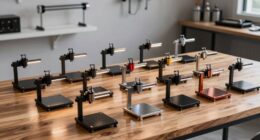
woodworking clamps set
As an affiliate, we earn on qualifying purchases.
As an affiliate, we earn on qualifying purchases.
Frequently Asked Questions
How Can I Prevent Glue-Up Failures in Future Projects?
To prevent glue-up failures, you should focus on proper surface preparation and clamp techniques. Make sure surfaces are clean, dry, and smooth before applying glue. Use appropriate clamps to evenly distribute pressure, avoiding over-tightening that could cause warping. Test your setup beforehand to guarantee proper alignment, and follow manufacturer instructions. These steps will help you achieve stronger bonds and successful projects every time.
What Tools Are Essential for Successful Woodworking Glue-Ups?
You need essential tools like quality clamps and a straight edge for successful glue-ups. Focus on proper clamp techniques, ensuring even pressure across the joint, and always prioritize surface preparation—sanding and cleaning surfaces thoroughly. These steps prevent gaps and weak bonds. Having the right clamps, such as bar clamps or C-clamps, combined with careful surface prep, helps you achieve tight, durable joints every time.
How Do I Choose the Right Type of Glue for Different Materials?
Choosing the right glue is like finding the perfect dance partner; it must move in harmony with your material. You’ll want to contemplate adhesive characteristics, such as drying time and strength, and make certain material compatibility. For wood, PVA glues work well, but for plastics or metals, epoxy or cyanoacrylate might be your best bet. Matching the adhesive to your project’s needs ensures a bond that holds tight through every twist and turn.
What Safety Precautions Should I Take During Glue-Ups?
During glue-ups, you should always wear safety goggles to protect your eyes from splashes and fumes. Guarantee proper ventilation by working in a well-ventilated area or using fans to disperse harmful vapors. Keep your workspace clean, follow manufacturer instructions, and avoid inhaling fumes directly. Taking these safety precautions helps you prevent accidents and health issues, making your project safer and more enjoyable.
How Long Should I Wait Before Removing Clamps?
Remember, haste makes waste. You should wait for the right clamp removal timing, which depends on the glue curing time. Typically, you’ll want to keep the clamps on for at least as long as the glue manufacturer recommends—usually 30 minutes to several hours. However, for a stronger bond, it’s best to leave them on overnight. Rushing clamp removal can weaken your project, so patience pays off.
Gorilla Wood Glue; 8 Ounce Bottle; Natural Wood Color; (Pack of 1)
Complete Projects Fast: Requires only 20-30 minutes of clamp time; fully cured in 24 hours. Quickly creates an…
As an affiliate, we earn on qualifying purchases.
As an affiliate, we earn on qualifying purchases.
Conclusion
So, next time you’re faced with a project, remember that even failures teach you something valuable. Proper preparation isn’t just a step; it’s the backbone of success. When things go wrong, use it as a lesson to tighten your process. After all, a stumble now and then is just part of the journey. Keep your eyes on the prize, learn from your mistakes, and you’ll come out stronger—because sometimes, you have to break a few eggs to make an omelette.
cauls for woodworking
As an affiliate, we earn on qualifying purchases.
As an affiliate, we earn on qualifying purchases.
woodworking sandpaper set
As an affiliate, we earn on qualifying purchases.
As an affiliate, we earn on qualifying purchases.