To restore old wooden furniture, start by carefully evaluating its condition, checking for damage, loose joints, or worn surfaces. Set up a well-ventilated workspace with the right tools, then safely remove the old finish using chemical strippers and sanding. Repair any cracks or veneer damage, then apply stain or paint for your desired look. Finish by sealing to protect your work, ensuring it lasts. Follow these steps closely to bring new life to your furniture, and you’ll discover more tips along the way.
Key Takeaways
- Assess furniture condition and identify damage or finish issues before starting restoration.
- Safely remove existing finish using chemical strippers and proper scraping techniques.
- Sand surfaces gradually with appropriate grit sandpapers to achieve a smooth, even base.
- Repair cracks, holes, or veneer damage with fillers, glues, or replacement pieces.
- Apply protective sealants and maintain furniture regularly to preserve the restored surface.
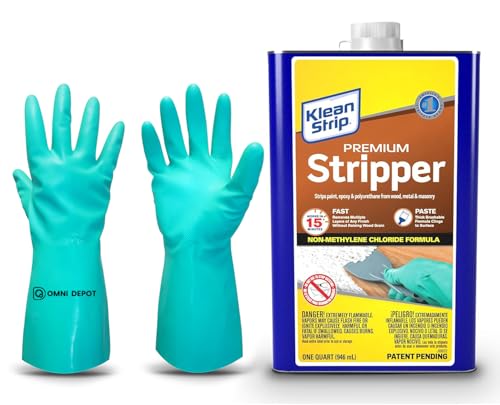
Paint & Varnish Remover Klean Strip Premium Stripper– Fast-Acting Stripper for Epoxy, Polyurethane, Wood, Metal & Masonry – Includes Protective Omni Depot Gloves – 1 QT
🧪 Fast & Powerful Paint Removal – Quickly strips epoxy, polyurethane, varnish, and multiple layers of paint from…
As an affiliate, we earn on qualifying purchases.
As an affiliate, we earn on qualifying purchases.
Assessing the Furniture’s Condition

Before you begin restoring old wooden furniture, it’s vital to assess its overall condition carefully. Start by inspecting the wood for structural issues, such as loose joints or major damage that might need repair. Look closely at the surface for scratches, dents, gouges, or water damage, which may require filling or sanding. Check if the existing finish is intact or if it’s worn or peeling, indicating the need for removal using sanding or a chemical stripper for proper adherence of new finish. Identify any broken parts or loose hardware to plan repairs. Also, determine the type of wood and finish to choose suitable techniques, avoiding damage to delicate surfaces like veneer. This thorough assessment sets the foundation for a successful restoration. Additionally, understanding the HEPA filtration technology can help you select appropriate air purifiers to maintain a clean environment during the restoration process. Being aware of industry transformations, such as advances in restoration techniques and tools, can further improve the quality and efficiency of your project. Incorporating Glycolic Acid benefits knowledge can also assist in preparing and treating certain wood surfaces to enhance their appearance and longevity. Moreover, considering personal safety precautions during restoration can help prevent health issues related to dust and chemical exposure. It is also helpful to stay informed about new cleaning products that can make the process safer and more effective.

Total 56 PCS Hand Sanding Block Set- 16 PCS Contoured Profile Sander Block + 40 Sheet Sandpaper Kit – Interchangeable Assorted Convex & Concave Shapes for Moldings,Woodworking, Auto Paint and Crafts
Versatile sanding set: Featuring 16 pieces of assorted shape sanding blocks,and 40 Sheet Hook & Loop Sandpaper(5 Sheets…
As an affiliate, we earn on qualifying purchases.
As an affiliate, we earn on qualifying purchases.
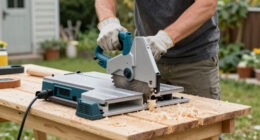
Preparing Your Workspace and Gathering Tools
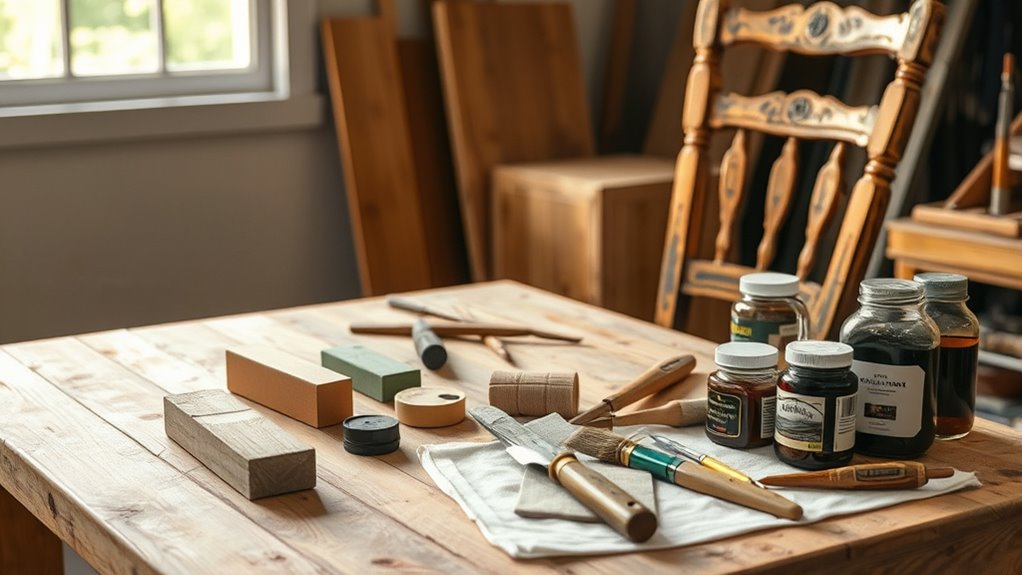
Start by choosing a well-ventilated outdoor area or covered porch, and set up drop cloths to contain dust and overspray. Gather all essential tools, including sandpapers, brushes, a tack cloth, vacuum, and protective gear like gloves and masks. Additionally, understanding precious metals dealer reviews can help you choose the best materials or accessories for your project. To ensure safe and effective work, consider the skin protection measures outlined in tanning safety guidelines. Moreover, selecting appropriate cleaning supplies can help prepare the wood surface for refinishing, ensuring optimal results. Incorporating mindfulness techniques into your workspace setup can foster a calm and focused environment, enhancing your restoration process. Additionally, utilizing digital literacy programs can also assist seniors in safely using their devices during projects and communication.
Setting Up Work Area
Creating an ideal workspace is essential for a smooth furniture restoration process. Choose a well-ventilated area, such as outdoors or a covered porch, to prevent fumes from building up. Use drop cloths to protect surfaces from dust, paint, and spills. Organize your tools—sandpapers, brushes, safety gear—in accessible containers nearby, so everything is within reach. Make certain adequate lighting with natural sunlight or bright LED work lights to see surface details clearly. Inspect the furniture thoroughly for damage or repairs needed, noting areas that require special attention or filling. Setting up your space with these essentials helps streamline your work and keeps the area safe and clean, making the restoration more efficient and enjoyable. Additionally, consider including portable lighting options to ensure proper illumination in darker work areas. Incorporating proper ventilation is also vital to safely disperse fumes from paints and finishes, ensuring a healthier workspace. To further enhance your setup, ensure that clutter is minimized to prevent accidents and improve workflow efficiency. Keeping the workspace clean and organized also aligns with best practices for safety during restoration, protecting you from potential hazards. Remember that a well-prepared workspace environment can significantly impact the quality and ease of your furniture restoration.
Gathering Necessary Supplies
Have you gathered all the essential supplies before beginning your furniture restoration? Start by collecting the right tools, such as sandpaper with grits from 150 to 320 for proper smoothing, along with brushes and applicators for finishing. Safety equipment like gloves and masks is vital to protect yourself from dust and fumes. Prepare cleaning supplies, including tack cloths, dish soap, water, and a damp rag, to thoroughly clean the surface after sanding and repairs. Make certain your workspace is well-ventilated, using drop cloths or plastic sheeting to contain dust and overspray. Additionally, incorporating essential oils can help in creating a pleasant environment and may aid in air purification during your project. Proper disposal habits are also important to prevent clogs and debris from affecting your workspace and future projects. Including sound healing techniques can enhance your focus and relaxation during detailed tasks. Finally, choose your finishes—water-based polyacrylic or oil-based varnishes—and gather all necessary applicators. Incorporating automation technologies can help streamline your restoration process and improve precision. Having everything ready will streamline the restoration process and give you a safe, efficient workspace.

Boncart Wood Filler, 6.15 oz Paintable Wood Putty, Easy to Sand, Shrink & Crack Resistant, Quick Repair for Cracks, Holes and Damage (White)
Wood Repair Kit: Boncart Wood Filler is a high-performance filler material designed for wood surface repair. It is…
As an affiliate, we earn on qualifying purchases.
As an affiliate, we earn on qualifying purchases.
Removing the Old Finish Safely
To remove the old finish safely, begin by applying a chemical stripper in gel, liquid, or spray form directly onto the surface. Use a thick, even layer to loosen the old finish effectively. Follow the manufacturer’s instructions, typically waiting 15–30 minutes for the stripper to work. Once the time’s up, carefully scrape off the softened varnish or paint with a plastic or metal scraper, taking care not to damage the wood. For stubborn residue or intricate areas, soak steel wool in stripper or mineral spirits to aid removal. After stripping, thoroughly clean the surface with mineral spirits or a damp cloth to eliminate any residual chemicals. This thorough cleaning guarantees a smooth surface for sanding and finishing later on. Additionally, ensure proper safety precautions such as working in well-ventilated areas and wearing protective gear during chemical stripping. Using the right oil for cleaning and maintaining your tools can help prolong their lifespan and ensure optimal performance, especially when preparing surfaces for repainting. Being aware of annuity options can help you plan for a secure financial future, especially in retirement. Furthermore, choosing the appropriate paint removal tools can make the process more efficient and less labor-intensive. Recognizing store hours can also be helpful if shopping for supplies at local stores to ensure availability and plan accordingly.
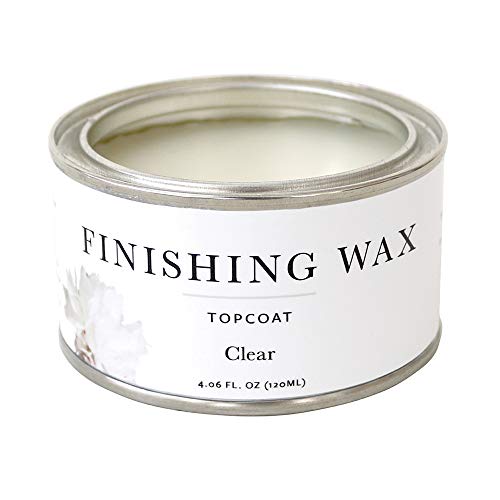
Jolie Finishing Wax – Protective topcoat Paint – Use on interior furniture, cabinets, walls, home decor and accessories – Odor-Free, Non-Hazardous – Clear – 120 ml
Durable Protection: Seals and protects interior furniture, cabinetry, and home decor. Suitable for painted, stained, or raw wood…
As an affiliate, we earn on qualifying purchases.
As an affiliate, we earn on qualifying purchases.
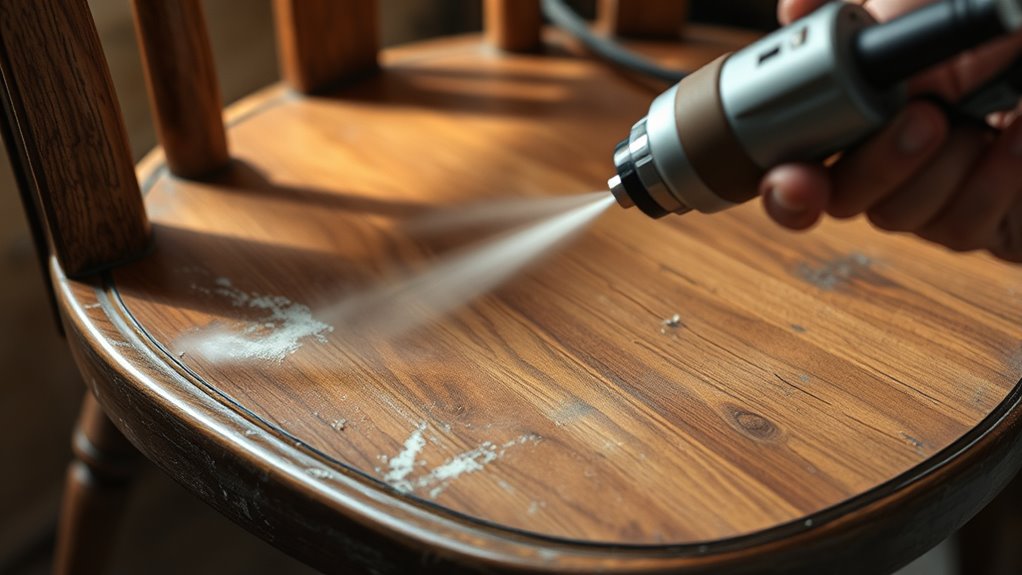
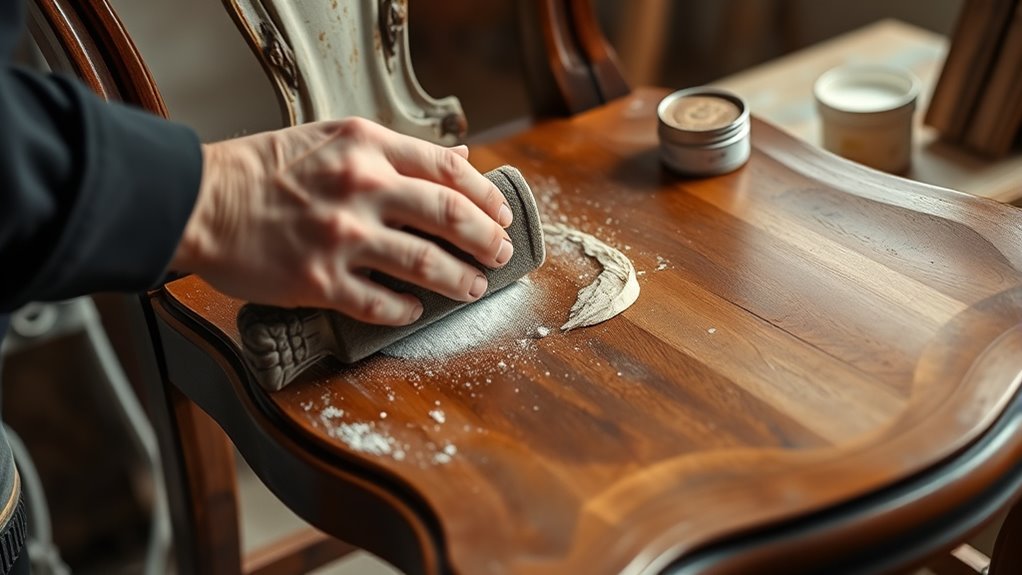
Sanding and Smoothing the Surface
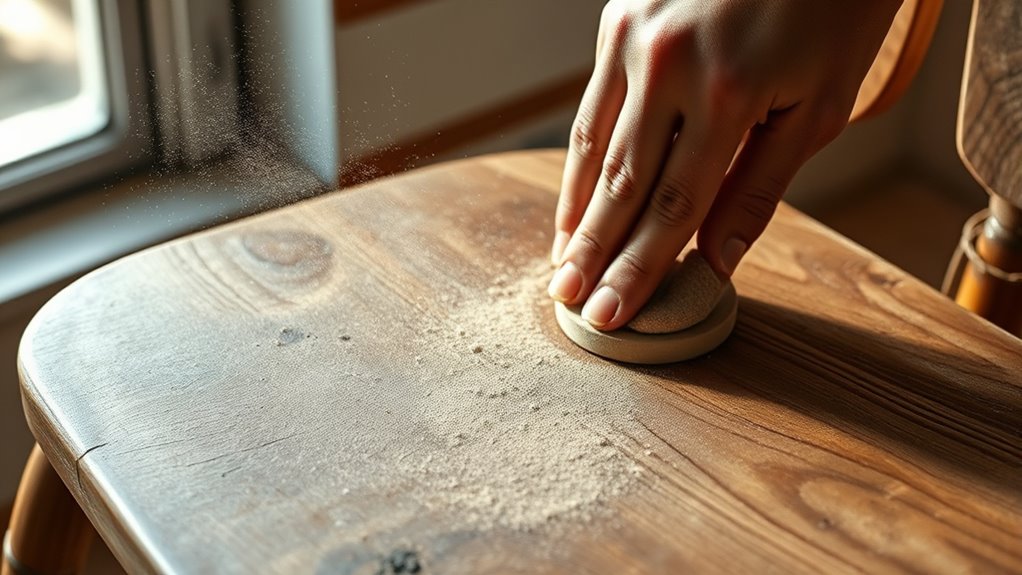
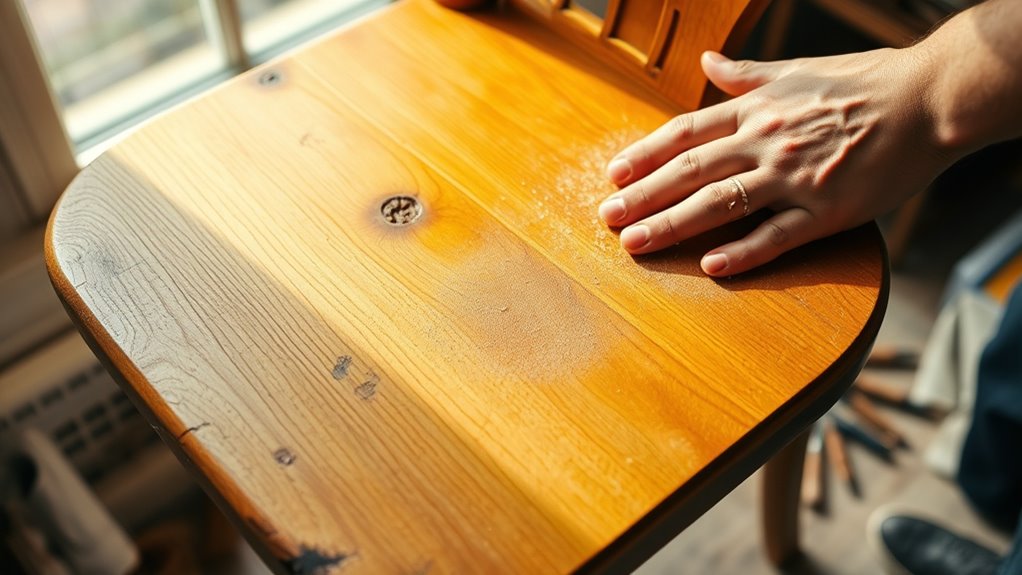
Sanding and smoothing the surface is a crucial step to guarantee your furniture has a flawless finish. Begin with a coarse grit sandpaper, around 80-100, on an orbital sander to remove any remaining finish and shape the wood. Progress gradually to finer grits, up to 220-320, to create a smooth surface free of scratches. Always sand with the grain of the wood to prevent swirl marks and scratches that can show through your final finish. For detailed or curved areas, use sanding blocks, foam pads, or wrap sandpaper around plastic wrap to match contours. Regularly wipe the surface with a damp cloth to remove dust and check the smoothness before moving to the next grit. This careful process ensures a clean, even surface ready for finishing.
Repairing Damage and Imperfections
Start by carefully inspecting your furniture for cracks, holes, or damaged veneer, marking these spots for repairs. Use a suitable wood filler to fill in imperfections, applying it smoothly and allowing it to cure fully before sanding flush. Once the repairs are complete, clean the surface thoroughly to prepare for the next steps in restoring your piece.
Filling Cracks and Holes
Before filling cracks and holes, make sure to clean the damaged area thoroughly to remove dust, grease, or loose debris. This guarantees a strong bond for the wood filler and helps you achieve a seamless repair. When repairing cracks, choose a wood filler or epoxy that matches your furniture’s wood color and suits the size and depth of the damage. Use a putty knife to press the filler into the gaps, slightly overfilling to prevent shrinkage. Allow it to cure fully according to the manufacturer’s instructions. Once hardened, sand the area with fine-grit sandpaper to blend it smoothly into the surface. This process is essential for restoring furniture’s original appearance and preparing it for finishing touches. Proper filling and sanding make your repairs durable and discreet.
Sanding for Smoothness
To achieve a smooth, professional finish on your restored furniture, begin by sanding the surface in stages, using progressively finer grit sandpapers. Start with coarse grit (80-100) to remove old finish and flatten imperfections. Always sand with the wood grain to prevent swirl marks and keep the surface looking even. Next, switch to medium grit (120-150) to smooth out scratches and refine the surface. For detailed or curved areas, use sanding sponges or blocks for better control. Finish with fine grit (220-320) to create a silky, smooth surface free of scratches, ensuring the surface is clean before applying any finish. This careful sanding process will enhance the wood grain’s natural beauty and give your furniture a polished, professional look.
Repairing Damaged Veneer
When repairing damaged veneer, the key is to carefully assess the extent of the damage and choose the appropriate method. For small gouges or scratches, fill them with matching wood filler or wax stick, then sand lightly for a smooth finish. Larger damaged areas require removing loose veneer, cleaning the substrate, and gluing down a matching veneer piece with wood glue and clamps for a seamless bond. To repair damaged veneer:
- Use veneer repair techniques or replace broken sections
- Apply wood glue carefully and clamp until set
- Sand edges gently with fine-grit sandpaper or sanding sponge
- Blend repairs by toning or staining to match the original color
- Finish with a clear sealant for durability and protection
Proper veneer repair ensures a seamless appearance and preserves your furniture’s integrity.
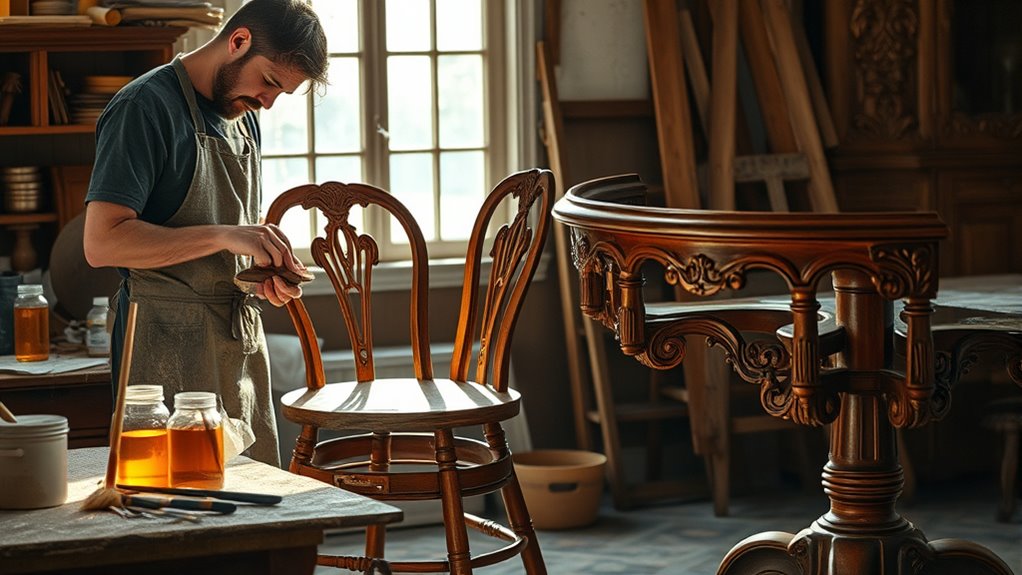
Choosing and Applying a Finish
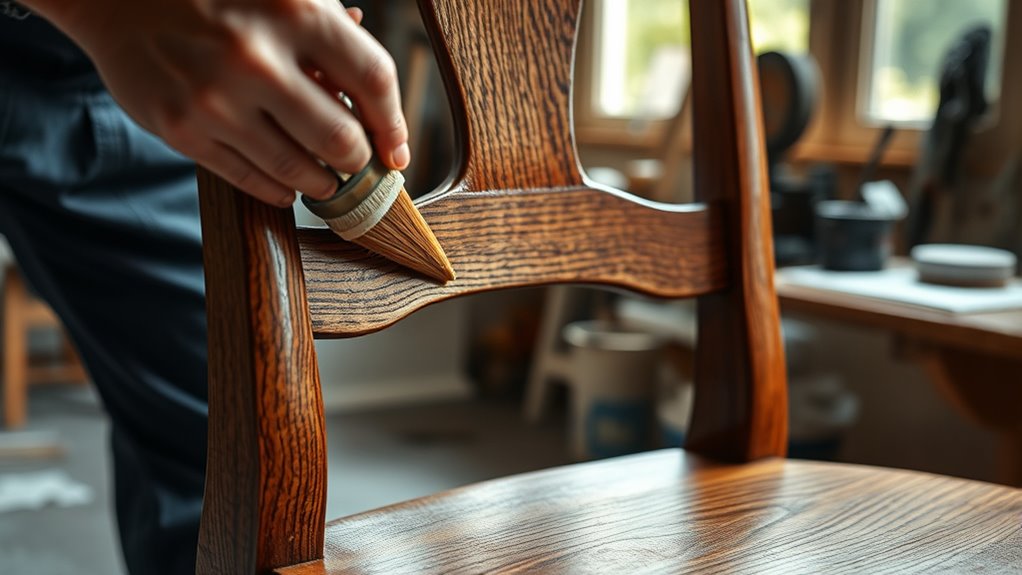
Selecting the right finish is essential to achieving the look and durability you want for your restored furniture. When refinishing wood furniture, you need to choose the best finish based on the wood surface condition and how you plan to use the piece. For durability, polyurethane is a great choice, while stains enhance natural color. Consider whether the surface is smooth or damaged to decide if a transparent or opaque finish suits your needs. When applying the finish, use a high-quality brush, foam applicator, or lint-free cloth to apply thin, even coats, following the wood grain. Allow each coat to dry thoroughly—2 to 4 hours for water-based finishes—and lightly sand with fine-grit paper between coats. Proper application guarantees a smooth, long-lasting result.
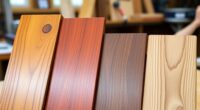
Staining or Painting for Desired Effect
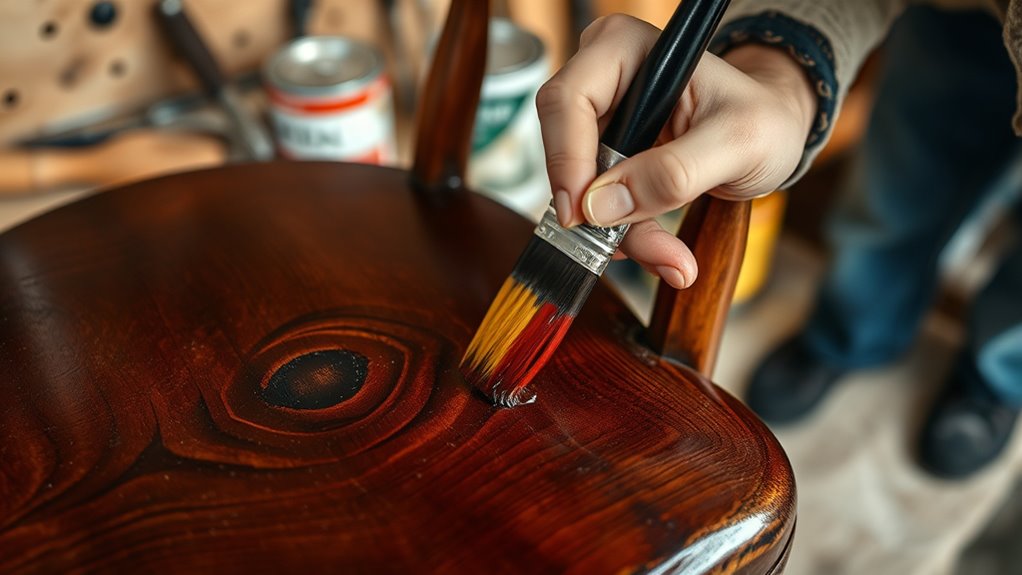
After choosing and applying a finish, the next step is to decide whether to stain or paint your furniture for the desired effect. Staining enhances the natural wood grain, letting you customize color and depth. Use a brush or rag to apply a thin, even coat, then wipe off excess to prevent blotching. Painting offers a solid, opaque finish that can completely transform your piece, hiding imperfections and details. For best results, apply multiple thin coats, letting each dry thoroughly. You might also consider a gel or stain wash technique for a subtle color that still showcases the wood’s texture.
- Staining highlights natural grain and color
- Painting creates a uniform, bold look
- Apply stain with a brush or rag for even coverage
- Use thin coats of paint, drying thoroughly between layers
- Choose a technique based on the desired final aesthetic
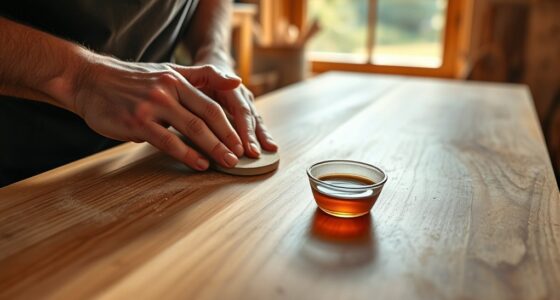
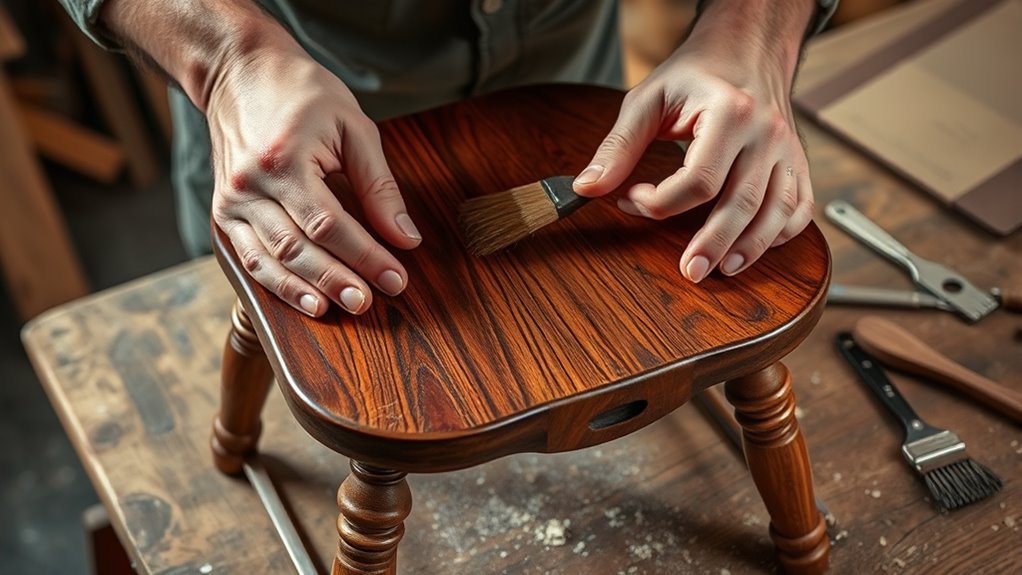
Sealing and Protecting the Surface

To guarantee your refinished furniture stays beautiful and durable, applying a protective sealant is essential. A good sealant, like polyurethane or wax, creates a protective finish that shields the surface from moisture, scratches, and daily wear. Before applying, verify the surface is dry completely and free of dust to achieve an even, smooth coat. Use a clean brush, foam applicator, or lint-free cloth to apply thin, even coats following the wood grain for the best coverage. Choose a finish sheen—gloss, semi-gloss, satin, or matte—that suits your desired look and durability needs. Allow each coat to cure fully according to the manufacturer’s instructions. Lightly sand between coats if necessary to improve adhesion and ensure your furniture remains protected and beautiful for years to come.
Reassembling and Adding Final Touches
Reassembling your furniture carefully guarantees it remains stable and looks polished. Begin by ensuring all hardware and joints are tightly secured, which maintains the piece’s stability. To streamline reassembly, label or photograph hardware and components beforehand. Once assembled, add new or period-appropriate hardware to enhance authenticity and aesthetic appeal. After reassembly, use a soft cloth or wax to polish the surface, giving it a polished shine and added protection. Finally, inspect the entire piece for any loose joints or hardware, tightening or adjusting as needed to ensure durability. Key steps include:
- Checking hardware fit and tightness
- Using appropriate tools for secure reassembly
- Selecting hardware that matches the original style
- Polishing the surface for a smooth finish
- Conducting a thorough inspection for stability
Tips for Maintaining Your Refinished Piece
Maintaining your refinished furniture guarantees it stays beautiful and durable for years to come. To safeguard the finish, dust regularly with a soft, dry cloth to prevent dirt and grit from scratching the surface. Use coasters, placemats, and felt pads under items to shield the wood from moisture, heat, and scratches. Avoid harsh chemical cleaners; instead, clean with a damp cloth and mild soap to preserve the integrity of the finish. Reapplying a protective coating, like wax or polyurethane, every 1-2 years enhances durability and boosts the furniture’s lustrous appearance. Keep your piece out of direct sunlight and extreme temperature changes to prevent fading, cracking, or warping. Consistent maintenance ensures your refinishing efforts continue to pay off in long-lasting beauty.
Frequently Asked Questions
How Do You Bring Old Wood Furniture Back to Life?
To bring old wood furniture back to life, start by inspecting it for damage, dirt, and old finishes. Remove the old finish with sanding or chemical strippers, then repair any structural issues with glue or filler. Sand the entire piece thoroughly to create a smooth surface, following the grain. Finish with a protective coating like polyurethane, applying multiple thin coats to enhance durability and restore its beauty.
What Furniture Should Not Be Refinished?
When deciding what furniture shouldn’t be refinished, you should avoid pieces with extensive veneer damage, delamination, or severe water damage, as repairs might be impossible. Soft woods like cedar or pine may not withstand stripping and sanding without causing further harm. Antique pieces with original shellac or lacquer finishes should be preserved to maintain value, and furniture with structural issues needs fixing first. Also, avoid refinishing items with toxic paints like lead-based finishes without proper safety measures.
How Do You Restore Old Weathered Wood Furniture?
To restore old weathered wood furniture, start by cleaning it with a damp cloth and mild soap to remove dirt. Then, sand the surface with coarse-grit sandpaper to eliminate faded layers. If needed, apply a wood conditioner for even staining. Fill cracks with wood filler, sand smooth, and finally, seal or paint the piece to protect and enhance its natural beauty.
How Do You Restore Weathered Wood Furniture Without Sanding?
To restore weathered wood furniture without sanding, start by using a chemical or gel stripper to remove old finishes safely. Gently wipe the surface with a damp cloth or sponge to lift dirt, then brush off loose debris with a nylon-bristled brush. Apply a natural oil like tung or linseed to rejuvenate the wood, and consider a restorative product to hydrate and improve its appearance without removing material.
Conclusion
Restoring your old wooden furniture brings new life, new beauty, and new memories. It’s about patience, passion, and pride in your craftsmanship. By evaluating carefully, preparing diligently, and finishing thoughtfully, you transform each piece into a timeless treasure. Embrace the process, enjoy the journey, and cherish the results. Because in restoring furniture, you’re not just renewing wood—you’re reviving history, rekindling charm, and creating something meaningful to last for generations.