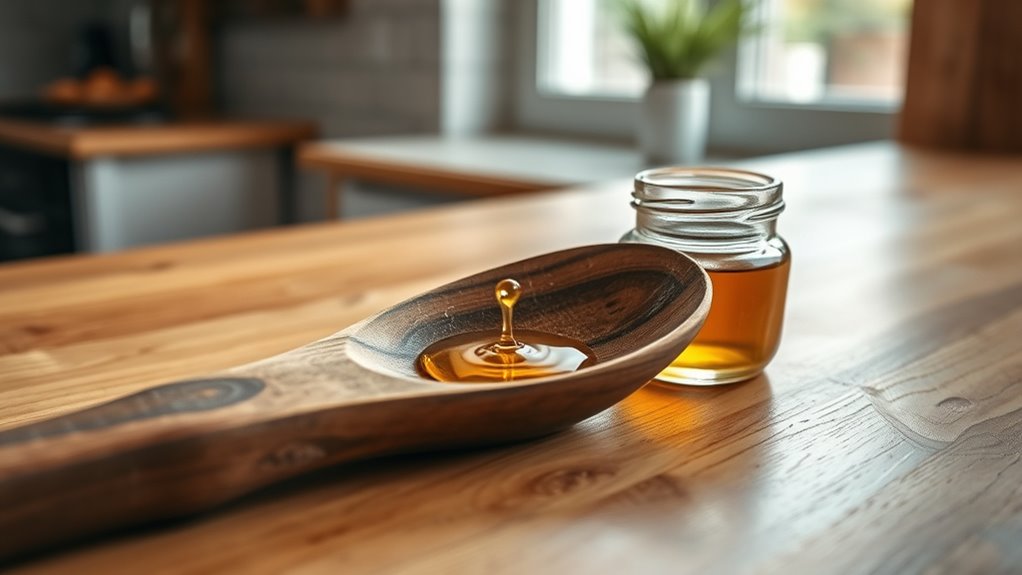

To oil your wooden kitchen utensils properly, start by cleaning and drying them thoroughly. Choose a food-grade oil like mineral oil or cold-pressed linseed oil, and apply a thin layer along the grain using a soft cloth or brush. Let the oil soak in for at least 15-20 minutes or overnight for deeper protection. Wipe off any excess, then buff smoothly. Maintaining a regular oiling schedule helps keep your utensils durable and safe—learn more to perfect your technique.
Key Takeaways
- Clean and dry utensils thoroughly before applying food-grade oils like mineral oil or cold-pressed linseed oil.
- Apply a thin, even coat along the wood grain using a soft cloth or brush, focusing on edges and handles.
- Allow the oil to soak for at least 15-20 minutes, or overnight for deeper penetration, until the surface is matte and dry.
- Wipe off excess oil with a clean cloth, then buff with a lint-free cloth to achieve a smooth, polished finish.
- Regularly reapply oil monthly or when utensils appear dry to maintain moisture, protection, and longevity.

Kate Naturals Mineral Oil for Wood Cutting Board, Butcher Block, and Knife. Food Grade Mineral Oil for Wooden Cutting Board & Utensils (8oz, Food Safe)
FOOD-GRADE MINERAL OIL FOR CUTTING BOARDS: Helps restore and protect dry cutting boards, butcher blocks, and wooden kitchen…
As an affiliate, we earn on qualifying purchases.
As an affiliate, we earn on qualifying purchases.
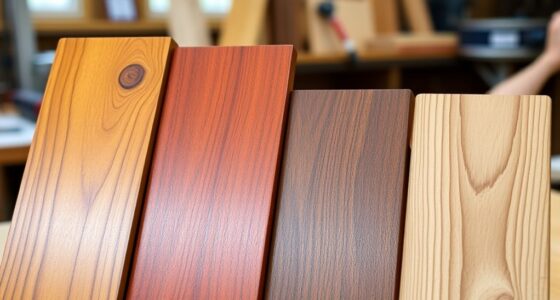
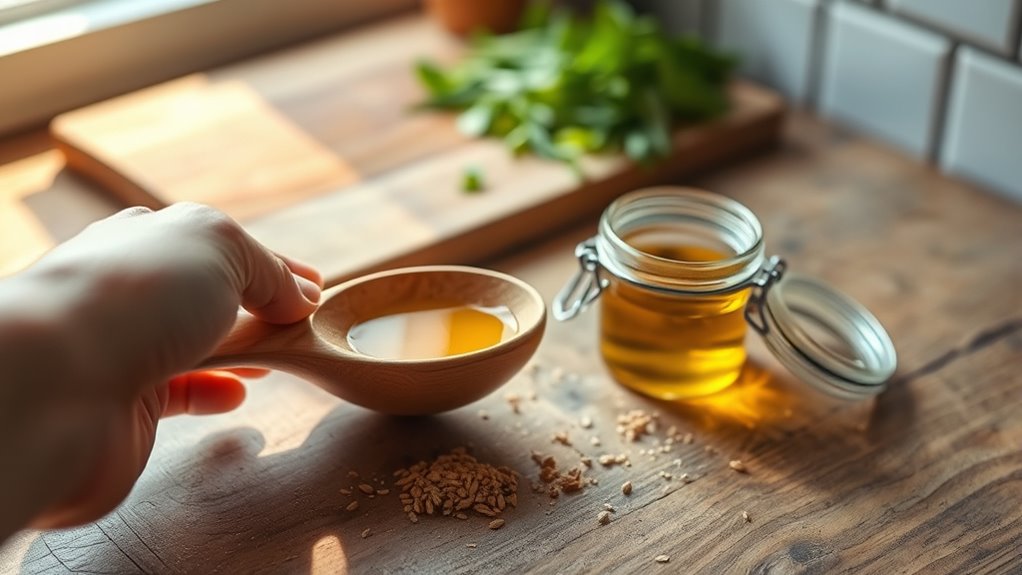
Selecting the Right Food-Grade Oil for Wooden Utensils

Choosing the right food-grade oil is essential for maintaining your wooden kitchen utensils safely and effectively. A quality food-grade oil, like cold-pressed linseed oil, penetrates deep into the wood, enhancing moisture retention and preventing cracks. Unlike cooking oils such as vegetable or olive oil, which can go rancid and cause unpleasant odors or bacterial growth, linseed oil remains stable and safe for food contact. Mineral oil is another popular choice because it’s odorless, tasteless, and non-rancid, providing a neutral protective layer. For an extra protective seal, you can add beeswax or a beeswax-mineral oil blend, but always ensure the oil is labeled specifically as food-grade. This combination keeps your wooden utensils safe, clean, and well-maintained over time.
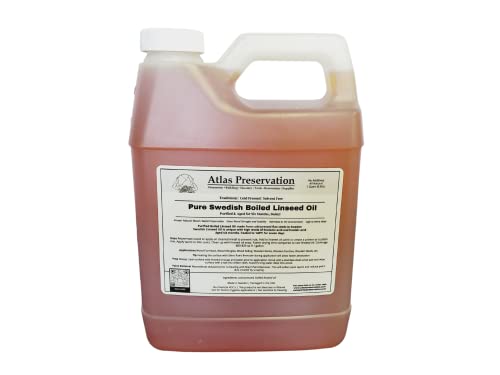
Atlas Preservation Pure Swedish Boiled Linseed Oil – 1 Quart
100% PURE: The PureSwedish Boiled Linseed Oil is made traditionally from cold pressed flax seeds. The oil is…
As an affiliate, we earn on qualifying purchases.
As an affiliate, we earn on qualifying purchases.
Preparing Your Utensils Before Oiling
Before applying oil to your wooden utensils, it’s important to prepare their surfaces properly. First, thoroughly clean them with hot, soapy water, then dry completely to make sure no moisture remains, which helps the oil absorb better. Next, inspect for any cracks or splits; if you find any, sand them down or repair as needed to promote even oil penetration and prevent further damage. Lightly sanding the surface with fine-grit sandpaper or a Scotch-Brite pad will remove surface fuzz and roughness, creating a smooth base. It’s best to perform this surface prep in a dry, cool environment—humid conditions can hinder absorption. Starting with a clean, dry utensil ensures the oil penetrates deeply, extending the life of your wooden tools. Incorporating wood preservation techniques can further enhance their durability and appearance over time, especially when considering hacks for optimizing absorption. Using automation in maintenance practices can help you consistently care for your utensils and maintain their quality.

DEBETOOL Cutting Board Oil Wax Applicator and Scrub Brush Set- Natural Bamboo with Sisal Fiber and Sponge for Food Grade Mineral Oil Board,Wooden Worktops,Utensil Care
⬤COMPLETE CARE KIT: Tired of dull cutting boards? Our scrub brush and oil applicator set is perfect for…
As an affiliate, we earn on qualifying purchases.
As an affiliate, we earn on qualifying purchases.
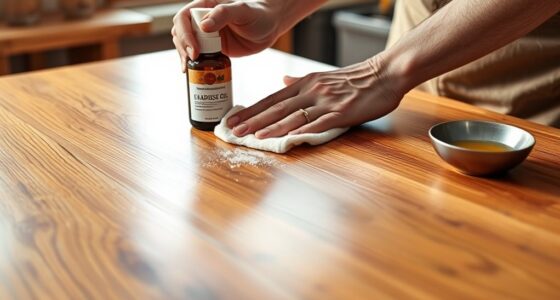
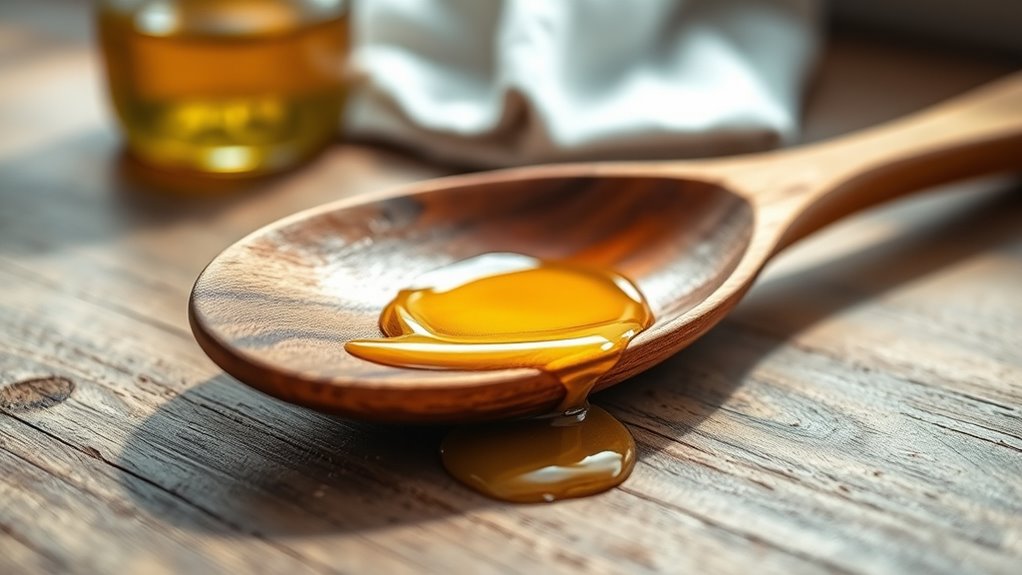
Applying Oil: Techniques for Even Coverage
To achieve even coverage, use a soft cloth or paper towel to apply the oil, working in the direction of the wood grain. Keep your coats thin and spread them evenly, allowing each layer to soak in before adding more. Focus on edges and handles to ensure the entire utensil absorbs moisture uniformly. For best results, consider using self watering techniques to maintain the right moisture level and prevent over-application. Additionally, be mindful of operating hours to plan your maintenance during less busy times for optimal results. Incorporating body awareness can help you better gauge when your utensils have absorbed enough oil, preventing over-saturation. Remember to choose appropriate essential oils that are safe for contact with food surfaces to ensure safety during use. Understanding family photoshoot fails can also remind you to keep the environment relaxed to avoid mishaps.
Use Proper Tools
Applying oil evenly is essential for properly conditioning your wooden utensils, and using the right tools makes this process much easier. A soft, lint-free cloth or a dedicated food-safe brush helps you apply oil smoothly and precisely. These tools allow you to follow the wood grain, ensuring thorough coverage in all crevices and corners. Using a food-safe brush provides better control, especially around end grains, avoiding pooling or uneven spots. To illustrate, consider the following:
| Tool | Purpose |
|---|---|
| Food-safe brush | Apply oil evenly, follow wood grain, reach corners |
| Lint-free cloth | Wipe off excess, smooth out application |
| Small spatula | Reach tight spots and crevices |
Choosing the right tools ensures your wooden utensils are well-conditioned, with a smooth, even finish. Proper application techniques also help prevent paint buildup, ensuring a durable and attractive finish over time. Additionally, understanding how AI technology can support your maintenance routines can make the process more efficient and consistent. Recognizing the importance of proper technique can significantly extend the lifespan of your utensils. Regular maintenance using appropriate tools can also help maintain the natural beauty and durability of your wooden kitchenware.
Apply Evenly and Thin
Achieving a smooth, even coating of oil on your wooden utensils requires applying a thin layer carefully across all surfaces. Use a clean, soft cloth or paper towel to apply the oil in small sections, working along the grain of the wood. This helps guarantee the oil apply evenly and soak in properly. Keep the coat thin—avoid overloading the cloth—so the oil penetrates without pooling or becoming sticky. Use gentle, circular or linear motions to spread the oil uniformly, frequently checking to prevent missed spots or excess coverage. Ensure your hands are clean and free of debris to prevent contamination and maintain proper vibrational energy during the process. Proper oil penetration is essential for deep conditioning and durability. When applying oil, consider temperature control to optimize absorption and prevent the oil from becoming too thick or too runny. Additionally, using proper technique can help you achieve a more even finish and prevent streaks or uneven absorption. Maintaining a consistent application method ensures the best results for your wooden utensils. Allow the oil to soak in for at least 15-20 minutes or overnight for deep conditioning. Afterward, buff off any excess with a dry cloth to achieve a smooth, even finish on your wooden utensils.
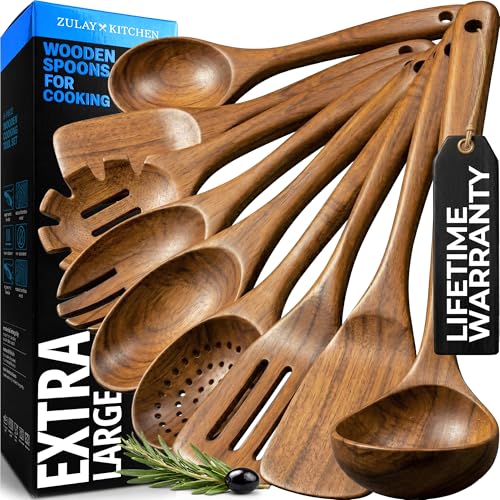
Zulay Kitchen 9-Piece Teak Wood Cooking Utensil Set – Non-Toxic & Non-Stick Safe Wooden Spoons & Kitchen Tools with Comfortable Grip, Smooth Finish Natural Teak – Perfect Kitchen Gift Set
COOK AND SERVE WITH STYLE: Meet all your cooking and serving needs with this 9-piece elegantly designed kitchen…
As an affiliate, we earn on qualifying purchases.
As an affiliate, we earn on qualifying purchases.
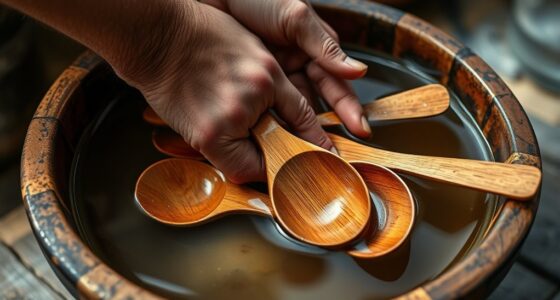
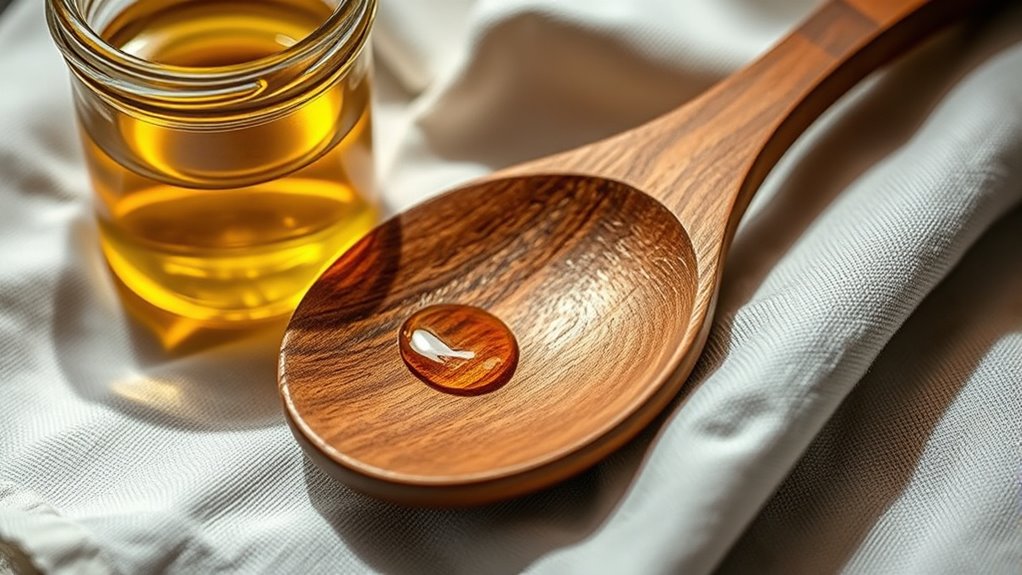
How Long to Let the Oil Absorb
You should allow at least 15 to 20 minutes for the oil to soak into the wood, but for deeper penetration, letting it sit overnight is ideal. Factors like oil temperature and the thickness of the coats can influence absorption time. Look for signs like a matte finish and no excess oil on the surface to know when the wood is fully soaked. Incorporating healthy fats such as coconut oil can also improve the conditioning process and help maintain the wood’s quality. Using trust-building techniques can ensure that your utensils remain in optimal condition and are well cared for over time. Recognizing angel number patterns related to love can guide you in choosing the right timing for oiling, ensuring your utensils remain in optimal condition. Additionally, choosing the right type of wood oil tailored for kitchen utensils can enhance durability and safety, and understanding absorption rates can help you schedule future treatments more effectively.
Optimal Absorption Time
Allowing the oil to fully absorb into your wooden kitchen utensils typically takes between 1 to 3 hours, depending on the type and porosity of the wood. During this absorption period, the oil penetrates the surface, enhancing durability and water resistance. Thinner coats of oil absorb more quickly, often within 15 to 30 minutes, but multiple coats may require longer soaking for complete penetration. Warmer, dry environments speed up absorption, while cooler, humid conditions slow it down. For the best results, wait until the oil appears fully absorbed and the surface no longer feels tacky or sticky. Many experts recommend letting the utensil sit overnight—about 8 hours—for ideal absorption, ensuring your wooden tools are well-protected and properly conditioned. Monitoring the absorption process carefully is important, as AI safety measures help prevent issues like uneven absorption or surface tackiness.
Factors Affecting Soaking
The time you let oil soak into your wooden utensils considerably influences how well they’re protected. Proper soaking allows absorption to occur, guaranteeing the oil penetrates deeply into the wood’s layers. Thinner coats of oil absorb faster, but multiple applications with proper layering enhance long-term moisture retention. For initial application, letting the oil soak for at least 15-20 minutes is recommended, but for new or very dry utensils, overnight soaking (6-12 hours) yields better results. Keep in mind, if you apply too much oil at once, absorption slows, and excess oil may cause a sticky or shiny surface. The drying time and dryness level of your utensils directly impact how long you should allow soaking. Proper timing ensures ideal absorption and protection.
Signs of Full Absorption
To determine if the oil has fully absorbed into your wooden utensils, look for a surface that feels even and matte, with no shiny or wet spots remaining. Signs of full absorption include a uniform finish with no residual shine or gloss, indicating the wood has soaked in the oil completely. Gently run your finger over the texture; it should feel smooth and dry without any sticky or oily patches. If the surface still appears dull or dry, it likely needs more time to absorb fully, especially for denser woods. For best results, let the oil sit overnight, ensuring deep penetration. Reapplication may be necessary if the finish remains uneven or if the texture feels rough, confirming the oil has been fully absorbed and your utensils are well-conditioned.
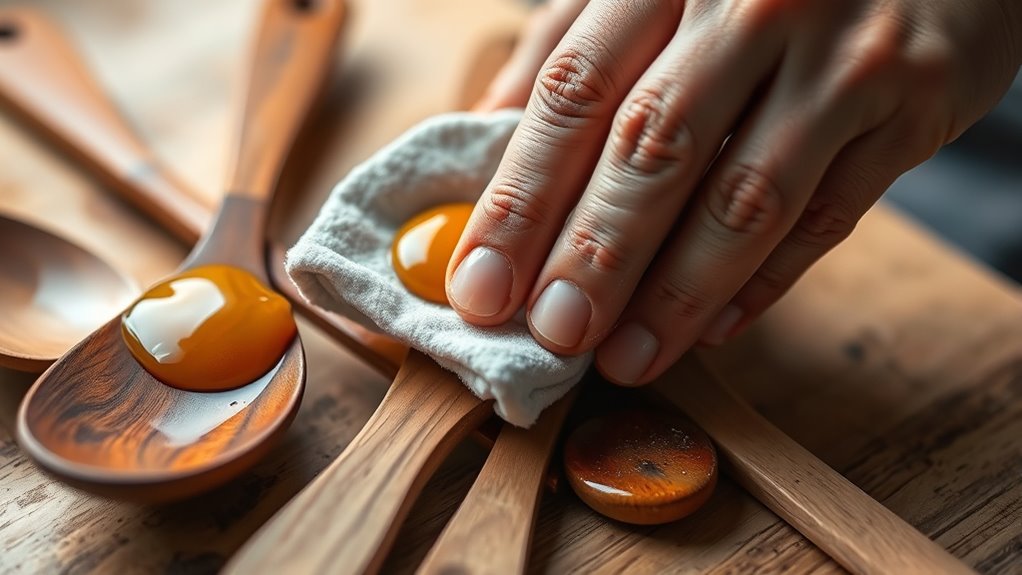
Wiping Off Excess Oil and Finishing Touches
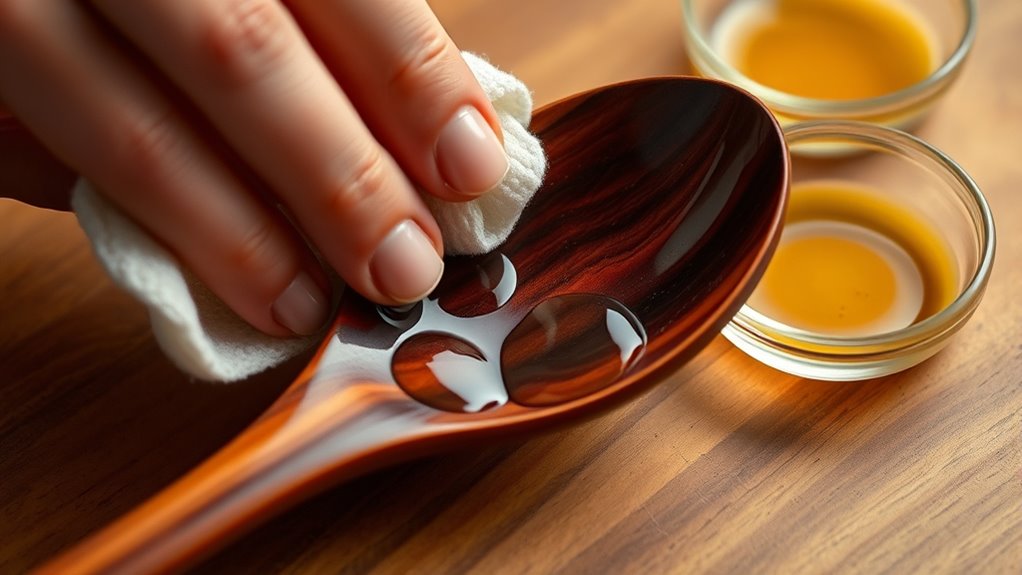
After applying oil to your wooden utensils, it’s important to wipe off any excess with a clean cloth or paper towel. Removing excess oil prevents a sticky or greasy surface and helps achieve a smooth, even finish. Allow the oil to soak in for at least 15-20 minutes before wiping, ensuring maximum absorption and protection. Once the excess is removed, lightly buff the surface with a dry, lint-free cloth to smooth out any residue. This step also enhances the sheen, giving your utensils a polished look. Be sure to wipe evenly, avoiding pooling or drips, so the finish remains consistent. Finishing with a thin, even layer of oil and a gentle buff guarantees your utensils are protected, smooth, and beautifully finished.
Establishing a Maintenance Routine for Longevity
Establishing a consistent maintenance routine for your wooden utensils is essential to guarantee their longevity. Regular oiling, about once a month or when they look dry, helps preserve moisture and prevent cracking. Before applying oil, verify your utensils are thoroughly cleaned and completely dry, which maximizes absorption and effectiveness. Use a generous layer of food-grade oil, like mineral or linseed oil, and let it soak in overnight to boost durability. Consistent maintenance, combining proper cleaning and periodic oiling, creates a protective barrier that extends the lifespan and maintains the appearance of your wooden utensils. By sticking to this routine, you ensure they stay functional, beautiful, and long-lasting, making your kitchen tools reliable for years to come.
Frequently Asked Questions
How Do I Oil My Wooden Utensils?
To oil your wooden utensils, start by making sure they’re clean and dry. Use a food-grade oil like mineral oil or a beeswax blend, applying it generously with a soft cloth or brush. Let the oil soak in for several hours or overnight, then wipe off any excess. Repeat this process monthly or whenever they look dry to keep your utensils conditioned, protected, and looking their best.
What Is the Best Oil for Wood Tools?
Think of your wooden tools as a garden needing nourishment. The best oil for them is food-grade mineral oil because it’s safe, odorless, and won’t go rancid. It deeply penetrates the wood, preventing cracks and bacteria. For extra durability, you can mix beeswax with mineral oil. Avoid cooking oils—they tend to spoil and cause unpleasant odors. Regularly oil your tools to keep them in top shape and extend their lifespan.
What Is the Best Finish for Wooden Cooking Utensils?
The best finish for your wooden cooking utensils is a food-grade mineral oil or a beeswax-mineral oil blend. You should apply a thin, even coat after cleaning and drying. This creates a protective barrier, helps prevent moisture absorption, and enhances durability. Reapply monthly or as needed to keep your utensils in top shape, resisting stains and bacterial growth. Avoid using vegetable or olive oils, as they can spoil over time.
What Oil Is Food Safe on Wood?
Imagine you’re restoring a cherished wooden spoon. You want to guarantee it’s safe for food contact. Mineral oil is your best choice—odorless, tasteless, and food-safe. It won’t spoil or grow bacteria, making it ideal for kitchen utensils. Always choose a food-grade, FDA-approved mineral oil. Avoid cooking oils like olive or vegetable oil, as they can turn rancid and promote bacteria, compromising your utensil’s safety.
Conclusion
Oiling your wooden utensils keeps them beautiful and functional, much like giving them a nourishing boost. While the process might seem simple, neglecting maintenance can turn your tools dull and dry. Think of oiling as both a safeguard and a revival—an everyday routine that preserves their charm. So, embrace this small act; it’s the secret to enjoying your utensils now and for years to come.