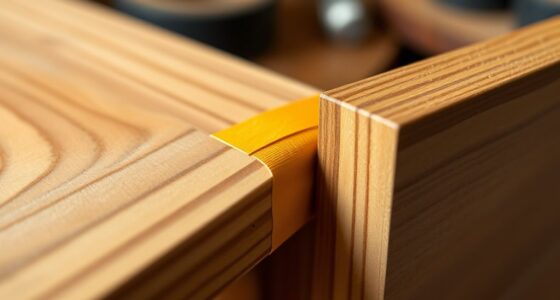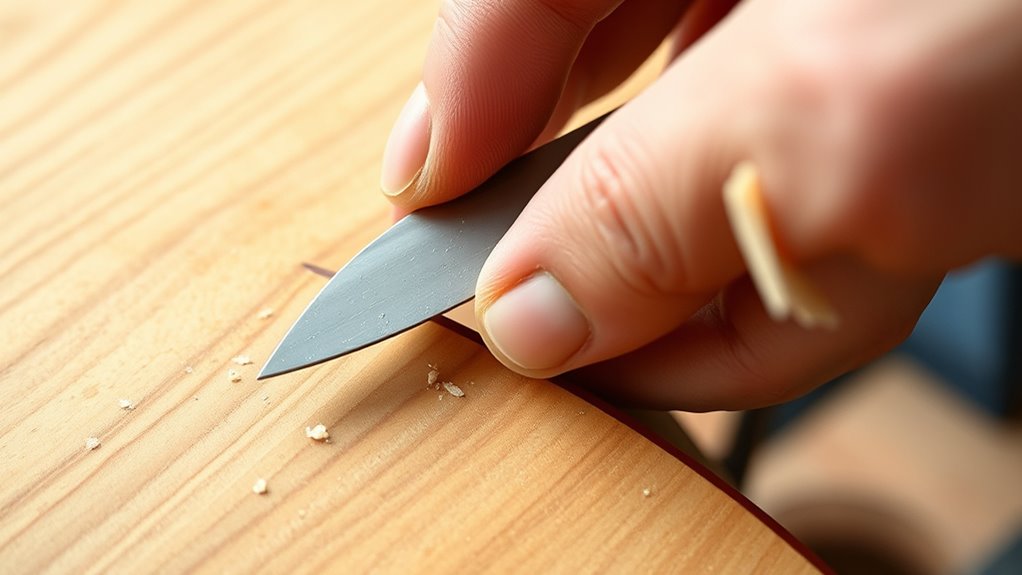

To achieve flush cuts when trimming excess veneer, align your cutting tool with the wood grain for smooth, clean edges. Use a sharp utility knife or veneer saw and make controlled, steady passes for precision. Follow the natural grain direction to prevent splintering, and gently sand the edges afterward with fine-grit sandpaper for a flawless finish. Paying close attention to grain orientation and technique will help you create seamless repairs—if you continue, you’ll learn tips for perfect results.
Key Takeaways
- Align your cutting tool with the veneer’s natural grain to prevent splintering and achieve a clean, flush edge.
- Use a sharp utility knife or veneer saw for controlled, precise cuts along the desired line.
- Mark the cut line carefully with a straightedge to ensure straight, seamless trimming.
- Make multiple light passes rather than one heavy cut to maintain control and avoid damaging the veneer.
- Gently sand the trimmed edge with fine-grit sandpaper to refine and ensure a smooth, flush finish.

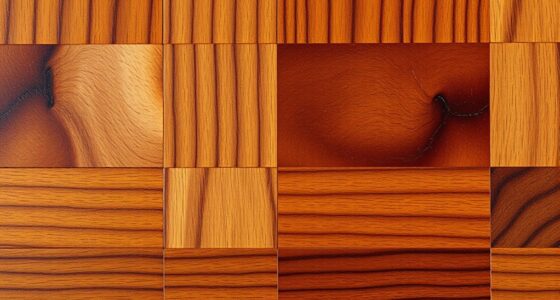
Have you ever wondered how professionals achieve smooth, precise edges on veneer panels? The secret lies in mastering the art of trimming excess veneer to create flush cuts that seamlessly blend repairs or panels. A key factor in this process is understanding the importance of the wood grain, which influences how the veneer responds to cutting tools and how well it matches surrounding surfaces. When working with veneer panels, you’ll encounter various veneer types—such as rotary-peeled, sliced, or reversed—each with unique characteristics that affect how you approach trimming. Knowing these differences helps you select the right tools and techniques to achieve flawless edges. Additionally, being aware of the grain orientation can help prevent splintering and ensure a cleaner cut. To start, you need a sharp, fine-edged tool like a utility knife or veneer saw. Your goal is to cut along the veneer’s edge, following the natural direction of the wood grain. By aligning your cut with the grain, you minimize splintering and ensure a cleaner, more professional finish. When dealing with different veneer types, pay attention to their grain orientation. For example, rotary-peeled veneers have a distinctive, swirling pattern, which requires careful handling to avoid tearing. Sliced veneers, on the other hand, tend to have a more uniform grain direction, making it easier to make precise cuts. Reversed or double-cut veneers can be trickier, demanding extra care to maintain a flush, seamless appearance.
Before trimming, mark your cut line carefully, using a straightedge or a guide to ensure accuracy. Applying light pressure, make steady, controlled passes with your knife or saw, following the natural wood grain. If you’re trimming a large area, work slowly to prevent chipping or uneven edges. When your cut is nearly complete, gently sand the edge with fine-grit sandpaper to smooth out any minor imperfections and ensure the veneer sits flush with adjacent surfaces. This step is especially important when matching veneer types with different grain orientations or textures.

Goldblatt Stainless Steel Roofing & Flooring Knife – Linoleum Cutter with Soft-Grip Handle, Hook Knife for Cutting Carpet, Cable Skinning, Wallpaper, Turf
- Blade Type: Serrated and dual honed edge
- Blade Length: 8-7/8 inches
- Blade Material: Heavy-duty stainless steel
As an affiliate, we earn on qualifying purchases.
As an affiliate, we earn on qualifying purchases.
Frequently Asked Questions
Can I Use a Utility Knife for Veneer Trimming?
Yes, you can use a utility knife for trimming veneer, especially if it’s thin. Make sure to use a sharp utility knife and carefully score along the veneer’s edge to achieve a clean, flush cut. Keep in mind, thicker veneer may require a specialized tool or saw for a precise cut. Always work slowly and steadily to avoid damaging the veneer or creating uneven edges.
What Tools Are Best for Precise Flush Cuts?
Looking for the best tools for precise flush cuts? Why settle for less when you can choose sharp, controlled tools? For veneer thickness, a fine-tooth saw like a utility or veneer saw works best, offering clean cuts with proper cutting techniques. A flush-cutting saw or a sharp chisel can also give you accuracy. You need tools that match the veneer’s thinness and allow for careful, seamless trimming.
How Do I Prevent Veneer Chipping During Trimming?
To prevent veneer chipping during trimming, you should guarantee good veneer adhesion by using sharp tools and gentle pressure. Protect the edges with masking tape before cutting; it acts as edge protection and minimizes chipping. Also, cut slowly and steadily, avoiding sudden movements that can cause damage. These steps help maintain smooth, seamless repairs while preserving the veneer’s integrity and appearance.
Is Sanding Necessary After Trimming Veneer Edges?
While it might seem like an extra step, sanding after trimming veneer edges is often worth the effort. It guarantees a smooth surface, making veneer finishing much easier and more professional-looking. Sanding necessity depends on how clean your trim is; if there are rough spots or uneven edges, a gentle sand will help blend everything seamlessly. Embrace this step to achieve that polished, flawless finish you’re aiming for.
Can I Reuse Leftover Veneer Pieces?
You can often reuse leftover veneer pieces if they match in veneer thickness and are still in good condition. Make sure to clean the surface and apply fresh veneer adhesive for a secure bond. Keep in mind, thinner veneer might be more delicate, so handle it carefully. Reusing pieces saves money and effort, but verify the veneer thickness to ensure a seamless, durable repair.
Conclusion
By mastering flush cuts, you guarantee seamless veneer repairs that look flawless. Did you know that properly trimmed veneer can increase your furniture’s lifespan by up to 30%? Taking the time to trim excess veneer carefully not only boosts your craft but also saves you money in the long run. So, next time you repair or replace veneer, remember that a clean cut makes all the difference in achieving a professional finish.