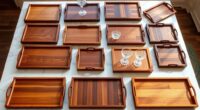
To achieve flawless veneer refinishing, start by storing and handling your veneer properly—keep it flat, wrapped, and protected from sunlight. Prepare surfaces by sanding with 60 or 80 grit, then guarantee even adhesive application on the substrate. Use clamps or vacuum presses for consistent pressure, and allow ample curing time. Finish with precise trimming, sanding, and high-quality finishes. Following these tips will help you create a smooth, durable surface—learn more to perfect your technique.
Key Takeaways
- Properly store and surface prepare veneer by flattening, scuff sanding, and cleaning to ensure optimal adhesion and a smooth finish.
- Select the right adhesive for your veneer type, applying evenly to the substrate and waiting until it becomes tacky before bonding.
- Use even pressure with clamps or vacuum presses during bonding to prevent warping, bubbles, and ensure a durable, flat veneer surface.
- Trim veneer edges carefully with a utility knife and fine sandpaper for clean, professional edges; consider using a flush-cut router for larger panels.
- Test veneer hardness with pencil mark removal at different grit levels to determine proper sanding techniques and achieve a flawless surface.

Shop Fox D2893 Press Clamp,As the picture shown,Medium
Overall length is 11-1/2-Inch
As an affiliate, we earn on qualifying purchases.
As an affiliate, we earn on qualifying purchases.
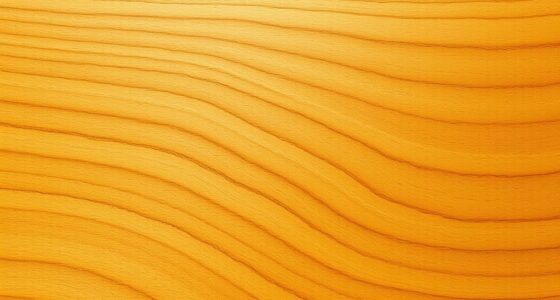
Proper Storage and Handling of Veneer
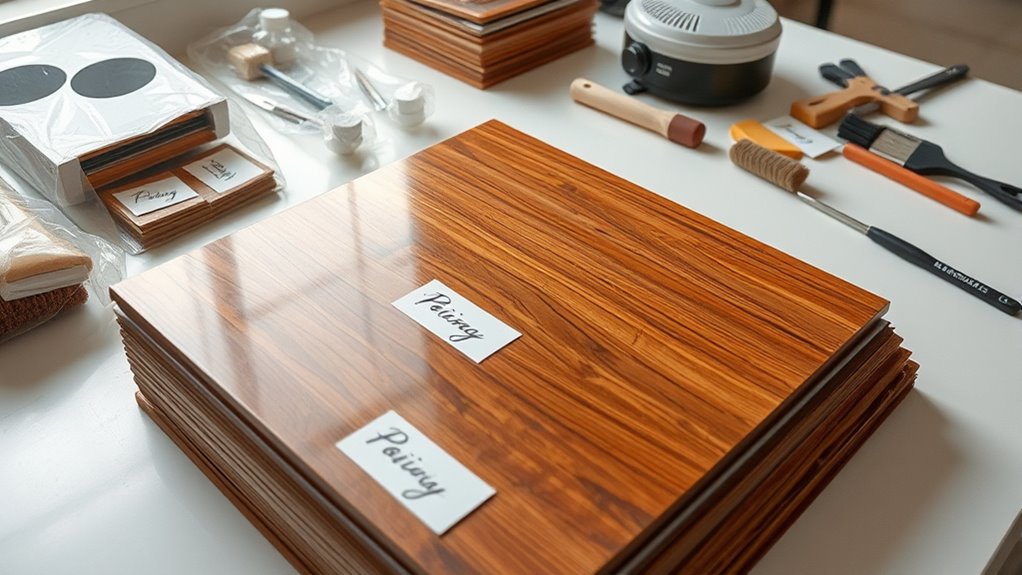
To guarantee your veneer stays in top condition, proper storage and handling are essential. Store veneer flat between sheets of plywood or MDF to prevent warping and avoid rolling or curling after opening rolls. Wrapping veneer in plastic cling wrap or trash bags minimizes moisture exchange and shields it from environmental fluctuations, helping preserve its shape. Keep burl and crotch veneers flat on shelves to maintain their natural form and avoid distortion over time. When storing long veneer sheets, distribute weight evenly to prevent bending or buckling. Avoid exposing your veneer to direct sunlight or UV light, as this can cause color fading and compromise its integrity. Additionally, using airless paint sprayers for finishing can ensure a smooth and flawless surface, reducing the need for touch-ups and rework. Proper storage not only maintains your veneer’s appearance but also ensures it remains stable and ready for your projects. Moreover, understanding electric power generation with bike generators can be beneficial for sustainable projects and powering small tools during storage or workspace setup. Proper handling techniques can also help prevent damage caused by mishandling and extend the lifespan of your veneer. Implementing advanced data processing speeds can further improve the efficiency of your finishing processes, especially when working with high-volume projects.

QVP 2 CFM Vacuum Veneer Press Kit with 8'6" x 52" Polyurethane Vacuum Bag – Woodworking Veneering & Laminating System (.020 Thickness)
COMPLETE WOODWORKING VACUUM PRESS KIT Professional QVP vacuum veneering system includes 2 CFM electric vacuum pump, pressure gauge,…
As an affiliate, we earn on qualifying purchases.
As an affiliate, we earn on qualifying purchases.
Preparing Your Surface for Optimal Adhesion
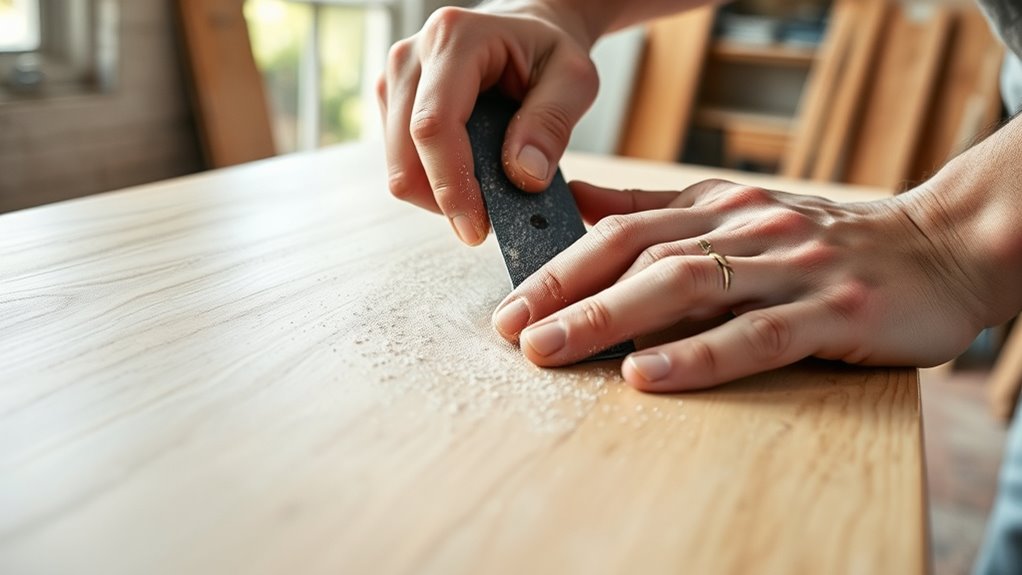
Preparing your surface properly is essential for ensuring a strong bond between the veneer and the substrate. Start by sanding the surface with 60 or 80 grit sandpaper to create a rough texture that promotes better adhesion. For MDF, plywood, or MDO, scuff sand thoroughly and test water bead behavior on the backing to confirm proper adhesion. Next, wipe the entire surface with a damp cloth to remove dust, grease, and debris, ensuring a clean surface for the adhesive. If you’re working with oily exotics or maple, wipe with naphtha or lightly scuff sand to improve glue bonding. Remember, apply the adhesive to the substrate, not the veneer face, to prevent curling and achieve a secure, lasting bond. Additionally, understanding the importance of surface preparation can significantly impact the longevity and quality of your veneer application. Proper surface prep helps prevent issues like adhesive failure and ensures a smooth, professional finish. Incorporating proper tools and techniques can further enhance your results and ensure a durable bond, especially considering butter’s artistic influence in various cultural contexts that highlight the significance of meticulous craftsmanship. Recognizing the role of sound healing science in creating a harmonious workspace can also contribute to a more relaxed and focused environment, improving your overall project experience.

REALINN Wood Furniture Repair Kit- Set of 28 – Touch Up Markers, Fillers with Wood Putty – Repair Scratch, Cracks, Hole, Discoloration for Wooden Door, Floor, Table, Cabinet
KIT INCLUDES our most powerful wood repair compounds, so you can repair all levels of damage to wood…
As an affiliate, we earn on qualifying purchases.
As an affiliate, we earn on qualifying purchases.
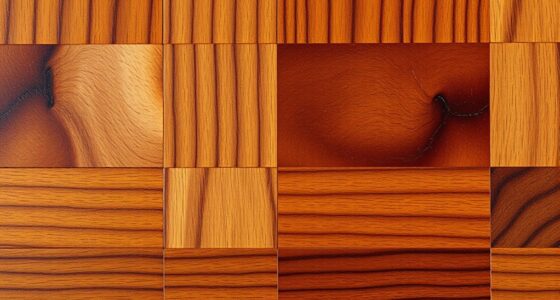
Selecting the Best Glue for Veneering Projects
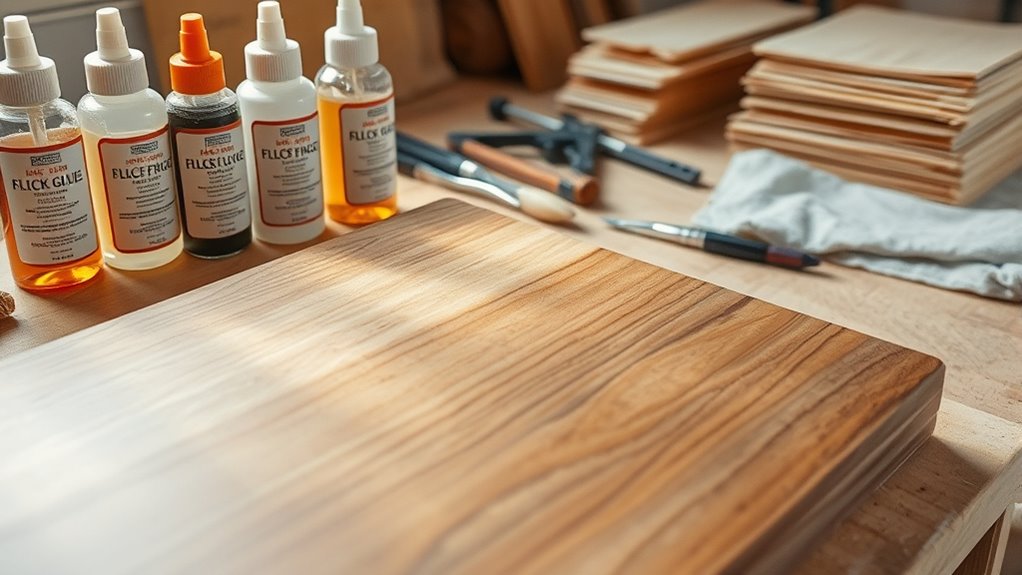
Choosing the right glue is essential for a successful veneering project. You need to contemplate different types of adhesives, how to apply them properly, and ways to prevent warping or bubbles. Let’s explore how to select the best adhesive for your specific veneer work. For optimal results, understanding end-of-life care principles can help ensure that your project proceeds smoothly and with minimal stress, especially if you need to seek support or advice during the process. Considering the appropriate cleaning and maintenance of your finished piece can also extend its lifespan and preserve the quality of the veneer. Additionally, selecting a glue with proper adhesion properties tailored to wood surfaces can significantly improve the durability of your veneer application. Being aware of aura colors and their meanings can also help you better understand the emotional and spiritual energy associated with your finished piece, adding a deeper layer of significance to your craftsmanship. Moreover, paying attention to adhesive drying times can ensure proper bonding without rushing the process, leading to a more flawless finish.
Types of Veneer Adhesives
Selecting the right adhesive is essential for achieving a durable and smooth veneer finish. Contact cement is excellent for paper-backed and 2-ply veneers because it bonds instantly, creating a strong, permanent hold. For raw wood veneers, wood glue like PVA offers a longer open time, giving you flexibility to position the veneer before it sets. Better Bond X-Press veneer glue cures quickly, providing a hard, durable bond suitable for professional projects. Urea resin and phenolic glues are ideal for demanding applications, offering high-strength, moisture-resistant bonds, but they require precise mixing and longer press times. To guarantee the veneer stays in place, apply your adhesive evenly with foam rollers or brushes, and test coverage with pencil lines to avoid voids or bubbles. Additionally, understanding the adhesive bonding process can help ensure your veneer remains securely attached over time, especially when considering different adhesive types for various projects. Proper preparation and understanding of glue characteristics can significantly influence the overall quality of your veneering work. Being aware of the bonding mechanism can further improve your results and longevity of the finish. Incorporating mindfulness techniques during your work can also improve focus and precision, leading to better results.
Proper Glue Application Techniques
Applying glue properly is crucial to achieving a smooth, bubble-free veneer finish. To do this, use a foam roller or brush to apply an even coat of contact cement or veneer glue to both surfaces. Focus on full coverage without overdoing it, as excess glue can cause warping or air bubbles. Always apply glue to the substrate, not the veneer, to minimize curling. Before bonding, mark the surfaces with a pencil to ensure proper positioning. Wait until the adhesive becomes tacky—around 10-15 minutes for contact cement—then carefully align and press the veneer. Remember, even coat and full coverage are key to preventing air bubbles and ensuring a flawless finish. Monitoring market trends and insights can also help you choose the best time for veneering projects, especially if you’re looking for optimal conditions.
Preventing Warping and Bubbles
To prevent warping and bubbles in your veneer project, it’s essential to use the right adhesive, such as contact cement or specialized veneer glues like Better Bond X-Press, which provide a strong, gap-free bond. Achieving proper pressure during bonding is vital; use a vacuum press or clamps to apply uniform pressure, ensuring even adhesion and minimizing air pockets. Properly scuff or sand both the veneer and substrate to promote better adhesion and reduce the chance of trapped air. Applying glue evenly with a foam roller or brush prevents excess that could cause bubbles during curing. Allow sufficient curing time—typically 3-4 hours—and avoid disturbing the panel until fully set. This approach helps maintain flatness and prevents warping or bubbles from forming. Additionally, selecting a suitable adhesive type compatible with your veneer material can significantly improve the bonding process and final outcome. Using an appropriate curing environment, such as a controlled temperature and humidity, can further enhance adhesion and prevent issues like warping or bubbles. Incorporating proper clamping pressure is also crucial to ensure a uniform bond and prevent deformation during curing. Being mindful of environmental conditions, such as temperature and humidity, during application can also help achieve the best results. Proper filtering and pump protection ensure consistent glue flow and prevent clogs that could affect adhesion quality.

NECAMOCU Edge Banding Trimmer – Upgraded Mini Edge Band Trimmer & Cutter, Stainless Steel Blade Veneer Edge Trimmer for Woodworking, Durable Edgebanding Trimming Tool for Wood, Veneer, PVC, ABS
【Precision & Smooth Trimming】 NECAMOCU upgraded edge banding cutter features thicker blade with larger cutting edges and more…
As an affiliate, we earn on qualifying purchases.
As an affiliate, we earn on qualifying purchases.
Techniques to Minimize Warping and Ensure Flat Panels
Warping in veneer panels can be minimized by carefully balancing internal stresses. Applying a veneer to the back of your veneered piece helps counteract tension from the face veneer, preventing the surface must warp over time. When gluing the back, ensure even pressure with clamps or a vacuum press to promote uniform adhesion and reduce internal stress. Supporting large panels on flat, stable surfaces during drying also helps maintain their flatness. Properly curing the adhesive for the recommended time, like 3-4 hours outside the vacuum, further minimizes internal stress that can lead to warping. By balancing stresses through these techniques, you keep your veneer panel flat and stable, ensuring a flawless finish that stands the test of time.
Using Vacuum Presses and Proper Drying Methods

Using vacuum presses guarantees your veneer bonds evenly and reduces bubbles or wrinkles. Make certain to follow the recommended curing times for strong adhesion, and avoid over-pressing to prevent warping. Proper drying in a well-ventilated space guarantees a smooth, durable finish.
Ensuring Even Pressure
Ensuring even pressure during veneer wood refinishing is essential for a flawless bond and a smooth surface. Vacuum presses provide uniform pressure across the entire veneer, preventing bubbles, warping, and uneven adhesion. To maximize results, follow the manufacturer’s recommended curing times—typically 60 minutes for Better Bond X-Press and 4-6 hours for Ultra-CAT glue—to guarantee a strong seal. Properly supporting large panels during drying helps distribute stress evenly, reducing the risk of rippling or distortion. Avoid over-pressing, as excessive pressure can cause indentations. Use the table below to guide your process:
| Step | Technique | Notes |
|---|---|---|
| Use vacuum presses | Apply even pressure | Ensures consistent bonding |
| Seal panels | Proper sealing during drying | Prevents uneven stress |
| Follow curing times | Adhere to manufacturer instructions | Achieves maximum bond strength |
| Support panels | Use supports during drying | Promotes even drying and curing |
| Avoid over-pressing | Remove panels promptly | Prevents distortions |
Allowing Adequate Curing Time
Allowing adequate curing time after pressing is essential to achieve a strong, durable veneer bond. After applying vacuum pressure, you should wait at least 3-4 hours for full curing, ensuring the glue sets properly. For glues like Better Bond X-Press, maintain vacuum for about 60 minutes, then let the veneer dry completely over the next 3-4 hours. Ultra-CAT or similar urea resin glues require 4-6 hours under vacuum to ensure full curing and prevent warping. During this period, avoid moving or disturbing the panel. Proper drying in a well-ventilated space helps moisture escape evenly, reducing warping risks. Remember, the veneer needs 24 to 48 hours to fully cure, guaranteeing maximum adhesion and stability for a flawless finish.
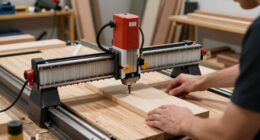
Trimming and Finishing Veneer for a Perfect Edge
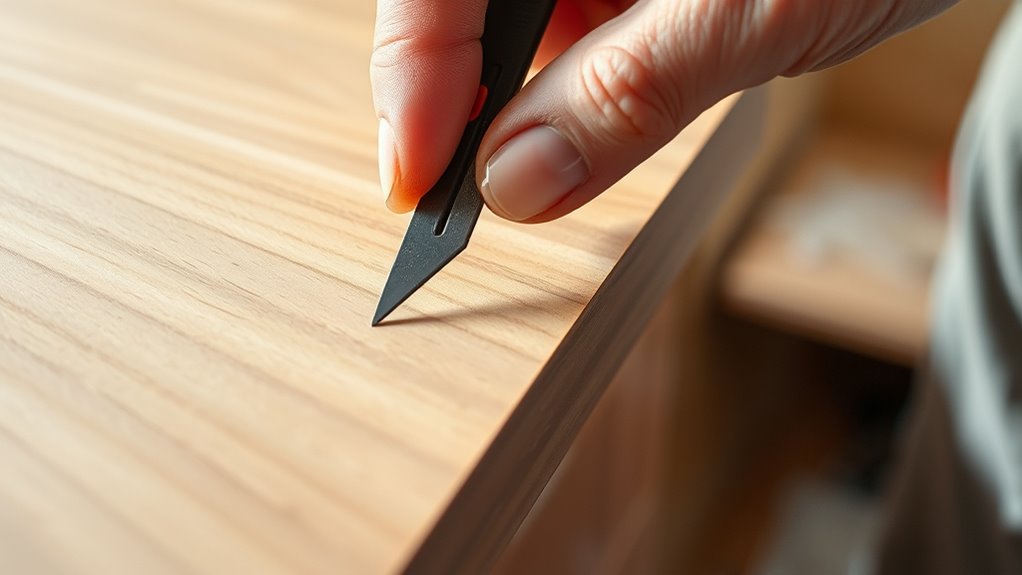
Achieving a clean, professional edge on veneer requires careful trimming and finishing. Begin by scoring the edge of the substrate with a sharp utility knife, making multiple light passes to cut through the veneer smoothly. Use a light pencil to mark where you want to trim, leaving about an eighth-inch margin for a seamless fit. Carefully cut just outside the lines to avoid damaging the veneer. Once trimmed, lightly scuff sand the edges with fine-grit sandpaper to remove splinters and smooth out any roughness. For larger panels, a flush-cutting router bit helps achieve precise, square edges. After trimming, gently sand the veneer edges again to ensure they’re flush and even, creating a flawless, professional finish.
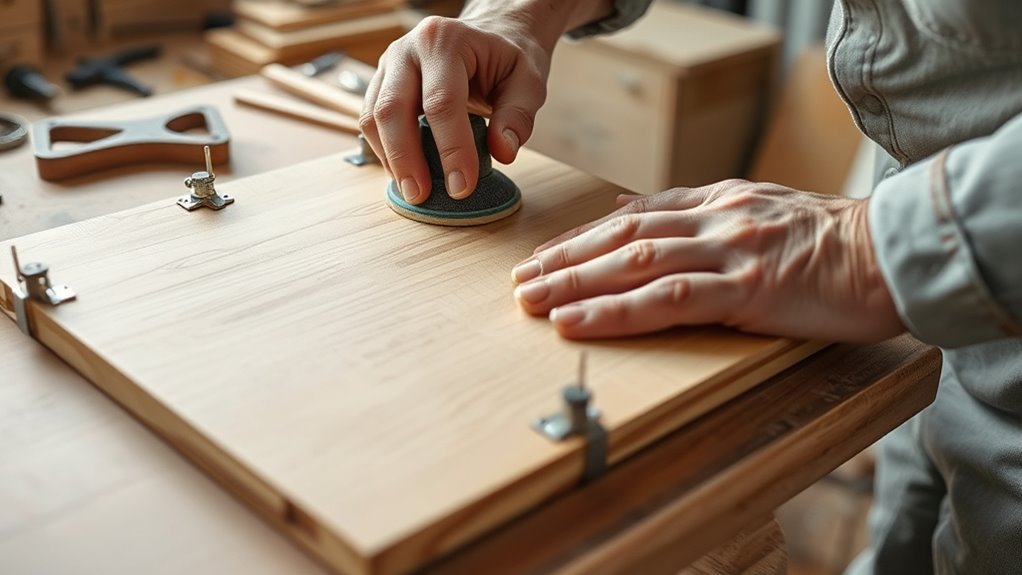
Sanding and Testing Veneer Hardness for Durability
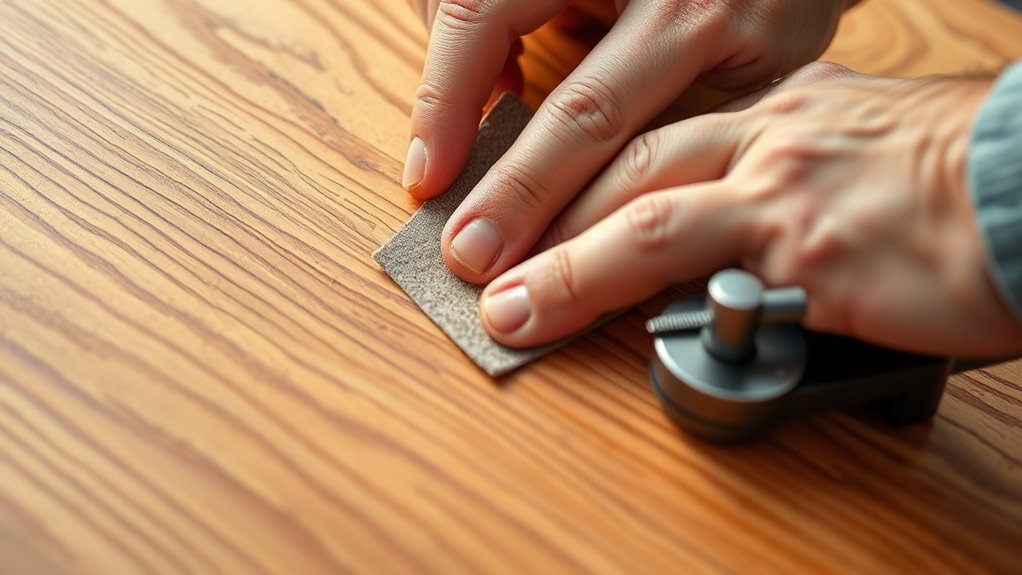
Before you start sanding your veneer, it’s vital to test its hardness to prevent accidental damage. Begin by sanding with 120 grit sandpaper on a random orbit sander to remove surface imperfections. Draw pencil lines across the veneer as a visual guide for testing how easily the material sands or removes. Progressively switch to finer grits like 220 or 320, observing how much of the pencil lines remain after each pass. If the pencil marks come off easily, the veneer is softer; if they resist removal, it’s harder. Use this testing to determine the maximum safe sanding depth, avoiding through-sanding. Here’s a quick guide:
| Grit Level | Pencil Mark Removal | Veneer Hardness | Recommended Action |
|---|---|---|---|
| 120 grit | Easy | Soft | Proceed cautiously |
| 220 grit | Slight | Medium | Continue testing |
| 320 grit | Difficult | Hard | Sand lightly |
| Final | No marks | Very Hard | Finish sanding |
Applying Finishes for a Smooth, Long-Lasting Surface

To guarantee your veneer surface remains smooth and durable, applying finishes carefully is essential. When applying veneer, use high-quality brushes or foam rollers to lay down finish coats in thin, even layers. This prevents drips and bubbles, ensuring a sleek, professional look. Always sand the surface thoroughly with fine-grit paper between coats to promote proper adhesion and achieve a polished finish. Work in a well-ventilated area and follow the manufacturer’s instructions for drying times to avoid tackiness or uneven curing. During application, follow the wood grain with your brush or roller, gently removing bubbles or streaks for a flawless appearance. Seal the veneer with a compatible topcoat, like polyurethane, in multiple thin layers, allowing proper curing time for maximum durability and gloss.
Frequently Asked Questions
How Can I Make My Old Veneer Look Better?
If you want your old veneer to look better, start by cleaning it with a soft cloth and a mild solution to remove dirt and grime. Lightly sand the surface with fine-grit paper to smooth imperfections and boost gloss. Apply a high-quality wood conditioner before staining to ensure even color. Use gel stain for better control and minimal blotching. Finish with a clear, water-based top coat to protect and enhance its appearance.
What Is the Best Way to Finish Veneer?
You’re about to turn a dull, tired veneer into a shining masterpiece. The best way is to gently embrace the wood’s natural beauty with a high-quality stain or clear sealer, like a whisper of silk on its surface. Apply a thin coat of polyurethane with a fine brush or foam roller, and sand lightly between coats. Keep testing on hidden areas until your veneer gleams with flawless, lasting elegance.
How Do You Smooth Out Veneer?
To smooth out veneer, you should start by gently sanding the surface with fine-grit sandpaper like 220 grit, always following the grain to prevent scratches. Work in small sections with light, consistent pressure, frequently checking your progress. After sanding, wipe the surface with a damp cloth to remove dust. For stubborn imperfections, apply a veneer-specific filler or a tiny amount of clear wood glue, then sand smoothly once dry.
Can Veneers Be Refinished?
Yes, you can refinish veneers if they’re thick enough to withstand sanding. You’ll want to gently sand the surface, clean it thoroughly, and then apply stain or paint, depending on your preference. Keep in mind, thin or paper-backed veneers aren’t suitable for refinishing because they can easily tear or get damaged. Always test a small area first to ensure your veneer can handle the process without harm.
Conclusion
With the right techniques and careful attention, you can achieve flawless veneer wood refinishing. Don’t worry if it takes a few tries—practice improves your skills and results. Remember, patience and precision make all the difference in creating a durable, beautiful finish. Even if challenges arise, stay committed to your process. In the end, your dedication will turn simple veneer projects into stunning, professional-looking pieces you’ll be proud of.