
To seamlessly blend patched areas with existing surfaces, start by sanding the patch gently with 120-150 grit sandpaper to smooth out excess material. Then, switch to finer grit like 220 to refine the surface and match the surrounding texture. Keep your strokes light and consistent, and regularly wipe away dust to check your progress. Careful sanding guarantees a smooth, even finish, making the repair virtually invisible—if you want to master this, keep exploring more tips ahead.
Key Takeaways
- Use progressively finer grit sandpaper to smoothly blend patched areas with surrounding surfaces.
- Sand at a slight angle with gentle pressure to avoid gouging and maintain surface texture.
- Feather the edges of the patch to seamlessly transition from old to new material.
- Regularly wipe away dust to monitor blending progress and prevent uneven spots.
- Match the original surface texture using appropriate techniques before painting for a seamless finish.
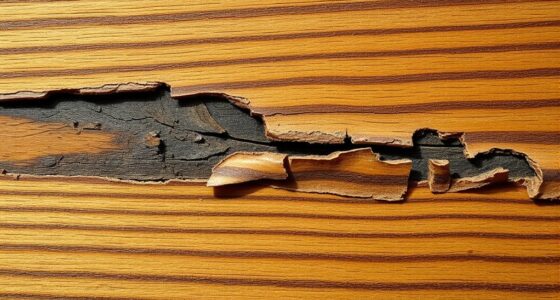
Once you’ve applied a patch to repair a damaged area, sanding is the essential next step to achieve a smooth, seamless finish. Proper sanding ensures that the patched section blends effortlessly with the surrounding surface, making any repair virtually invisible. To do this effectively, you need to focus on surface preparation and texture matching. Surface preparation involves removing excess patch material and creating an even, receptive surface for paint or finish. Texture matching is critical because it helps the patched area blend visually with the existing surface, preventing noticeable ridges or rough patches.
Start by choosing the right grit sandpaper—coarse enough to smooth out excess patch material but fine enough to avoid creating scratches. Typically, a medium grit (around 120-150) works well for initial sanding, followed by finer grits (220 or higher) for finishing touches. When sanding, keep the paper at a slight angle and use gentle, consistent pressure. This approach helps you shape the surface without gouging or accidentally removing too much material. As you sand, frequently check your progress and compare the patched area to the surrounding surface. The goal is to eliminate ridges and unevenness while maintaining the original texture.
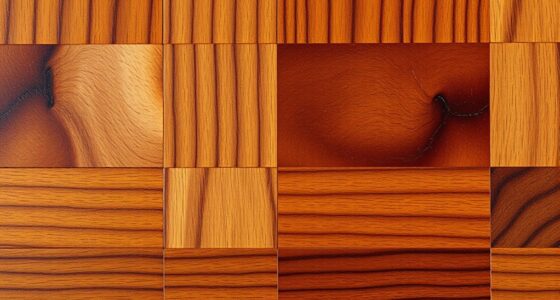
A crucial part of surface preparation is ensuring that the patched area has the same texture as the surrounding surface. If the existing surface has a rough or textured finish, you might need to replicate that texture before painting. This can involve lightly stippling, brushing, or using specialized tools to match the original pattern. Proper texture matching makes the repair less noticeable and ensures a uniform appearance once you finish painting. If you skip this step, you risk ending up with a patch that looks out of place, no matter how smooth the surface is. Vetted techniques can help you achieve the best results in matching textures and blending repairs seamlessly.
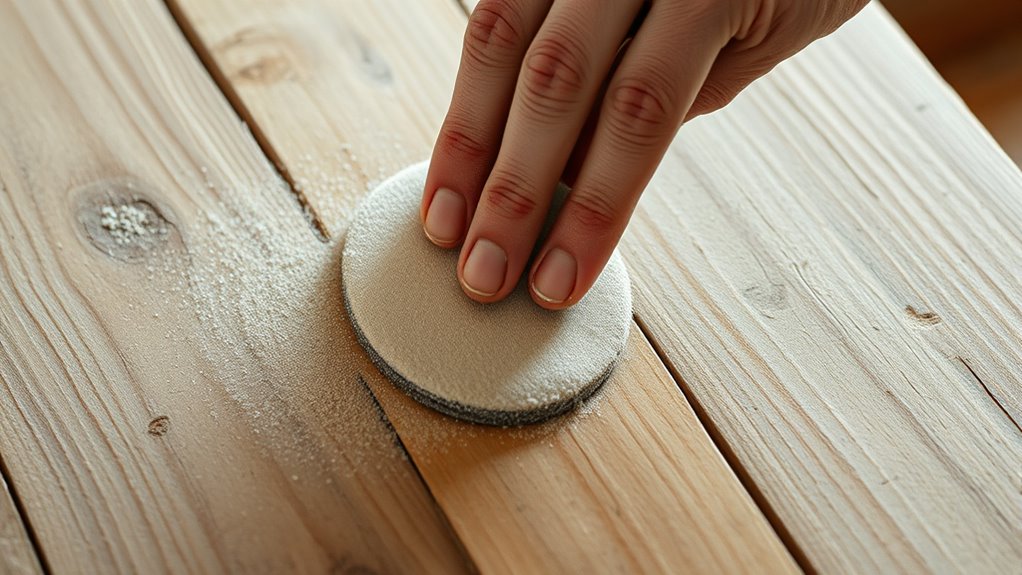
Be mindful during the sanding process to avoid over-sanding, which can create dips or uneven spots. Use light, controlled strokes and periodically wipe away dust to see your progress clearly. After the initial sanding, switch to a finer grit and lightly sand the area again. This step refines the surface, removing scratches left by the coarser grit and blending the patch into the existing surface. Remember, patience is key—taking your time to carefully prepare the surface will pay off with a professional-looking finish.
Finally, clean the area thoroughly after sanding to remove all dust and debris. This step is vital because any leftover particles can interfere with paint adhesion, ruining your efforts to blend the patch seamlessly. Once the surface is smooth, textured, and clean, you’re ready to proceed with priming and painting, confident that your repair will look flawless. Proper surface preparation and texture matching during sanding are the secrets to creating a repaired surface that’s virtually indistinguishable from the original.
120 grit sanding sponge for patch blending
As an affiliate, we earn on qualifying purchases.
As an affiliate, we earn on qualifying purchases.
Frequently Asked Questions
What Types of Sandpaper Are Best for Patching?
You should use fine-grit sandpaper, like 220 or higher, for patching. These types of grit provide a smooth finish without removing too much material. Opt for abrasive materials such as aluminum oxide or garnet, which are durable and effective at smoothing patched areas. Start with a medium grit, like 150, to level the surface, then finish with finer grit to blend seamlessly with the surrounding surface.
How Do I Prevent New Patches From Drying Unevenly?
To prevent new patches from drying unevenly, you should control the temperature and humidity in your workspace, ensuring consistent conditions. Keep the drying time in mind and avoid rushing the process by applying thin coats. By maintaining steady temperature control, your patches dry evenly, preventing cracking or uneven texture. Patience is key—wait for each layer to fully dry before applying the next, ensuring a smooth, seamless finish.
Can I Sand Patched Areas With a Power Sander?
Yes, you can use a power sander on patched areas, but you should proceed carefully. Use gentle sanding techniques to avoid damaging the patch or surrounding surface. Start with a fine grit to smooth the surface evenly, and make sure your surface preparation is thorough before sanding. Keep the sander moving to prevent creating uneven spots, and always wear a mask to protect yourself from dust.
How Do I Achieve a Seamless Blend Between Patched and Existing Surfaces?
To achieve a seamless blend, start by feathering the edges around the patch with gentle sanding to match the existing texture. Use a fine-grit sandpaper and focus on blending the patch into the surrounding surface. Be patient, and keep checking the texture match frequently. This edge feathering helps create a smooth progression, ensuring the patch blends seamlessly with the old surface for a professional finish.
What Safety Precautions Should I Take When Sanding?
Think of sanding as a dance with dust—protect yourself first. Always wear protective gear like a mask, goggles, and gloves to shield against tiny particles. Make certain good ventilation to clear the airborne dust, making your workspace safer. Keep your work area well-ventilated by opening windows or using fans. These precautions help you breathe easy and stay safe while you smooth out surfaces, turning a messy task into a safer, cleaner experience.
fine grit 220 sandpaper for surface finishing
As an affiliate, we earn on qualifying purchases.
As an affiliate, we earn on qualifying purchases.
Conclusion
Think of sanding patched areas like smoothing ripples on a pond—you want everything to flow seamlessly. I once jumped into a project without proper sanding, and the patch stood out like a sore thumb. But after taking the time to blend and sand carefully, the surface looked flawless, just like a calm, glassy pond. Proper sanding transforms uneven patches into invisible seams, making your entire surface look professionally finished and ready to shine.
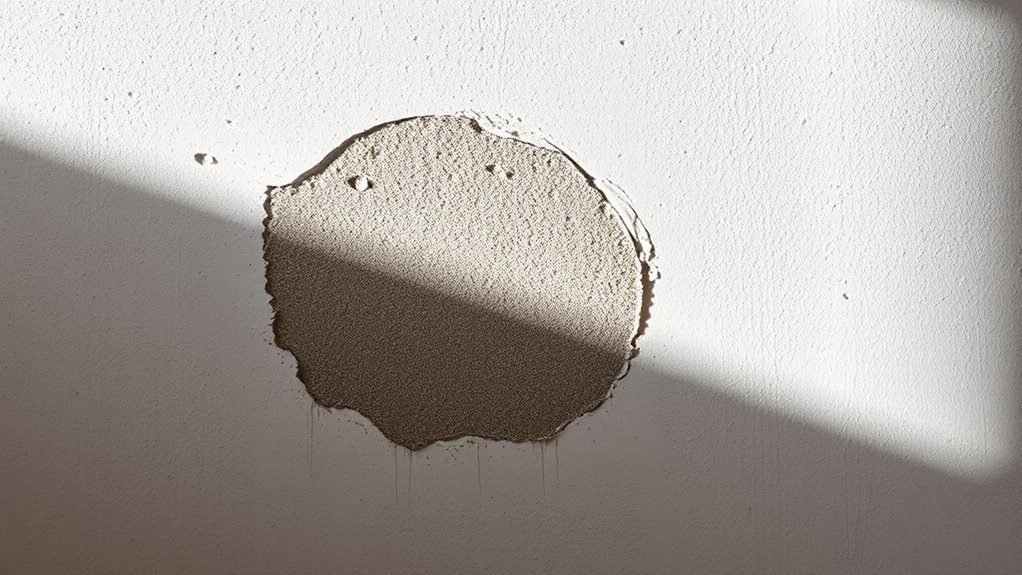
texture matching tools for wall repair
As an affiliate, we earn on qualifying purchases.
As an affiliate, we earn on qualifying purchases.
dust removal brush for sanding surfaces
As an affiliate, we earn on qualifying purchases.
As an affiliate, we earn on qualifying purchases.