
To make a veneer patch impossible to detect, focus on matching the color, grain, and texture precisely. Carefully examine the original surface, test your color choices on scrap veneer first, and adjust as needed to blend seamlessly. Use materials like stain sticks, waxes, or fillers that can be customized and accept stain evenly. With careful application, shaping, and finishing, your repair will blend beautifully. Keep exploring to learn more about flawless veneer patching techniques.
Key Takeaways
- Carefully match the veneer’s hue, grain, and texture, considering lighting conditions for accurate color perception.
- Test patch materials on hidden or scrap veneer to refine color and ensure seamless blending before final application.
- Choose customizable materials like stain sticks, waxes, or fillers that can be adjusted to match the original veneer precisely.
- Shape, sand, and stain the patch evenly to replicate the surface texture and prevent visible repair lines.
- Use meticulous application and blending techniques to make the repair virtually invisible and indistinguishable from the original veneer.
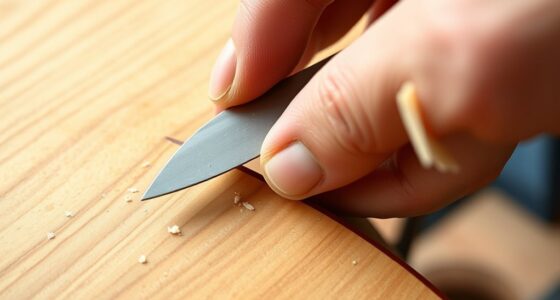
Veneer patching is an effective way to repair damaged or chipped veneer surfaces, restoring their appearance and integrity. When you’re tackling a repair, one of the most critical steps is guaranteeing the patch blends seamlessly with the surrounding veneer. Achieving this requires careful attention to color matching and material selection. If the color isn’t spot-on, your repair will stand out, defeating the purpose of a flawless fix. To get it right, you need to choose the right materials that closely resemble the original veneer in hue, grain, and texture. Many repair kits come with a variety of stain sticks, waxes, or fillers designed to mimic different wood tones, so selecting the appropriate shade is key.
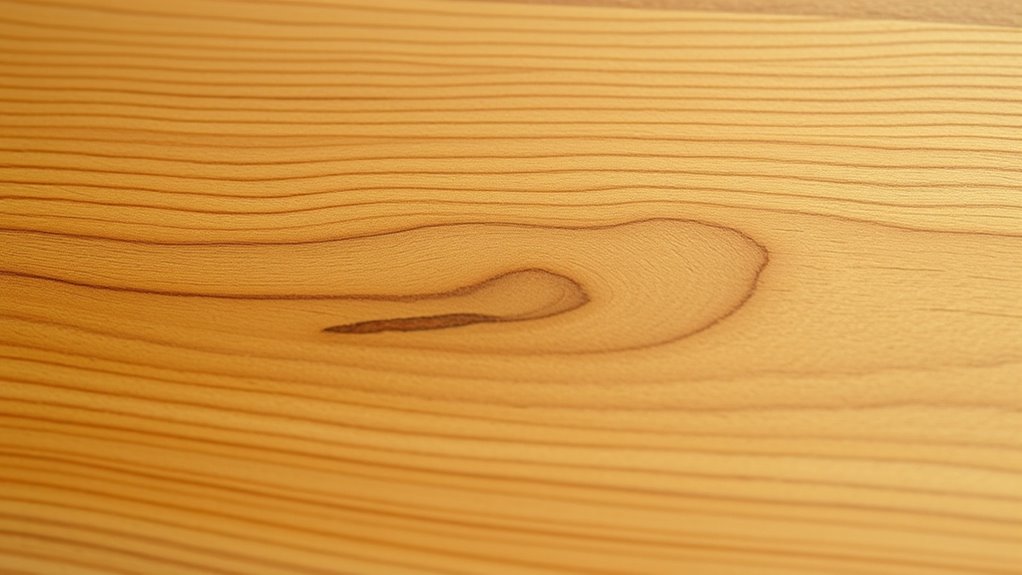
Start by examining the original veneer closely. Look at the color variations, grain patterns, and how the light hits the surface. When choosing your patching material, opt for products that can be customized or mixed to match these nuances. For example, if the veneer has a warm, honey tone, select a filler or stain that can be adjusted to replicate that warmth. If it’s a cooler, ash or grayish hue, choose a product with similar undertones. Keep in mind that lighting can influence how you perceive the color, so check your matching under natural light or the lighting conditions where the repair will be visible. Additionally, understanding the safety of electric heated mattress pads can be useful if you plan to work in a cozy, well-lit environment to ensure safe handling of materials.
Examine the veneer’s color, grain, and light reflection to ensure a seamless, natural match.
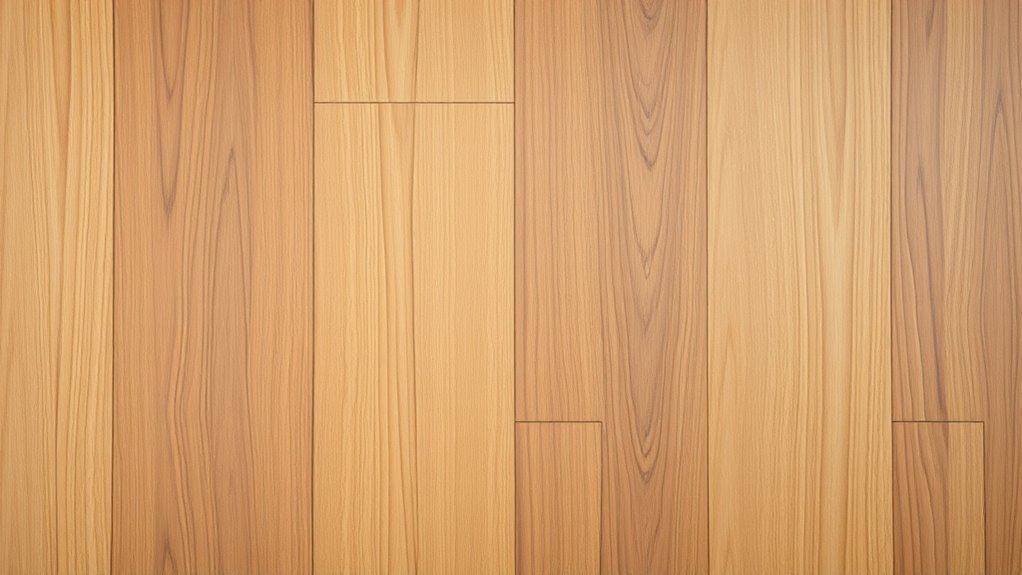
Material selection also involves choosing the right type of patch or filler. Some fillers are better suited for small chips, while others work well for larger areas. Epoxy or wood filler that can be sanded and stained often provides a durable, seamless repair. If you’re working with veneer that has a distinctive grain pattern, try to find a patching material that can be textured or manipulated to match that grain. Remember, the key to a flawless repair is not just choosing the correct color but also selecting a material that adheres properly, can be shaped easily, and accepts stain or finish evenly.
Once you’ve picked your materials, test the color on a hidden section or scrap piece of similar veneer. Adjust the hue if necessary before applying it to the damaged area. This step ensures you won’t be surprised by a mismatch after the repair is complete. The goal is to create a patch that looks like it was part of the original surface all along. With attention to color matching and careful material selection, your veneer repair will be virtually invisible, leaving no one to suspect the surface has been touched up.
Frequently Asked Questions
What Tools Are Best for Seamless Veneer Patching?
When it comes to seamless veneer patching, your tool selection is vital for a flawless finish. Use fine-grit sandpaper for smoothing edges and a putty knife for precise adhesive application. Opt for high-quality adhesive options that match your veneer’s material, ensuring a secure bond. A small brush or applicator helps spread the adhesive evenly, preventing visible seams. With the right tools and adhesives, your repair will blend naturally, leaving no sign of the patch.
How Long Does a Veneer Patch Typically Last?
A veneer patch typically lasts about 5 to 10 years, depending on how well you care for it. To guarantee longevity, use high-quality wood filler that matches the original veneer’s color. Proper application and blending are vital for a seamless look. With good maintenance and careful handling, your patch will stay discreet and durable, helping your surface look flawless for years to come.
Can Veneer Patches Be Matched to Any Wood Color?
You can usually match veneer patches to any wood color through expert veneer color matching, ensuring the repair blends seamlessly. Repair material options vary, including stainable fillers and custom-colored veneer patches, giving you flexibility for precise matches. By choosing the right repair materials and skilled application, you won’t have to worry about the patch standing out, making your repair virtually invisible and restoring the wood’s natural beauty effortlessly.
Is Veneer Patching Suitable for Large Repairs?
Thinking veneer patching isn’t for large repairs? Think again! Veneer repair myths often suggest it’s only for small fixes, but it’s actually a cost-effective solution for bigger damage too. You might worry about matching perfectly, but skilled patching makes it seamless. So, don’t shy away from large repairs—trust that veneer patching can handle it without ruining your furniture’s look or your budget.
How Do I Prevent Future Veneer Damage?
To prevent future veneer damage, you should handle your vintage veneer carefully by avoiding heavy impacts and using protective measures like coasters and felt pads. Regular cleaning with gentle products helps maintain its integrity. Be mindful of humidity levels, as fluctuations can cause warping. Investing in proper maintenance can reduce repair costs and keep your vintage veneer looking its best, preventing the need for extensive repairs down the line.
Conclusion
Don’t worry about your veneer repairs being obvious. With the right patching techniques, no one will notice the difference. Even if you’re concerned about the repair being visible, proper blending and careful application make all the difference. You don’t need to be a pro to achieve a flawless finish—just follow these simple steps. So go ahead, fix that chip or crack confidently, and enjoy a seamless, beautiful surface that looks untouched.