
To prevent paint bleed on intricate trim, start by applying a high-quality primer suited for the surface and let it dry completely. Use low-tack painter’s tape, pressing it firmly into all detailed areas with a small, angled brush to seal edges thoroughly. Carefully paint with controlled strokes, then remove the tape once the paint is slightly tacky or fully dry, peeling it back at a sharp angle. For more expert tips, keep exploring this quick hack.
Key Takeaways
- Use high-quality, low-tack painter’s tape and press firmly to prevent seepage into detailed areas.
- Seal tape edges with a small brush to create an extra barrier against paint bleeding.
- Apply primer thoroughly on intricate trim to minimize uneven absorption and bleeding.
- Remove tape when paint is slightly tacky or fully dry, pulling at a sharp angle for clean lines.
- Perform touch-ups with a fine brush after tape removal to fix any small bleed marks.
Intricate trim adds character to any space, but it can also make painting more challenging. When you’re working with detailed moldings or decorative features, the risk of paint bleed increases, which can ruin the clean, professional look you’re aiming for. To prevent this, proper preparation is key—starting with effective primer application and mastering painter’s tape techniques. These steps create a solid foundation and a sharp edge, making your finished project look polished and tidy.
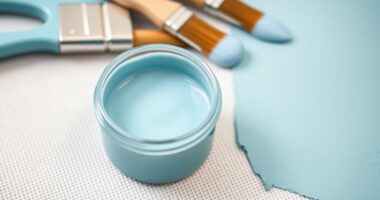
First, guarantee you apply primer correctly. Use a high-quality primer suited for your surface, which helps seal the intricate details and prevents paint from seeping into tiny crevices. Apply the primer with a small brush or a fine roller, paying close attention to the detailed areas. Let the primer dry completely; this creates a uniform base that minimizes the chances of paint bleeding through later coats. Skipping or rushing this step can cause uneven paint absorption, making clean lines harder to achieve.
Applying a high-quality primer ensures clean lines on detailed trim.
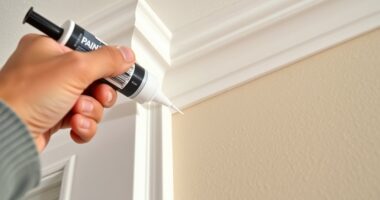
Once the primer is dry, focus on your painter’s tape techniques. The right taping method makes all the difference in achieving crisp lines on complex trim. Start by choosing painter’s tape with a low-tack adhesive that won’t peel off the primer or paint. Carefully press the tape onto the surface, ensuring it adheres well to every detail without gaps or bubbles. For intricate areas, use a small, angled brush to press the tape into tight corners and along delicate edges, reducing the risk of paint seeping underneath.
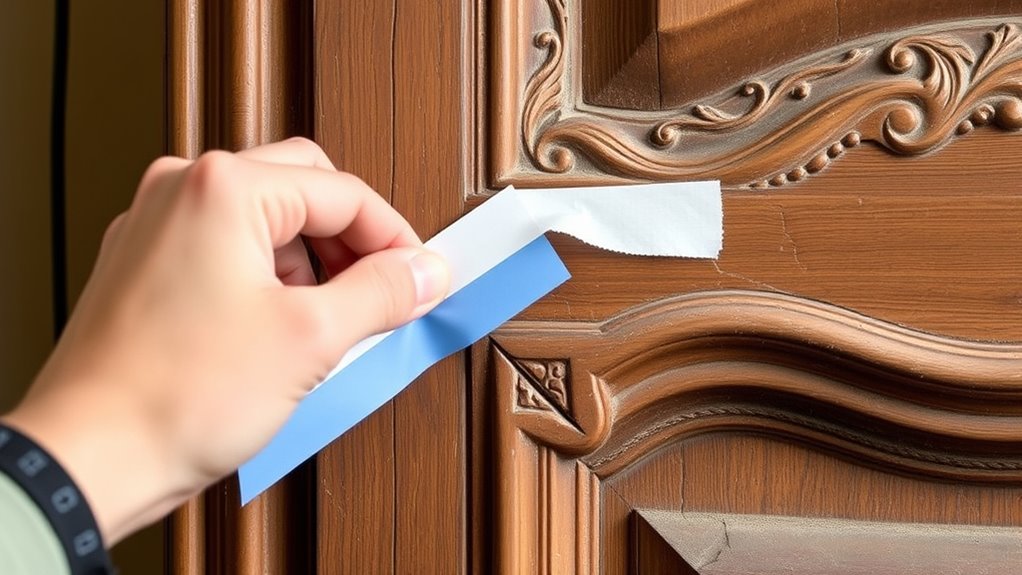
When you’re ready to paint, do so with controlled, even strokes, being cautious near the tape edges. Avoid overloading your brush or roller, which can cause drips or seepage. Once you finish painting, don’t rush to remove the tape immediately. Instead, wait until the paint is just slightly tacky or fully dry, depending on the product instructions. When removing the tape, do so slowly and at a sharp angle, pulling away from the painted surface. This careful removal prevents tearing or lifting fresh paint, ensuring your intricate trim looks sharp and clean.
If you notice any small bleed marks during the process, touch them up with a fine brush after removing the tape. This extra step can make a big difference in the final appearance. Remember, patience and attention to detail—both in primer application and tape techniques—are your best tools for preventing paint bleed. Using high-quality materials and proper technique can significantly improve your results. With these methods, you’ll achieve crisp, professional-looking results that highlight even the most detailed trim, elevating your entire space.
Frequently Asked Questions
Can This Masking Hack Be Used on Outdoor Trim?
You can definitely use this masking hack on outdoor trim, but keep in mind outdoor durability and weather resistance. Select painter’s tape designed for exterior use, as it withstands rain, sun, and temperature changes better. Properly apply the tape, pressing down firmly to prevent paint bleed. This ensures your intricate outdoor trim looks sharp and clean, even after exposure to the elements, making your painting job last longer and stay neat.
What Types of Paint Work Best With This Method?
Think of your paint like a smooth river flowing effortlessly. For this masking method, you’ll want to choose brush types that provide fine control, like angled brushes or detail brushes. Latex or acrylic paints with a medium consistency work best, flowing smoothly without drips or clumps. These choices help you achieve crisp lines and prevent bleed, making your project look professional and polished every time.
How Long Does the Masking Tape Last During Painting?
You’ll want to monitor tape longevity carefully during your project, as it affects paint durability. Typically, good-quality masking tape lasts around 24 hours without lifting or peeling, especially if you’re working in ideal conditions. For longer projects, consider reapplying or using tape designed for extended paint durability. Proper application and climate control will help guarantee the tape stays in place, giving you cleaner lines and better overall results.
Is This Technique Suitable for Very Narrow or Detailed Trim?
Imagine your brush gliding smoothly, precision masking ensuring every tiny detail stays untouched. This technique works wonderfully for very narrow or detailed trim, as it allows you to preserve the intricate edges without bleed. You get sharp lines and clean results, even on delicate surfaces. With careful application, your detailed trim remains crisp and flawless, making this method perfect for maintaining the elegance of intricate designs and preserving every fine detail.
Can I Reuse the Masking Materials for Future Projects?
You can reuse masking materials, but it depends on their masking tape durability. If the tape remains sticky and undamaged after removal, you can save it for future projects. Reusable masking materials like silicone or painter’s plastic sheets tend to last longer if cleaned properly. Always inspect your masking supplies before reuse to make sure they still provide a good seal and won’t cause paint bleed or mess.
Conclusion
By using this simple masking hack, you can achieve clean, crisp lines on even the most intricate trim. Did you know that improper masking can cause paint bleed, leading to up to 30% more touch-ups later? Now, with this easy trick, you’ll save time and frustration, ensuring your trim looks flawless. Give it a try on your next project—you’ll be amazed at how much difference a small step can make!