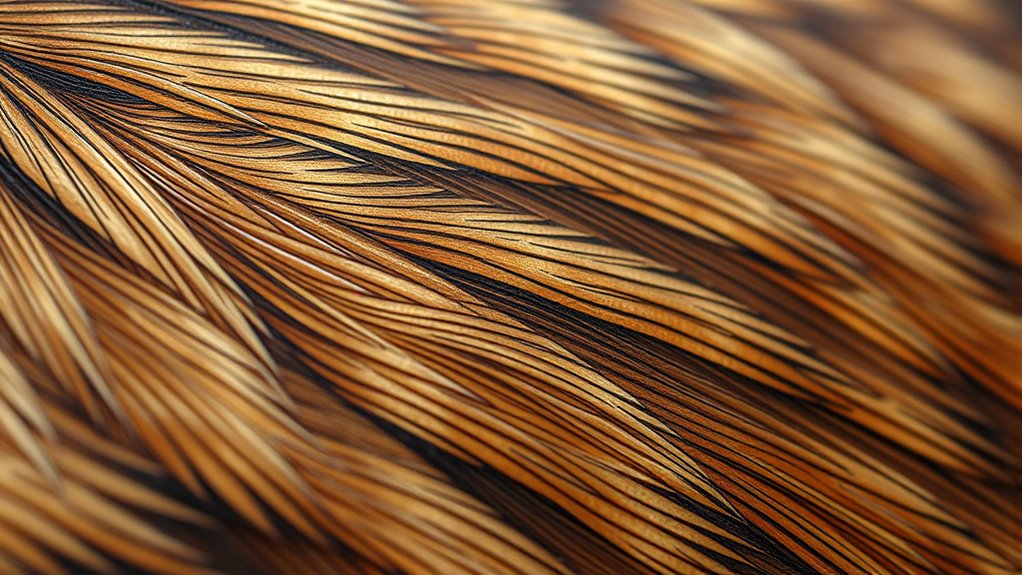

To create realistic fur and feathers in pyrography, observe how natural hairs and feather barbs vary in length, direction, and layering. Use fine lines, stippling, and cross-hatching to mimic textures, adjusting pressure and line weight for depth. Add subtle color accents like iridescent feathers or warm fur tones to enhance realism. Practice applying these techniques consistently, paying attention to how light interacts with surfaces. Keep exploring these methods, and you’ll discover ways to bring your subjects to life.
Key Takeaways
- Observe fur and feather patterns closely to replicate natural flow, layering, and directional variations.
- Use fine lines, stippling, and cross-hatching techniques to build realistic textures and depth.
- Incorporate subtle color accents to highlight glossiness and natural surface variations.
- Maintain consistent tool pressure and line flow aligned with natural fur and feather directions.
- Build textures gradually through multiple layers, focusing on light interaction and surface detail.
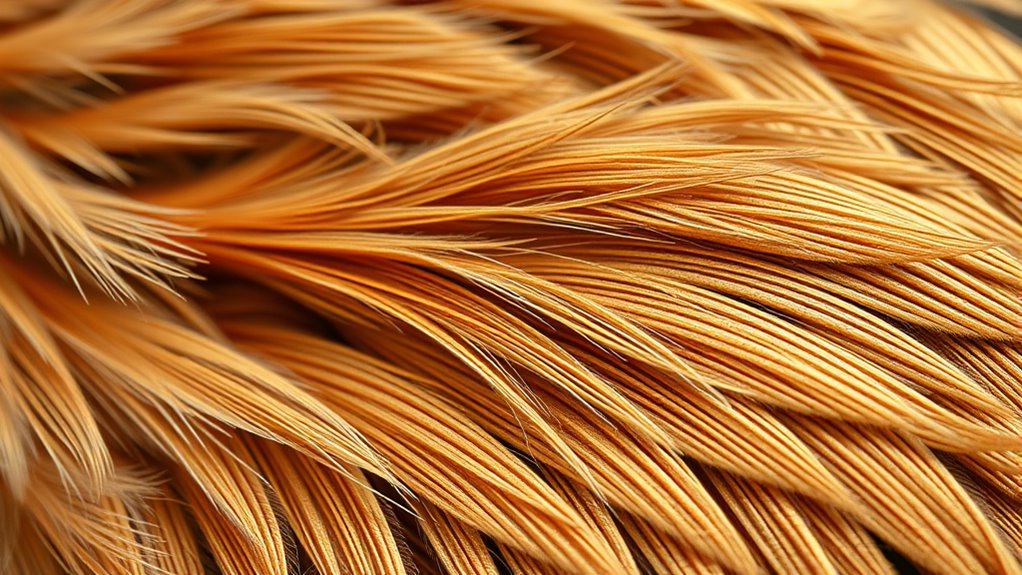
Capturing the intricate textures of fur and feathers in pyrography can bring your artwork to life, but it requires more than just shading. To create realistic, natural-looking textures, you need to master specific texture techniques that mimic the fine details found in these surfaces. Start by observing your subject closely—note how fur varies in length, direction, and density, and how feathers layer and overlap. Use a combination of fine lines, stippling, and cross-hatching to build depth and dimension. Fine lines can replicate individual hairs or feather barbs, while stippling adds subtle shading and texture variation. Cross-hatching can suggest shadowed areas and the underlying contours of the animal’s body.
Color integration is also essential in achieving realism. Although pyrography primarily involves burning, you can incorporate subtle color accents to enhance the depth and vibrancy of your work. Using colored pencils or pastels in conjunction with burning allows you to highlight certain areas, such as the sheen on a glossy feather or the warm undertones in a furry coat. Be careful not to overdo it; the goal is to complement the burned surface, not overpower it. Light touches of color can emphasize the natural variations in fur and feathers, making them appear more lifelike. For example, adding a hint of reddish-brown in a fox’s fur or a touch of iridescent blue in bird feathers can make your piece stand out.
When applying texture techniques, keep your tools and pressure consistent to maintain uniformity in your lines and stippling. Vary your line weight and density for different areas to suggest texture differences—thicker, darker lines for shadowed fur or layered feathers, and lighter, finer lines for highlights and softer areas. Pay attention to the directionality of the strokes; following the natural flow of fur or the alignment of feathers enhances realism. Experiment with different burning tips to achieve varied line qualities, from sharp, precise lines to softer shading effects. Additionally, understanding how light interacts with surfaces can significantly improve the realism of your textures, adding depth and dimension to your work.
Incorporating these texture techniques and subtle color integrations allows you to craft detailed, authentic representations of fur and feathers. The key is patience—building up layers gradually and observing how light interacts with the surface. With practice, your pyrography will evolve into a true celebration of nature’s intricate textures, capturing the softness of fur and the delicate layering of feathers with stunning realism.

FIRElood Wood Burning Kit,Wood Burning Tips Wood Burner tip,Burning Tool Wood Burning High impedance Nickel-Chromium Wire Pen tip Wood Burning Tool Pen tip nibs for Writing Instruments Pen nibs
- High-Quality Materials and Durability: Selected materials ensure long-lasting use
- Wide Compatibility: Fits most wood burning tools
- Set of 10 Metal Nibs: Includes various precision tips for detailed work
As an affiliate, we earn on qualifying purchases.
As an affiliate, we earn on qualifying purchases.
Frequently Asked Questions
What Types of Wood Are Best for Pyrography Fur and Feathers?
You should choose soft, fine-grained woods like basswood, birch, or maple for pyrography fur and feathers. These types of wood are best because they allow for detailed, precise burning without splintering or blotching. Their smooth surfaces make it easier to create realistic textures, giving your artwork a natural look. Avoid hard or knotty woods, as they can make detailed work difficult and less refined.
How Can I Prevent Burning Through Delicate Areas?
To prevent burning through delicate areas, you should control heat intensity by adjusting your pyrography tool and using lighter touches. Additionally, applying protective barriers like painter’s tape or scrap wood can shield fragile sections. Take your time, work slowly, and test your technique on scrap before working on the final piece. This approach helps maintain fine details without damaging the surface, ensuring your fur and feathers look realistic and well-defined.
Are There Specific Tools Recommended for Fine Detail Work?
For fine detail work, you should use fine detail pens and soft shading tips. These tools allow you to create delicate lines and subtle shading, perfect for rendering intricate fur and feather textures. Keep your hand steady and work slowly to avoid mistakes. Using these specialized tools helps you achieve precision and realism, making your pyrography pieces look more natural and detailed without risking overburning or damaging delicate areas.
How Do I Correct Mistakes in Detailed Fur or Feather Areas?
When you make a mistake in detailed fur or feather areas, start by gently layering techniques to build up the correct look. If color correction is needed, carefully erase or lightly burn over the unwanted area with a fine tip, then reapply the correct shading or detail. Patience is key—layer gradually and adjust carefully to blend seamlessly, ensuring your piece looks natural and refined.
What Safety Precautions Should I Follow During Detailed Pyrography?
You might think safety slows down your work, but it’s essential. Always wear protective gear like masks and gloves to avoid fumes and burns. Guarantee proper ventilation safety by working in a well-ventilated area or using a fume extractor. Keep your workspace clean and stay alert to prevent accidents. Prioritizing these precautions lets you focus on your detailed pyrography, creating realistic fur and feathers without risking health or safety.
Conclusion
By practicing these techniques, you’ll bring your pyrography pieces to life, making fur and feathers look as soft and realistic as a gentle breeze through leaves. Think of each stroke as adding a layer of depth and texture, transforming your work into something truly mesmerizing. With patience and attention to detail, you’ll find yourself creating artwork that feels almost alive—like nature itself whispering through your flames. Keep experimenting, and watch your skills soar like a bird in flight.