To guarantee your paint sticks well over stained surfaces, start by thoroughly cleaning the area with a mild detergent or vinegar mixture to remove dirt and grease. Lightly sand with fine-grit paper to create a rough surface for better adhesion, then wipe away all dust. Apply a high-quality bonding primer in thin coats, letting each dry completely. After priming, lightly sand again for a smooth finish. Keep going to discover more tips for professional-looking results.
Key Takeaways
- Clean the stained surface thoroughly with mild detergent or vinegar mix to remove dirt, grease, and oils.
- Lightly sand the surface with fine-grit sandpaper to improve primer and paint adhesion.
- Remove all dust after sanding using a tack cloth or damp rag for a clean, dust-free surface.
- Apply a high-quality bonding primer designed for stained or glossy surfaces in thin, even coats.
- Once primed and dry, lightly sand the primer and clean off dust before applying the final paint layer.
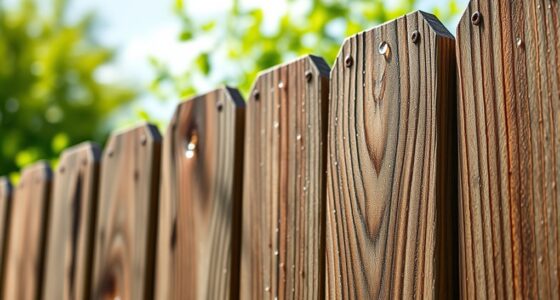
Have you ever wondered if you can paint over stained wood or furniture without stripping the existing finish? The good news is, you can, but success depends heavily on proper surface preparation and primer application. Before you start painting, you need to guarantee the surface is ready to accept the new coat of paint. Stains, especially those that are oil-based or heavily pigmented, can interfere with adhesion, causing peeling or uneven coverage. That’s why surface preparation is vital. Begin by thoroughly cleaning the furniture to remove dirt, grease, or any residual oils that might prevent paint from sticking. Use a mild detergent or a mixture of water and vinegar, then rinse well and let it dry completely.
Once the surface is clean, lightly sand the stained wood or furniture. This step creates a rough texture that helps the primer and paint grip better. Use fine-grit sandpaper, such as 220 grit, and gently scuff the surface without damaging the existing finish. Sanding also smooths out any imperfections or glossy areas that could hinder adhesion. After sanding, wipe away dust with a tack cloth or a damp rag to guarantee no particles remain. Proper surface preparation is essential to a successful paint job over stained surfaces, as it promotes better adhesion and a more even final appearance.
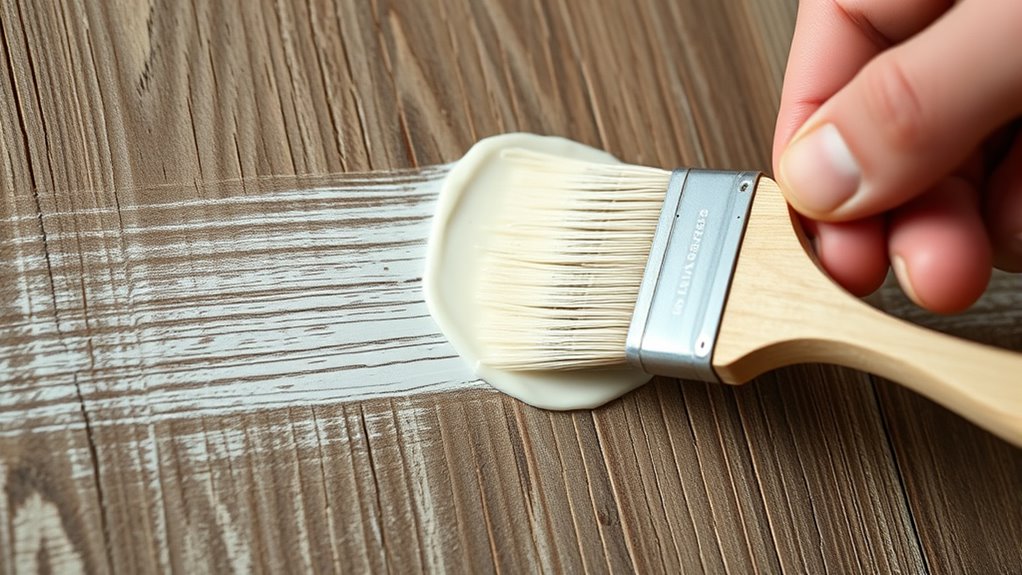
Next comes primer application, which is absolutely indispensable when painting over stained wood. A high-quality bonding primer designed for stained or glossy surfaces creates a barrier that helps the new paint adhere firmly. When applying primer, use a brush or roller, and follow the manufacturer’s instructions regarding drying time. Applying a thin, even coat is better than applying thick layers that can lead to drips or uneven coverage. If you’re working with a heavily stained or glossy surface, you might need to apply two coats of primer to guarantee proper sealing. Once the primer is dry, lightly sand it again with fine-grit sandpaper to smooth out any brush strokes or imperfections, then remove any dust.

Stone Coat Countertops Bonding Primer & Sealer, 1 Quart (Translucent White)
- Transforms Dated Countertops: Creates durable bond on slick surfaces
- Upgraded Formulation: Replaces XIM UMA Primer for professional results
- Low-Odor, Low-VOC: Safe and comfortable for indoor use
As an affiliate, we earn on qualifying purchases.
As an affiliate, we earn on qualifying purchases.
Frequently Asked Questions
Can I Paint Over Stained Furniture Without Sanding?
You can paint over stained furniture without sanding, but it’s not ideal for long-lasting durability or perfect color matching. To improve adhesion, clean the surface thoroughly and apply a quality bonding primer designed for stained wood. Skipping sanding might compromise furniture durability over time, and it could affect your color matching. For the best results, lightly sand to create a smooth surface, ensuring your paint adheres well and looks seamless.
Which Types of Paint Work Best on Stained Surfaces?
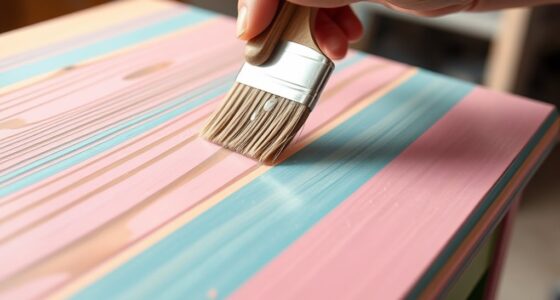
Did you know that oil-based paints tend to be the most compatible with stained surfaces? They offer excellent adhesion and durability, especially when you’re trying to cover a stain color. For best results, choose high-quality latex or acrylic paints designed for glossy or stained surfaces. These paints provide good paint compatibility and help hide stain color while ensuring smooth, long-lasting coverage. Always clean and prime your surface before painting for ideal adhesion.
How Long Should I Wait Before Painting Over Stain?
You should wait at least 24 hours before painting over stain, allowing the surface to dry completely. Proper surface preparation is essential, so make sure the stain is fully dry and lightly sanded to create a smooth, adhesion-friendly surface. Rushing this step can lead to peeling or uneven finish. Always check the stain manufacturer’s drying time instructions, as factors like humidity and temperature can affect how long you should wait.
Is Primer Necessary When Painting Over Stain?
Think of primer as your secret weapon—it’s essential for proper stain coverage. You need it because primer importance lies in sealing the stain, preventing bleed-through, and creating a smooth surface. Skipping it risks uneven paint, peeling, or blotches. When painting over stain, always use a quality primer to guarantee your topcoat adheres well and looks flawless. Trust me, it’s worth the extra step for a professional finish.
How Do I Prevent Peeling or Chipping?
To prevent peeling or chipping, you should focus on proper surface preparation and adhesion techniques. Clean the surface thoroughly, removing grease and dirt, then lightly sand to create a rough texture. Apply a high-quality primer to improve adhesion and seal the stain. Use thin, even coats of paint, allowing each layer to dry completely. Properly preparing the surface and following these techniques guarantees your paint sticks well and lasts longer.
Conclusion
Now that you’ve mastered painting over stain, remember it’s like rewriting a story on a worn page—your fresh coat brings new life and meaning. Proper prep and adhesion act as the delicate brushstrokes that seal your message, ensuring it endures. With patience, your work becomes a symbol of transformation, turning old memories into vibrant new chapters. Embrace the process, knowing each stroke is a step toward creating something lasting and beautiful.