The art of wood veneering involves selecting high-quality logs, mastering precise cutting and slicing techniques, and skillfully applying thin wood layers to surfaces. You can create stunning patterns by controlling grain direction and pattern flow, enhancing furniture or decorative pieces. Using specialized machinery and finishing methods guarantees durability and beauty. If you want to explore detailed tips on crafting, designing, and perfecting veneer work, there’s much more to uncover as you continue your journey.
Key Takeaways
- Wood veneering involves applying thin, high-quality wood slices to substrates to create decorative, durable surfaces.
- Precise cutting, pattern control, and grain alignment are essential for achieving aesthetic harmony and detail.
- Historical techniques evolved from manual slicing to advanced machinery like CNC and veneer presses for consistency and scale.
- Proper substrate preparation, adhesive selection, and finishing techniques enhance veneer adhesion and surface appearance.
- Mastery of tools, measurement, and practice contribute to craftsmanship and the artful expression in veneering projects.

POWERTEC 14.3mm Carbide Inserts Cutter Knives for Spiral & Helical Cutterheads - Fits Wen PL1326, JT630H & Rikon 25-130H, Tungsten Carbide Replacement Blades for Planer and Jointer (14301)
INCLUDES: (10) Carbide Insert Blades
As an affiliate, we earn on qualifying purchases.
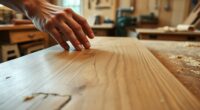
Understanding the Basics of Wood Veneering
Wood veneering involves applying thin slices of high-quality wood, called veneers, onto substrates like plywood or MDF to create a luxurious look. Veneer sheets, typically 0.6 mm to 3 mm thick, are commonly used for detailed patterns and enhance the visual appeal of furniture. To master the art of veneering, you need the right tools, patience, and attention to detail. Take your time to make sure the grain direction aligns properly, ensuring a seamless, clean edge. A strong bond extends beyond the surface, providing durability. Always use a square for precise cuts, and remember that proper handling and grading of veneers are valuable resources for maintaining quality. Ensuring proper adhesion techniques is crucial for a durable finish, especially when working with delicate veneers. Additionally, understanding the importance of color accuracy can influence how natural wood tones are represented and preserved during the veneering process. Incorporating wood grain alignment techniques can further enhance the realism and visual appeal of your veneered surfaces.
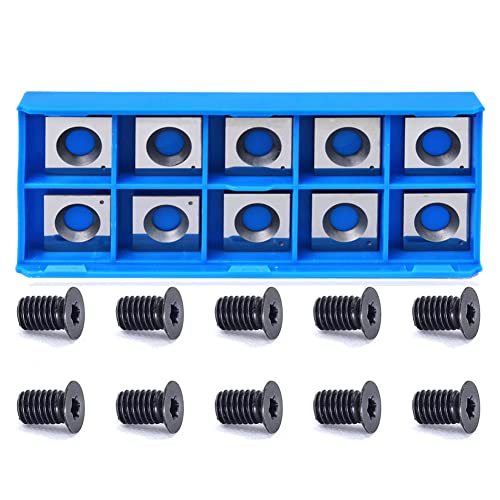
Indexable Carbide Insert Knife 14.3x14.3x2.0mm-50° 2-Edge Replacement Cutter for Cutech Tool Rikon Carbatec and Most Planer Jointer Helical Cutterheads, 10 Packs
Standard Cutter Size: 14.3mm square with straight corners 2mm thick,2 indexable cutting edges, 50 degree cutting bevel. Inserts...
As an affiliate, we earn on qualifying purchases.
The History and Evolution of Veneering Techniques
Veneering has a rich history spanning over 3,500 years, starting with skilled craftsmanship in ancient Egypt and Rome. The Industrial Revolution brought mechanized slicing methods that boosted production and opened new design possibilities. Today, modern techniques like computer-controlled slicing and advanced adhesives continue to evolve, enabling more intricate and precise veneer work.
Ancient Origins of Veneering
The practice of veneering dates back over 3,500 years, with early examples discovered in Egyptian artifacts from around 1500 BCE. You can see this ancient technique in their furniture and architectural panels, where thin wood layers were applied to create decorative surfaces. The Romans also adopted veneering to craft elaborate furniture and interior features, demonstrating its importance in ancient craftsmanship. Originally, veneering involved manual slicing logs into thin sheets, requiring remarkable skill and precision. Over time, techniques evolved, but the fundamental idea remained the same: enhancing appearances with fine wood layers. These early methods laid the groundwork for future innovations, leading to more refined craftsmanship and, ultimately, the modern machinery that allows for consistent, high-quality veneer production today. Additionally, advancements in machinery have significantly increased production efficiency and allowed for the mass manufacture of veneers, making decorative wood surfaces more accessible. Modern developments in technology have further improved veneer quality and consistency, ensuring durability and aesthetic appeal. The evolution of tools and techniques has also helped in achieving uniformity in veneer sheets, which is crucial for high-end woodworking projects.
Industrial Revolution Advances
During the Industrial Revolution, technological advances transformed veneering from a manual craft into a highly efficient industrial process. You benefited from mechanized equipment that boosted production speed and scale, making veneers more accessible. Innovations like the Cremona slicer enabled consistent, ultra-thin sheets at rapid rates, revolutionizing quality and quantity. Heated tanks and controlled moisture environments improved veneer integrity, reducing defects and enhancing appearance. Additionally, advanced grading and packaging systems, including barcode tracking and automated inspections, maintained high standards across large-scale manufacturing. These developments allowed veneering to expand globally, shifting it from a craft to a streamlined industrial operation, meeting increasing demand and setting the stage for future innovations. The revolution in techniques truly transformed the art and science of veneering. Incorporating quality control measures was essential to maintaining consistency and high standards throughout the production process. Furthermore, the adoption of precision machinery for cutting and handling veneers ensured uniformity and reduced waste, significantly improving overall efficiency, supported by industrial automation systems that optimized workflow and output. The integration of moisture regulation technologies further enhanced the durability and aesthetic appeal of veneered products, aligning with the increasing industrial demands. Additionally, the understanding of material science contributed to the development of stronger and more durable veneer composites, pushing the evolution of veneering techniques even further.
Modern Techniques & Trends
Modern veneering techniques have evolved dramatically from ancient hand-slicing methods used by Egyptians over 3,500 years ago to today’s automated machines that produce consistent, ultra-thin sheets at high speeds. In the 19th century, rotary and sliced veneer production allowed for mass customization and intricate patterns like book-matching and marquetry. Today, computer-aided design (CAD) and CNC routing enable you to craft complex patterns with exceptional precision and minimal waste. The introduction of vacuum veneer pressing and advanced adhesives has enhanced the quality, durability, and repeatability of veneered surfaces. Modern trends also focus on sustainability, using thinner veneers, eco-friendly adhesives, and digital tracking systems. These innovations reflect the ongoing evolution, making veneering more efficient, versatile, and environmentally conscious. Additionally, the use of vetted materials ensures safety and quality in modern veneering projects, with some companies adopting sustainable practices to minimize environmental impact. Incorporating regulatory compliance into manufacturing processes further ensures that modern veneering aligns with current safety standards and industry best practices. Furthermore, advancements in material science have contributed to the development of innovative veneering substrates that improve overall performance and aesthetic appeal. Innovations in quality assurance processes help maintain high standards and customer satisfaction in the industry.

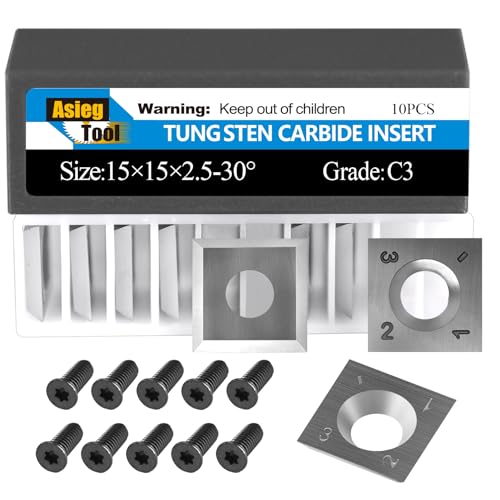
Findbuytool Carbide Inserts cutters (15x15x2.5mm-30°-R150-4R0.5) Insert for Woodworking Helical Cutter Head Tools, 10 Pcs (10)
{Product Contains}:10pcs Carbide Insert Knife 15x15x2.5mm-30°-R150-4R0.5 for Helical Cutterhead.
As an affiliate, we earn on qualifying purchases.
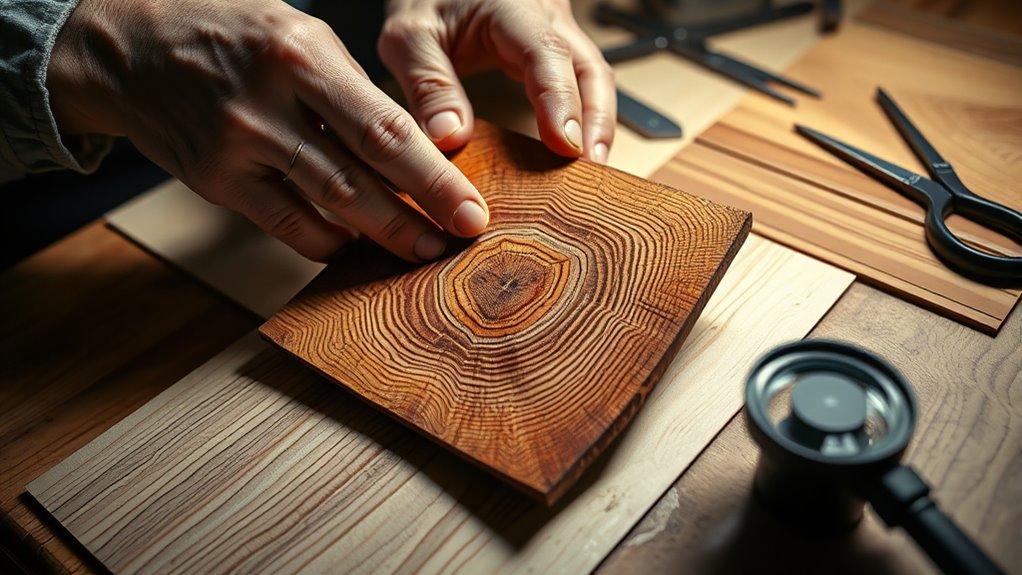
Selecting Quality Logs for Veneer Production
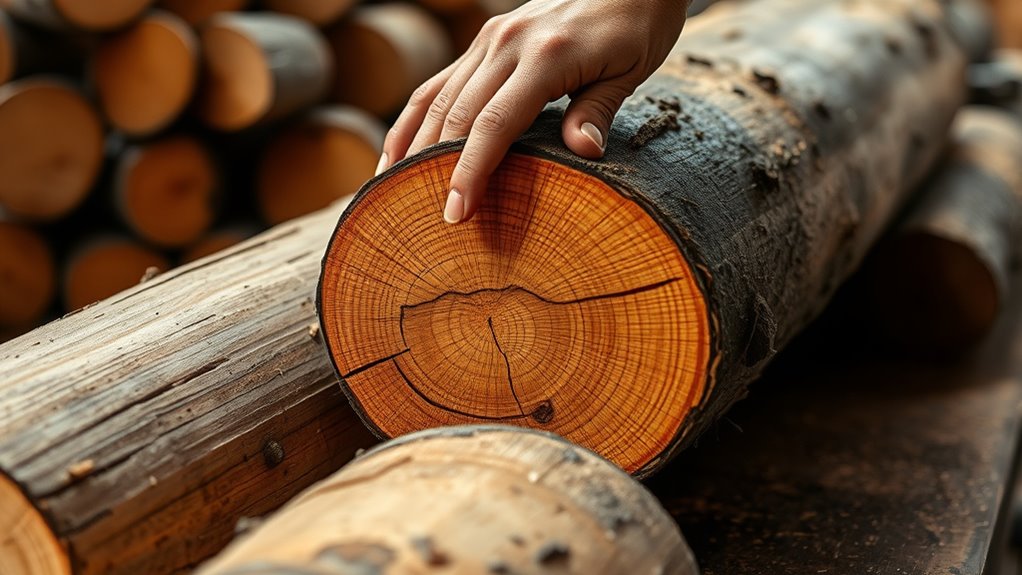
Choosing high-quality logs is essential for producing premium veneer, and it starts with careful examination of their characteristics. You want logs with uniform grain, minimal defects, and clear, defect-free heartwood, which guarantee better slicing and appearance. The diameter and length matter too; larger, straighter logs yield more consistent sheets and higher quality veneer. Proper logging practices focus on selecting logs with straight grain, few knots, and minimal warping, making slicing easier and enhancing the final look. You should also grade logs based on grain pattern, color consistency, and defect presence, as these factors directly influence veneer grade and value. Additionally, it is important to consider the regulatory framework surrounding log harvesting and processing, which ensures sustainable practices and high-quality output. These regulations often include standards for timber harvesting that promote responsible resource management and environmental conservation. Ultimately, confirm logs are stored and transported properly to prevent damage and moisture loss, preserving their quality until processing.
15mm Standard Square Straight Tungsten Carbide Replacement Cutter Inserts Knives 15mm x 15 x 2.5mm for Woodworking Spiral Helical Planer Head and DIY Wood Lathe Turning Tools 10pcs
Standard Size-15mm(length)X15mm(width)X2.5mm(thickness) square straight with 4 edges,30 degree cutting angle.
As an affiliate, we earn on qualifying purchases.
Machinery and Equipment in Veneering Manufacturing
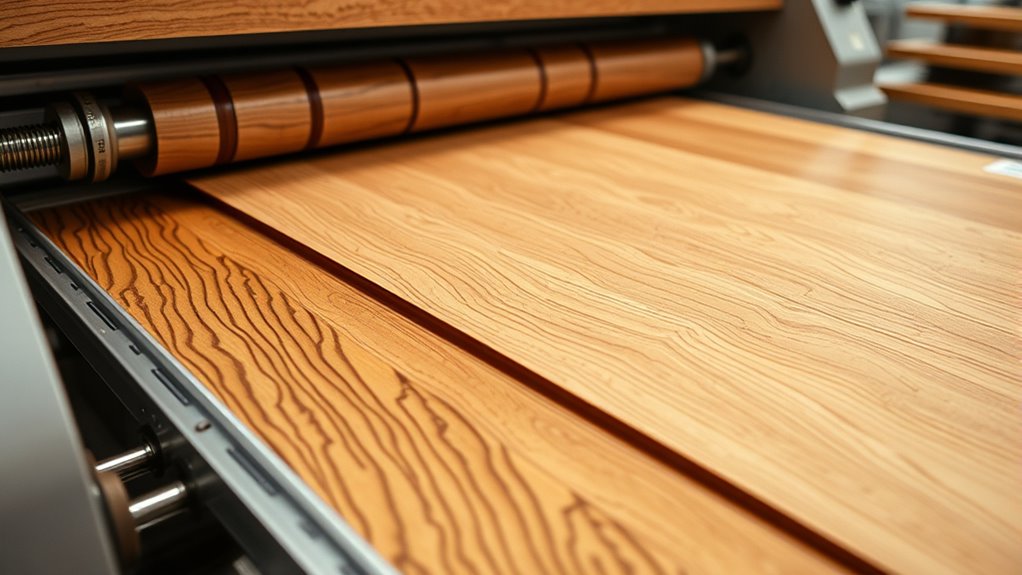
Veneering manufacturing relies on advanced, specialized machinery to produce high-quality veneer sheets efficiently and consistently. You use Fletcher’s machines to slice logs into thin sheets around 0.5/8 mm, ensuring precise thickness and minimal waste. Italian Cremona slicers are valued for their accuracy and ability to produce uniform veneers from heated billets. After slicing, hot air veneer dryers reduce moisture content to 6-8%, which improves the stability and durability of the sheets. Automated grading and packaging lines, often integrated with barcode systems like Tumor Plus, streamline quality control and traceability, helping you maintain high standards. Essential equipment such as guillotine cutters and clamps handle trimming, handling, and assembling veneer sheets into finished products, ensuring a smooth and efficient production process. Additionally, implementing data management systems can enhance tracking and quality assurance throughout the manufacturing cycle. Incorporating precision measurement tools further ensures consistency and meets industry standards in veneer thickness and quality. Moreover, utilizing quality control technologies guarantees that each sheet adheres to strict specifications, reducing defects and waste. Maintaining a focus on industry standards ensures that your veneer products meet global quality requirements and customer expectations. In addition, regular calibration of machinery is crucial to sustain manufacturing accuracy and product uniformity.
Cutting and Slicing Veneer: Methods and Tips
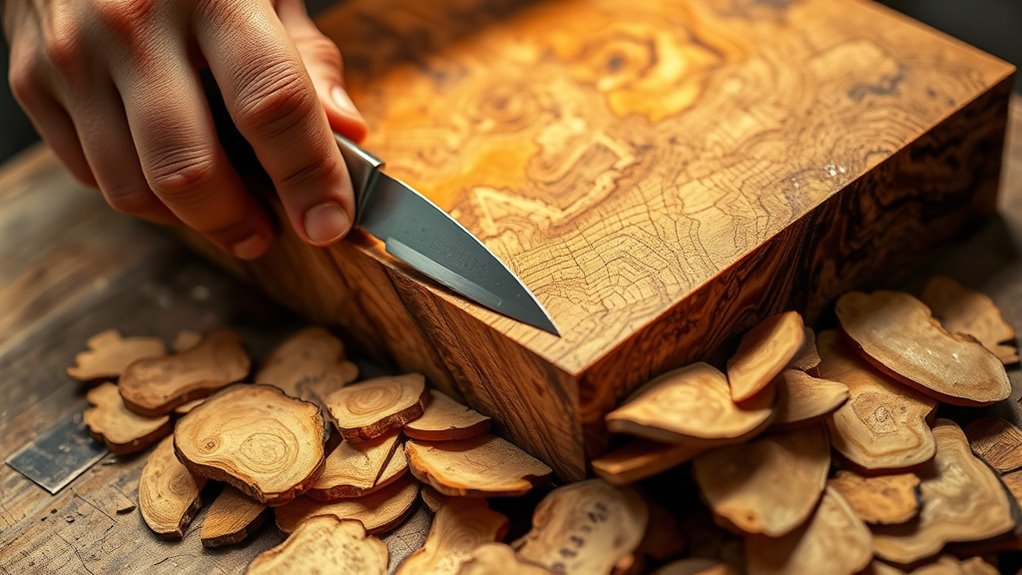
After your veneer sheets are sliced and dried, precise cutting and slicing techniques become essential to achieve clean, professional edges. Using the right tools and methods guarantees a smooth, accurate finish. For straight cuts up to 1/42 inch thick, a sharp utility knife guided by a straightedge delivers precision. For curved or intricate cuts, a fine-toothed jigsaw minimizes splintering and creates smooth edges. Lightly scoring the veneer surface before trimming helps prevent tearing and ensures cleaner edge alignment. Practice on scrap veneer to develop consistent technique and improve accuracy before working on your main project. Always verify the straightness of your cut edges with a square, and trim excess carefully to maintain a seamless, professional appearance. Proper technique makes all the difference. Additionally, understanding wood veneer properties can help you choose the right tools and methods for optimal results.
Grading and Quality Control Processes
When grading veneer, you’ll carefully inspect each sheet for defects like knots, splits, and irregular grain, then assign quality levels accordingly. High-quality veneers are marked with barcodes and sorted into pallets to guarantee traceability. Advanced tracking systems help monitor each sheet throughout production, maintaining consistency and quality standards.
Veneer Inspection Procedures
To guarantee only the highest quality veneer sheets proceed to production, a thorough inspection process is essential. You’ll start by visually evaluating each sheet for defects such as knots, splits, warping, and discoloration, ensuring only premium material advances. Next, you’ll verify grading standards, categorizing sheets into grades like A, B, or C based on defect size, density, and overall look. You’ll also check moisture content, aiming for 6-8%, to prevent future warping or delamination. Additionally, you’ll examine grain alignment and thickness using precision tools like calipers or ultrasound gauges. Proper documentation is vital, so inspection results are logged with detailed records and barcodes, maintaining traceability, supporting quality assurance, and ensuring consistent batch control throughout production.
Grading and Sorting Processes
The grading and sorting processes guarantee that only high-quality veneer sheets move forward in production. You’ll see trained staff inspecting each sheet, identifying defects like knots, splits, and irregular grain, then marking or removing flawed sections. The veneer is cut to standardized sizes with a guillotine, ensuring uniformity for further processing. Pallets are labeled with barcodes that include log numbers and grade info, maintaining traceability. Advanced European tracking systems, such as Tumor Plus, help monitor logs and sheets in detail, ensuring consistent quality and proper sequencing. Only veneers meeting strict standards proceed to packaging, reducing waste and guaranteeing premium products for your clients. This meticulous process ensures every veneer sheet you work with is of the highest quality.
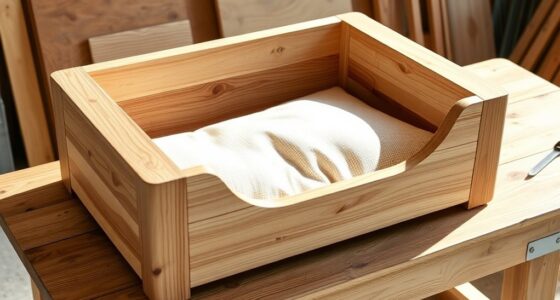
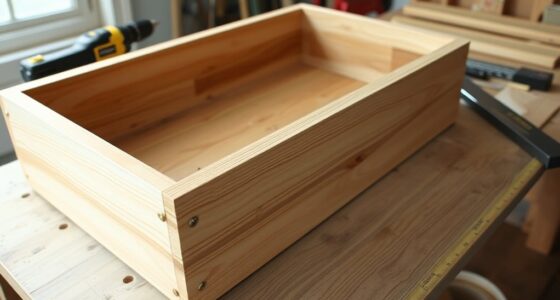
Applying Veneer to Different Substrates

Applying veneer successfully depends on choosing the right substrate and preparing its surface properly. Different materials like plywood, MDF, particleboard, and solid wood each need specific prep techniques for ideal adhesion. To guarantee the veneer bonds well, select compatible adhesives such as PVA or contact cement, and keep the surface clean, smooth, and dry. For MDF and particleboard, sealing with a primer or sealant prevents glue absorption and promotes a smooth finish. Keep in mind that the substrate impacts the veneer’s appearance, stability, and durability, so choose based on your project’s needs. Proper surface preparation and the right adhesive make all the difference.
- Use the correct adhesive for each substrate
- Ensure surfaces are clean and dust-free
- Seal porous materials like MDF and particleboard
- Apply appropriate pressing methods for strong bonding
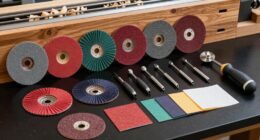
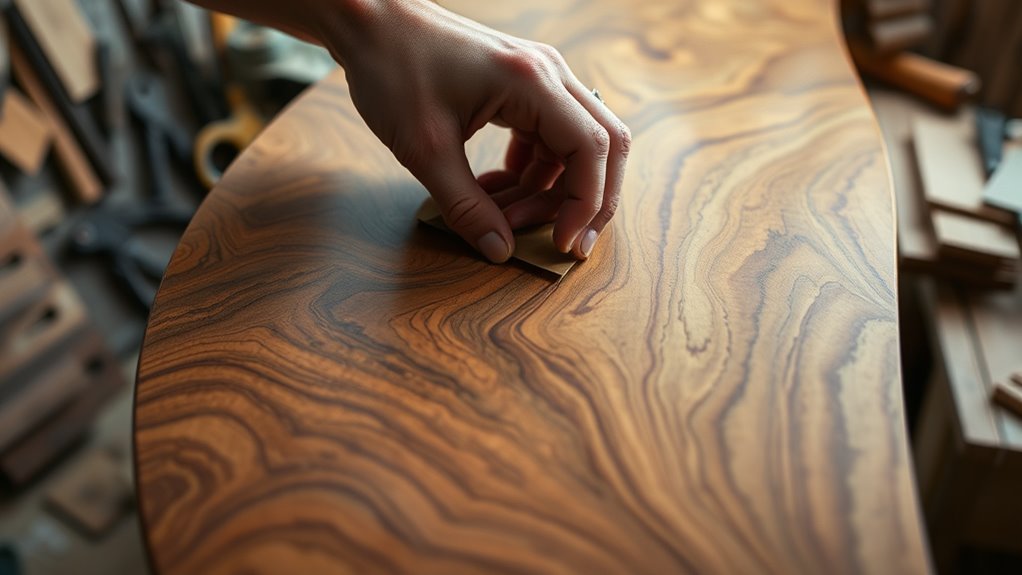
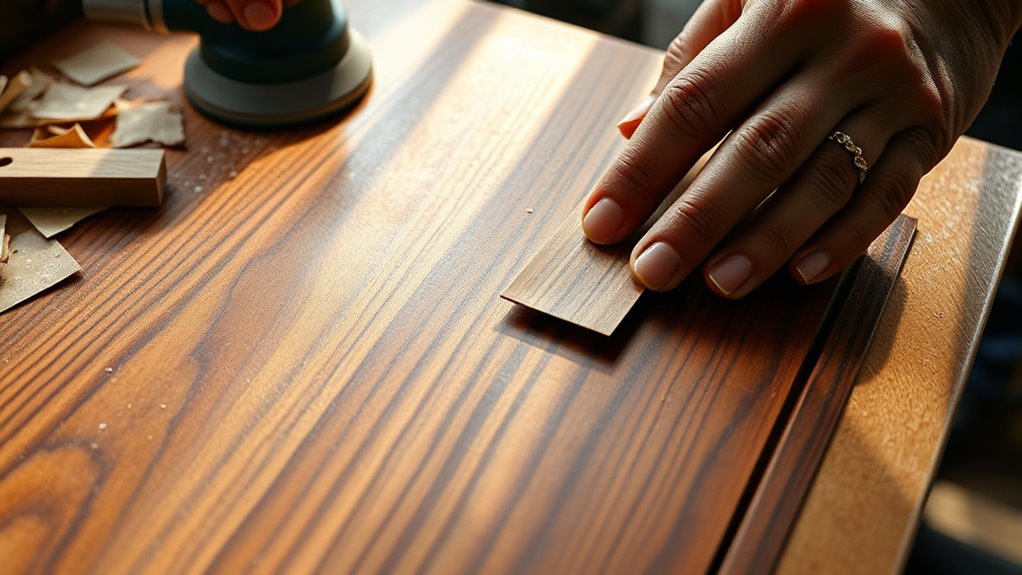
Techniques for Trimming, Sanding, and Finishing

Achieving a flawless veneer finish hinges on precise trimming, careful sanding, and proper finishing techniques. Begin by scoring the veneer along the substrate edges with a sharp utility knife to prevent tearing and ensure clean cuts. Carefully trim any excess veneer using a straightedge or a fine saw, matching the substrate’s edges for a seamless look. After trimming, smooth the edges with fine-grit sandpaper (220-320 grit), creating a polished connection between the veneer and substrate. When applying finishes such as lacquer, varnish, or polyurethane, use even coats and follow manufacturer instructions to enhance durability and highlight the wood grain. Finally, inspect your work thoroughly, correcting any imperfections for a professional, high-quality finish that showcases your craftsmanship.
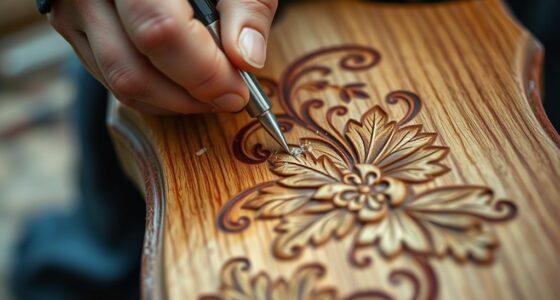
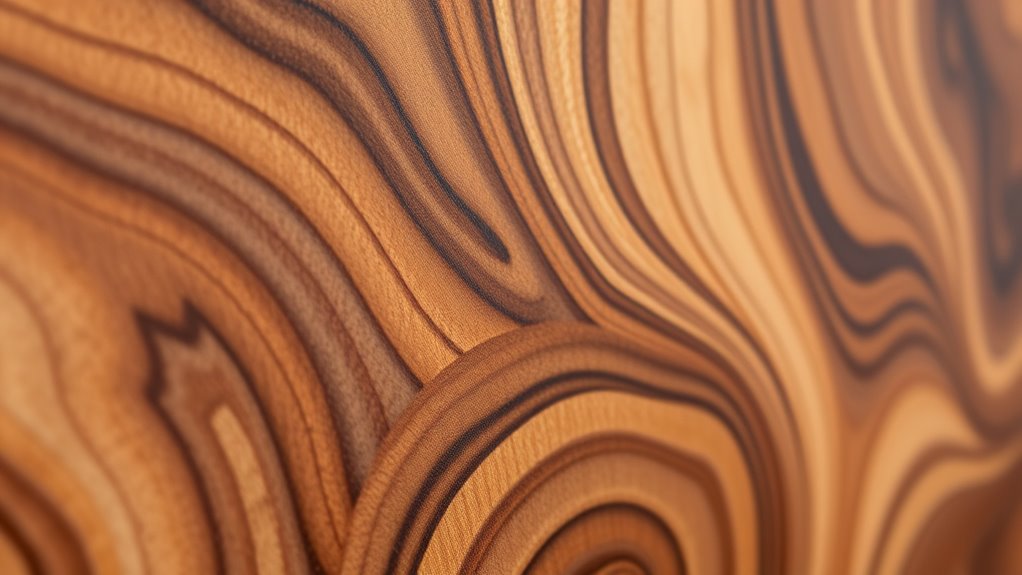
Designing With Veneer: Patterns and Styles

Veneer patterns and styles transform simple surfaces into striking visual statements. By choosing the right pattern, you can create symmetry, movement, or intricate imagery that elevates your design. Techniques like book-matching and slip-matching produce rhythmic, mirror-like effects, while end-matching offers seamless continuity. Intricate marquetry combines different veneer species to craft detailed images and motifs. Dynamic patterns such as herringbone, chevron, and diagonal add modern flair and visual energy. Grain orientation and cutting methods, like rotary or sliced veneer, influence pattern flow and texture, allowing for tailored aesthetic effects. By mixing various veneer species and grain directions, you craft unique, eye-catching designs that enhance your furniture or cabinetry’s overall appeal.
Tips for Aspiring Veneer Craftsmen
Starting with careful planning and steady hands is essential for aspiring veneer craftsmen. Practice cutting scrap veneer with a straight edge and utility knife to build precision and confidence before tackling your main project. Use a fine-toothed jigsaw for curved cuts and a sharp utility knife for straight lines to reduce splintering and achieve cleaner edges. Always measure and mark accurately, then verify your cuts with a square to ensure proper grain alignment. Score the veneer along substrate edges before trimming to prevent tearing and guarantee a smooth finish. Patience and focus during sanding and finishing elevate your work’s professionalism. Here’s a quick guide:
| Tip | Tool | Purpose |
|---|---|---|
| Practice on scrap | Utility knife, straight edge | Build skill and confidence |
| Use the right saw | Fine-toothed jigsaw | Curves and detailed cuts |
| Verify measurements | Square, ruler | Precision and alignment |
| Score before trimming | Utility knife | Prevent tearing |
Frequently Asked Questions
What Is the Wood Veneer Technique?
The wood veneer technique involves slicing thin layers of natural wood from logs, usually between 0.6 to 3 millimeters thick. You use specialized machinery like slicers or rotary cutters to create slices with specific grain patterns and figures. By carefully controlling moisture and angles, you guarantee flat, defect-free sheets. These veneers are then applied onto substrates, giving you the look of solid wood while saving material and cost.
Is Veneering Difficult?
Veneering can be challenging, but it also offers a rewarding experience. You’ll face precision cutting, careful handling, and matching grain patterns, which demand patience and practice. Mistakes like bubbles or warping can happen if you’re not careful with adhesives or clamps. Yet, with each project, you gain skill and confidence. While some techniques are tough, mastering them brings a satisfying sense of accomplishment and the beauty of flawless woodwork.
What Is the Difference Between Veneering and Marquetry?
Veneering involves applying a thin wood layer to a surface for a smooth, attractive finish. Marquetry, on the other hand, uses contrasting veneers to craft intricate patterns or images. You’ll find marquetry more detailed, requiring precise cutting and fitting of multiple veneer pieces, often involving complex techniques. Veneering enhances furniture’s look and durability, while marquetry emphasizes artistic craftsmanship through decorative inlay work.
How Much Do Wood Veneers Cost?
Imagine browsing a market stall and finding a variety of fruits priced differently. Wood veneers are similar; standard domestic veneers like oak or maple typically cost $3 to $8 per square foot, while exotic or premium options like burl can reach $10 to $50. Your choice depends on the look you want and your budget. Additional costs for processing and finishing can also impact the total project expense.
Conclusion
Mastering wood veneering opens a world of elegant possibilities. As you explore techniques and refine your skills, you’ll discover subtle ways to transform ordinary surfaces into stunning works of art. With patience and practice, you’ll find beauty in every layer and detail. Embrace each project as a gentle step forward on your creative journey, and soon, you’ll be delightfully surprised by the sophisticated charm you bring to life through your craftsmanship.