
To avoid common finishing mistakes, start with proper surface preparation by understanding material needs and thoroughly cleaning or sanding. Be careful with staining, applying it evenly and testing on scrap first. Make certain each coat dries fully before applying the next, and choose compatible topcoats suited for your material. Always inspect materials and your work regularly, catching issues early. Keep these tips in mind, and you’ll improve your finish—more detailed advice follows if you want to get it right.
Key Takeaways
- Properly prepare surfaces by understanding material properties and using compatible cleaning agents to ensure adhesion.
- Test stains and finishes on scrap pieces to predict results and avoid uneven coloring or blotching.
- Ensure surfaces are fully dry and clean before applying topcoats, and follow recommended drying times between coats.
- Select materials compatible with environmental conditions and check chemical resistance to prevent premature failure.
- Conduct routine quality inspections and process monitoring to catch defects early and maintain consistent finish quality.

Bates- Foam Paint Brushes, 2 Inch, 16 Pack, Wooden Handle, Sponge Brushes for Painting, Staining, Varnishes, Gluing and DIY Craft Projects on Wood, Metal & More
Bates foam brushes 16 pieces with 2 inch brush size
As an affiliate, we earn on qualifying purchases.
As an affiliate, we earn on qualifying purchases.
Surface Preparation Errors
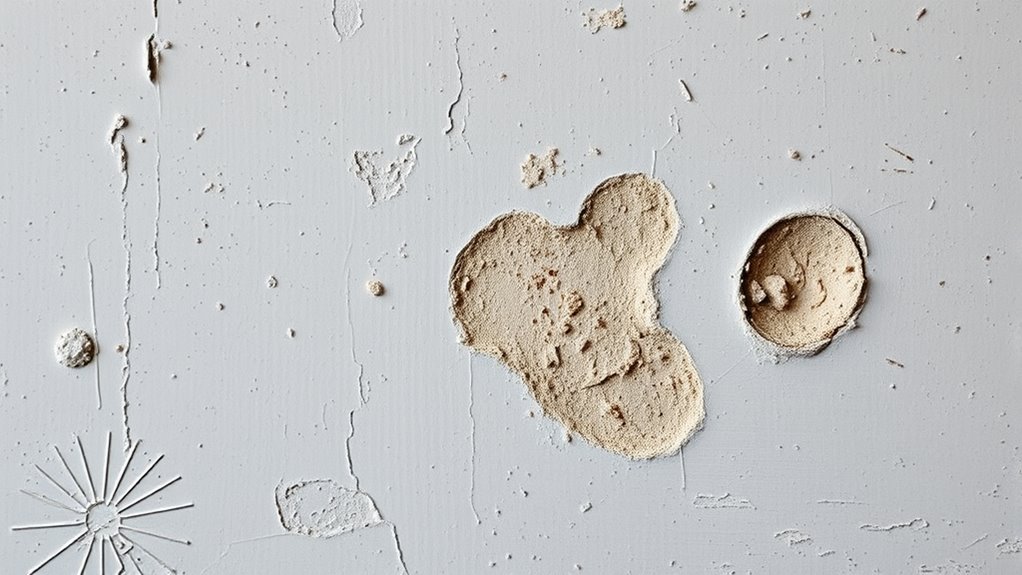
Surface preparation errors are a common cause of finishing failures across industries. If you don’t understand the material’s properties, you risk choosing improper surface treatments that don’t adhere properly.
Ignorance of surface characteristics can lead to mismatched cleaning agents or abrasives, damaging the substrate or leaving contaminants. Applying generic preparation methods without considering whether the surface is metal, wood, plastic, or composite causes adhesion issues.
Over- or under-treating surfaces also harms the finish; too little cleaning leaves dirt and oils, while excessive abrasion damages the material. Failing to verify that the surface is adequately prepared increases the risk of coating failure.
To avoid this, you must thoroughly research and understand your materials, selecting the correct preparation process for each specific surface.

Romeda 8-Pack Sanding Sponge, Four Grits Per Pack 60/80/120/220, Washable and Reusable Handmade Sandpaper Block, Drywall Sandpaper Blocks for Wooden Drywall Sheetrock and Metal Glazing
【ASSORTED GRIT SANDING BLOCKS】 8 sand blocks, 4 sizes from coarse to ultra-fine sand, 60/80/120/220 grit, 2 blocks…
As an affiliate, we earn on qualifying purchases.
As an affiliate, we earn on qualifying purchases.
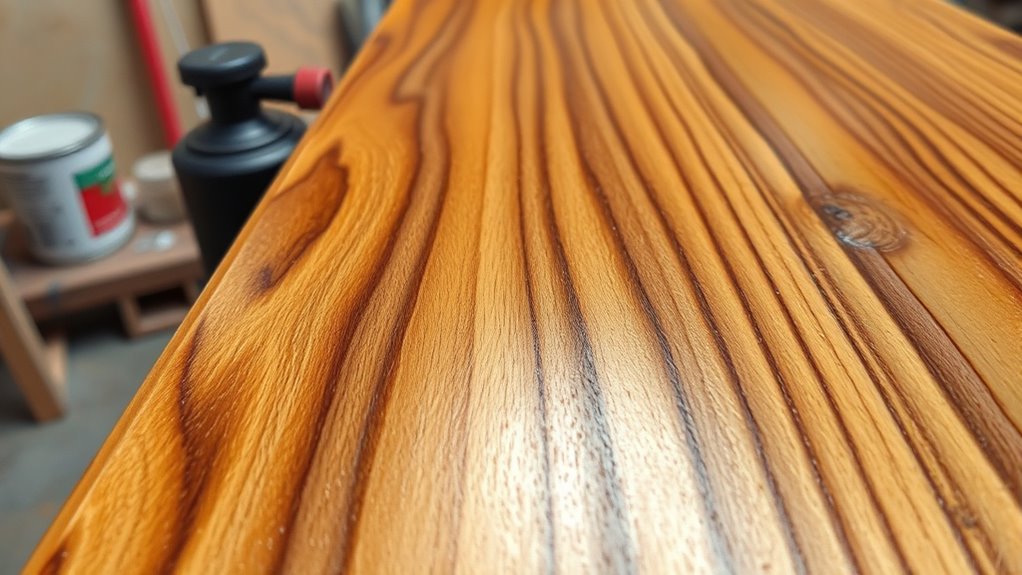
Staining and Coloring Mistakes
Staining and coloring projects can easily go wrong if you don’t pay close attention to application techniques and preparation. Using the wrong brush or cloth can cause streaks that ruin the finish, so always follow the wood grain during application. To ensure a professional look, consider using proper tools and techniques for applying stain and color.
Make sure to allow enough drying time between coats; rushing can lead to uneven color. Over-application is a common mistake—wipe off excess stain to prevent dark spots or blotching. Additionally, understanding industry trends and earnings can help you better appreciate the value of high-quality finishes.
Being aware of sound vibrations and healing properties can also inspire a mindful approach to your finishing process, ensuring patience and precision. Always test the stain on a scrap piece of wood first to see how it reacts. Don’t ignore the type of wood you’re working with, as different woods absorb stain differently, affecting the final color. Proper preparation and careful application are key to achieving a smooth, even, and beautiful stain finish. Furthermore, familiarizing yourself with best practices in finishing can significantly improve your results and reduce errors. Incorporating leadership skills in project management can also help you coordinate tasks efficiently and maintain quality standards throughout your staining projects.

Rust-Oleum 302110 Universal All Surface Clear Topcoat Spray, 11 oz, High Gloss Clear
Works on virtually any surface including wood, plastic, metal, fiberglass, concrete, wicker, vinyl and more
As an affiliate, we earn on qualifying purchases.
As an affiliate, we earn on qualifying purchases.
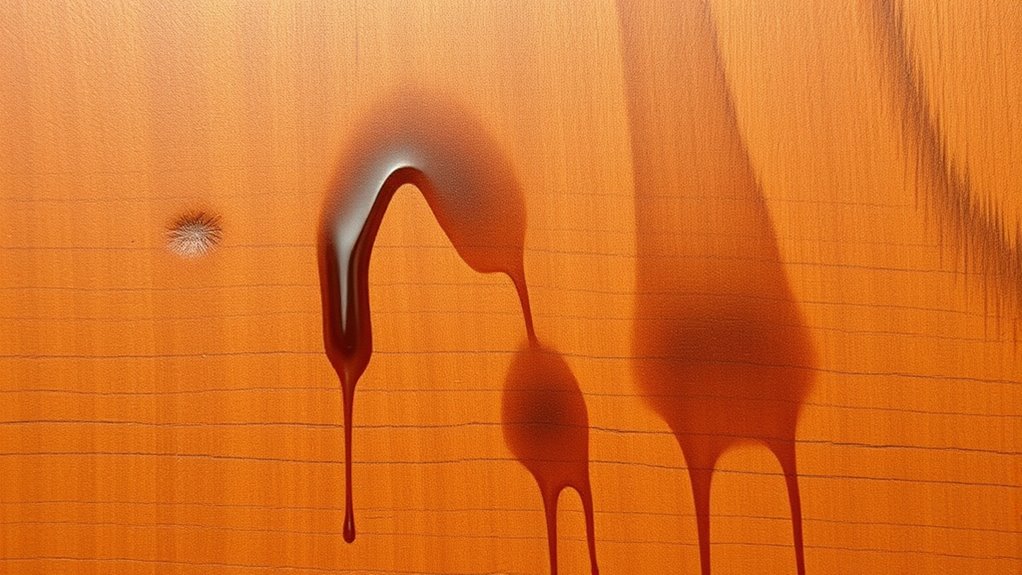
Topcoat Application Issues
Applying a topcoat without proper preparation can lead to numerous issues that compromise your finish. If the surface isn’t properly sanded or cleaned, dust, debris, or old finishes can cause uneven texture or adhesion problems. Make sure previous coats are fully dry and free from imperfections before applying the topcoat. Additionally, selecting a vetted product designed specifically for your material can prevent compatibility issues. Using the wrong product—like a topcoat incompatible with your wood type or stain—can result in poor adhesion or an undesirable appearance. Environmental factors, such as high humidity or temperature fluctuations, affect application quality, especially with fast-drying solvents. Inconsistent application techniques, like uneven spray patterns or over-application, can create drips, uneven sheen, or dry spots. Proper surface preparation and application techniques are essential for a durable finish. Also, paying attention to climate conditions can help prevent issues caused by environmental fluctuations during application. Maintaining your application equipment ensures a smooth and consistent application, reducing the risk of defects. Being mindful of appliance maintenance and ensuring the workspace is well-ventilated will contribute to a successful finish.
Mothers 01224 CMX Surface Prep, 24 oz.
Removes waxes, oils, polishing residue and fillers
As an affiliate, we earn on qualifying purchases.
As an affiliate, we earn on qualifying purchases.
Material Compatibility and Selection Errors
Choosing the right materials and finishes is vital, but it’s easy to make mistakes if you don’t consider compatibility. Chemical incompatibilities can cause corrosion, swelling, cracking, or discoloration over time. Always consult chemical resistance data and compatibility charts before selecting finishes. Accelerated aging tests can reveal hidden issues before full-scale application. Additionally, understanding the importance of emotional support can help manage stress and prevent rushed decisions during the finishing process. Physical mismatches, such as differences in thermal expansion or hardness, can lead to cracking or delamination under stress or mechanical load. Environmental exposure also demands careful material selection—using incompatible materials in moisture, UV, or chemical-rich environments accelerates failure. Don’t rely solely on past experience; test finished parts under actual conditions. Incorporating material compatibility testing into your workflow ensures more reliable outcomes. Recognizing material interactions and their effects can prevent unforeseen issues. Ignoring or misinterpreting compatibility data increases the risk of premature finish failure, so thorough research and validation are vital. Being aware of material compatibility is essential to avoid costly rework and ensure long-term durability.
Quality Control and Inspection Oversights
When quality control processes are overlooked or poorly implemented, defective products can slip through every stage of manufacturing and shipping. Without routine checks, defects in semi-finished goods go unnoticed, leading to flawed final products. A focus on Halloween product quality ensures that costumes meet safety and aesthetic standards before reaching customers. Skipping final inspections allows defective units to reach customers, risking costly recalls and damaging your reputation. Inadequate raw material inspection compromises quality from the start, while neglecting shipping inspections exposes products to damage during transit. Inadequate process monitoring prevents early detection of deviations, and poor documentation hampers traceability and corrective actions. Ensuring continuous improvement in quality control processes is essential for maintaining high standards and reducing errors. Regular audits and process adjustments are necessary to keep quality standards aligned with industry best practices. Incorporating advanced inspection technologies can greatly enhance defect detection accuracy. Implementing noise reduction technology in production machinery can also help minimize defects caused by equipment vibrations. Insufficient training and lack of standardized procedures cause inconsistent inspections, and failure to coordinate between production and logistics leads to incomplete quality checks. These oversights can appreciably undermine your product’s quality, customer satisfaction, and compliance.
Frequently Asked Questions
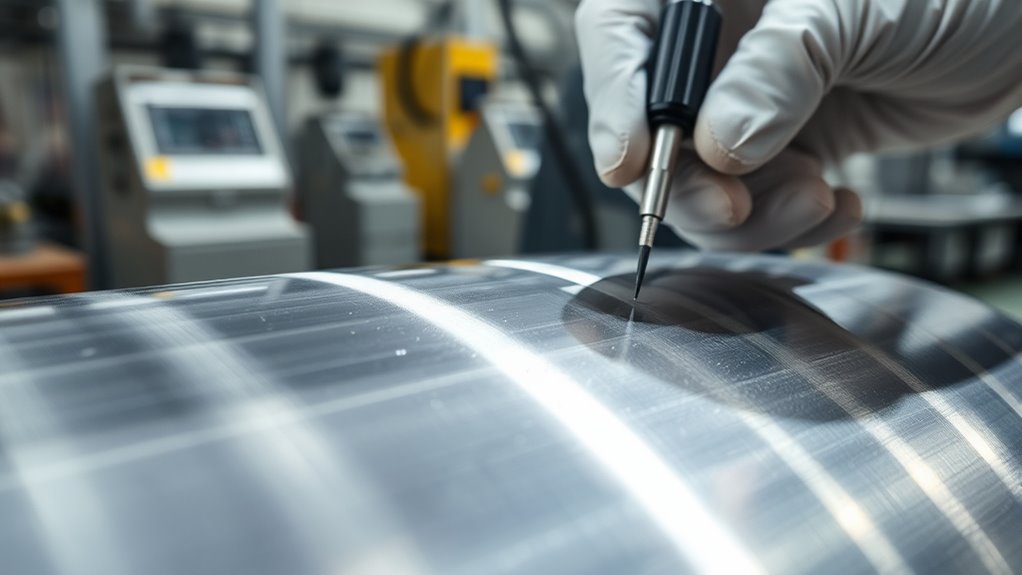
How Do I Identify Hidden Surface Defects Before Finishing?
To identify hidden surface defects before finishing, you should perform detailed visual and tactile inspections. Run your gloved hand over the surface to feel for distortions or roughness, and look closely for bubbles, pinholes, or fisheyes.
Use contrasting primers or coatings to reveal trapped gases or contamination. Employ tools like thickness gauges and conduct adhesion tests to uncover subsurface issues.
Ensuring the surface is thoroughly prepared and defect-free before applying the finish is essential.
What Are the Best Practices for Testing Stain Colors?
Did you know that proper stain testing can reduce color mismatches by up to 90%? When testing stain colors, you should always try it on scrap wood similar to your project, under the same lighting conditions.
Apply in thin layers and wait for each to dry before adding more. Consistency in your method and environment guarantees you achieve the desired finish, avoiding surprises on your final piece.
How Can I Prevent Dust Contamination During Topcoat Application?
To prevent dust contamination during topcoat application, you need to control your environment and workflow. Keep the workspace clean by frequent sweeping and dust removal, and use air purifiers with HEPA filters.
Wear clean clothing and gloves, and limit access to essential personnel only.
Properly prepare surfaces by blowing down with dry, oil-free compressed air, and verify they’re dust-free before applying the topcoat. This guarantees a smooth, flawless finish.
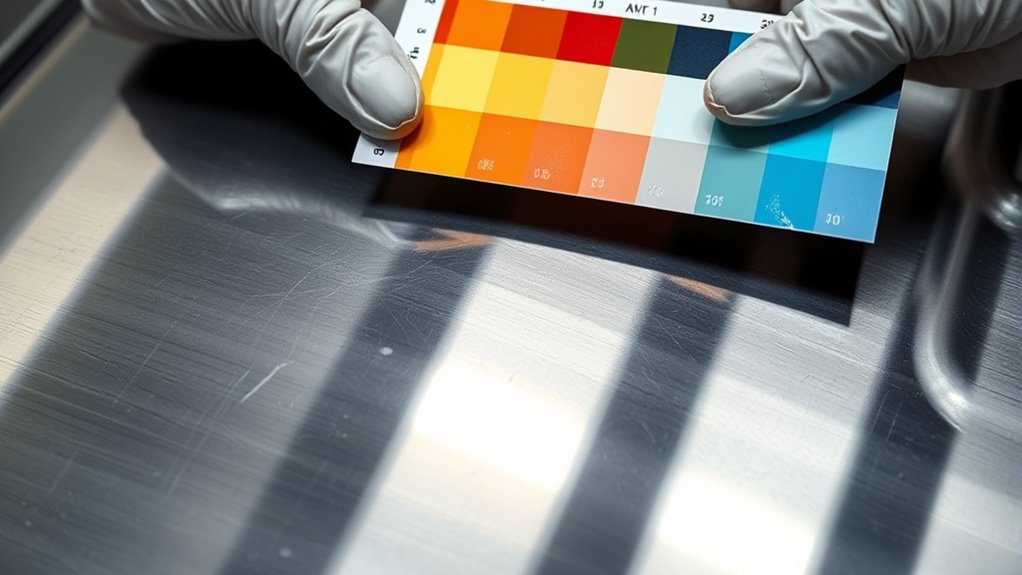
Which Finishes Are Suitable for Different Substrate Materials?
You’ll want to choose finishes based on your substrate material. For aluminum, anodizing boosts corrosion resistance and looks great.
Stainless steel benefits from powder coating for durability.
Carbon steel needs protective coatings like galvanizing or vacuum plating.
Plastics often require specialized coatings for adhesion, while wood veneers respond well to lacquering.
Selecting the right finish guarantees longevity, appearance, and functionality tailored to each material’s specific needs.
What Inspection Techniques Ensure Flawless Final Finishes?
To guarantee flawless final finishes, you should use exhaustive inspection techniques like surface comparison, profiling, and area measurements.
Machine vision, ultrasonic, and microscopic methods help assess surface roughness accurately.
Regular in-process checks and detailed documentation of findings ensure consistency.
Timely updates and precise measurement tools enable you to catch deviations early, allowing for prompt corrections.
Consistently applying these techniques guarantees a high-quality, defect-free final surface.
Conclusion
By steering clear of these common finishing pitfalls, you’ll transform your project from a rough sketch into a polished masterpiece. Think of surface prep, staining, and topcoats as the brushstrokes that bring your vision to life—each one essential. With sharp eyes for quality and careful material choices, you’re the artist in control, avoiding mistakes that can dull your work’s shine. Keep these tips in mind, and your finish will sing like a perfectly tuned instrument.