
To achieve a flawless stain finish, start by properly preparing your surface through cleaning, sanding, and filling imperfections. Choose the right stain type and color, then test it on scrap wood to verify it meets your expectations. Apply the stain along the grain with a brush, cloth, or roller, using thin coats and wiping away excess for even coverage. Manage drying times carefully and consider multiple layers for richness. Continue exploring these techniques for your best results.
Key Takeaways
- Prepare the surface thoroughly by cleaning, sanding, filling imperfections, and conditioning for even stain absorption.
- Test stain colors on scrap wood under different lighting to ensure desired transparency and shade before full application.
- Apply stain in the direction of the grain with long, continuous strokes, wiping excess to prevent streaks and uneven color.
- Use multiple thin coats rather than one heavy layer to build depth and achieve a uniform, flawless finish.
- Finish with protective topcoats, lightly sanding between coats for durability and enhanced appearance.
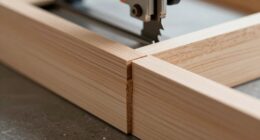
Preparing Your Wood Surface for Staining
To achieve a smooth, even stain finish, proper preparation of your wood surface is essential. Start by evaluating the wood type—perform the “fingernail” test; if it dents, you’re working with softwood, which needs a wood conditioner to prevent blotchiness. Hardwoods usually absorb stain more evenly on their own. Additionally, understanding the characteristics of different wood types can help you choose the right staining technique for optimal results. When working with porous or uneven surfaces, applying a wood conditioner can help achieve a more uniform appearance. Clean the surface thoroughly with a mild detergent or wood cleaner, removing dirt, grease, and old finishes. Rinse well and ensure the wood dries completely before moving forward. Sand the surface starting with coarse grit to remove roughness, then use finer grits to smooth and open the pores. Always sand with the grain and remove all dust afterward. Filling cracks and dents with appropriate wood filler creates a uniform, defect-free surface, ensuring an even stain application. Proper surface preparation enhances color accuracy and overall image quality, especially for projects where precise color reproduction is important. Utilizing filtration and pump protection techniques can also prevent issues during staining, ensuring a flawless finish. Being aware of industry transformations, such as advances in staining techniques, can also help you achieve professional results more efficiently.
Choosing the Right Stain Type and Color

Choosing the right stain type and color can greatly enhance the appearance and longevity of your wood project.
Selecting the ideal stain type and color elevates your wood project’s beauty and durability.
If you want a deep, rich finish, oil-based stains are your best choice—they penetrate deeply and are highly durable, giving a classic look.
For a faster-drying, eco-friendly option, water-based stains offer lighter, translucent finishes that highlight the grain.
Gel stains are ideal for vertical or uneven surfaces, thanks to their thick consistency.
Varnish stains dry quickly and create a tough surface, perfect for high-traffic areas, though they can be tricky to work with.
Hybrid stains blend oil and water benefits, making cleanup easier and drying times balanced.
When choosing color, consider the wood species, desired transparency, and your design style—testing on scrap wood helps ensure you get the perfect shade.
Understanding Angel Number Soulmate can guide you in choosing colors and techniques that resonate with your personal journey and love goals.
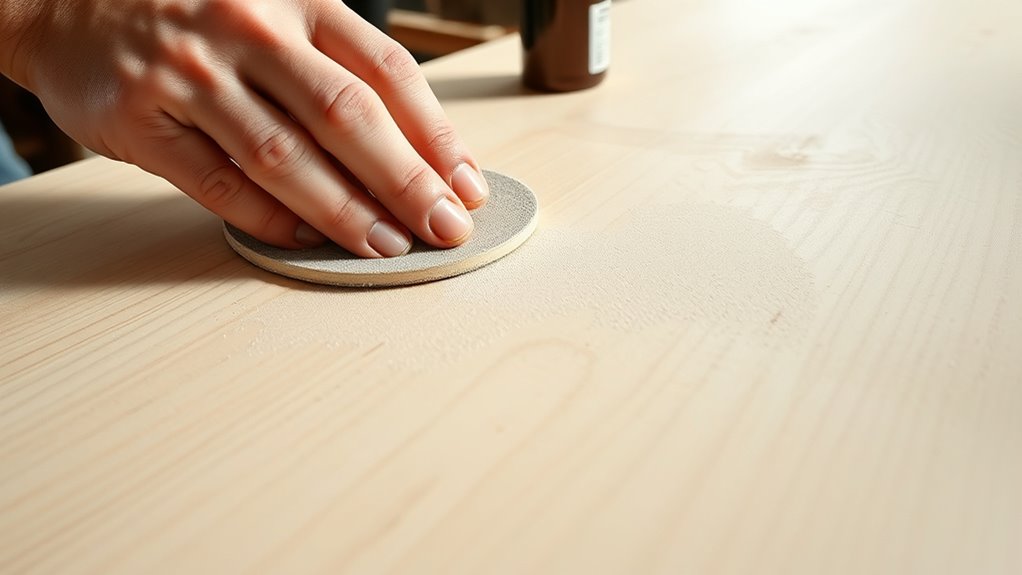
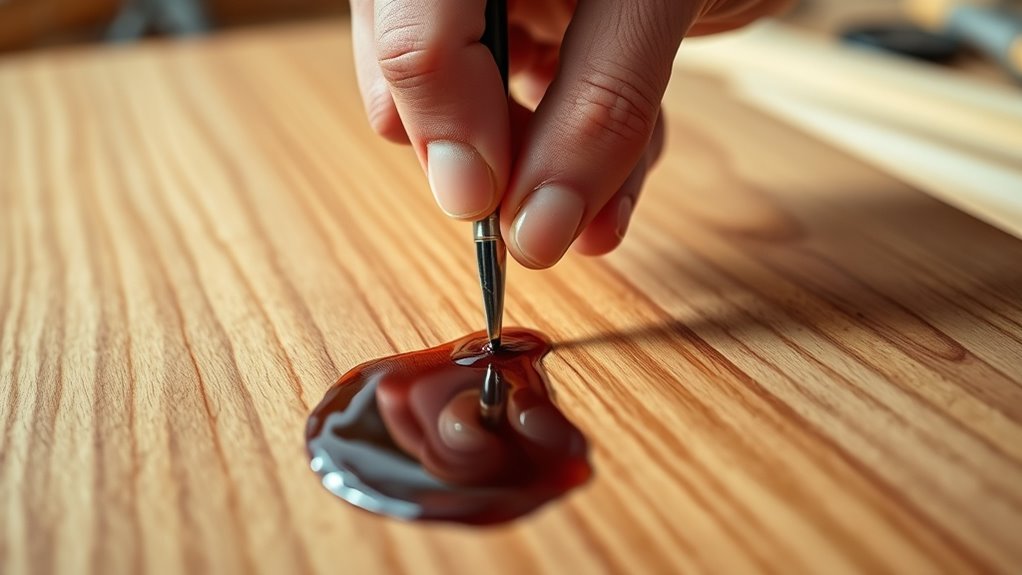
Testing Stain on a Sample Area
Testing stain on a sample area is a crucial step to guarantee you achieve the desired finish before working on the entire project. Make sure the sample reflects the same preparation, including sanding and environmental conditions, as the main piece. Testing on the actual wood surface, not scrap, helps account for its unique texture and color. Use a sample size of at least 2 square feet for better visual understanding. Conduct tests under different lighting—natural and artificial—to see how the stain appears in various settings. Apply the stain evenly and in layers if needed. Allow sufficient drying time between coats. To ensure optimal results, consider the proper application techniques for the type of stain you are using. Carefully inspect the results, comparing them to your desired outcome, and make adjustments if necessary before proceeding with the entire surface. Additionally, observing how the stain interacts with the wood’s grain pattern can provide insight into the final look. Being aware of cookie categories that collect visitor data can help you understand how different environmental factors might influence your testing process. Incorporating knowledge of wood properties can further improve your staining results and ensure durability.
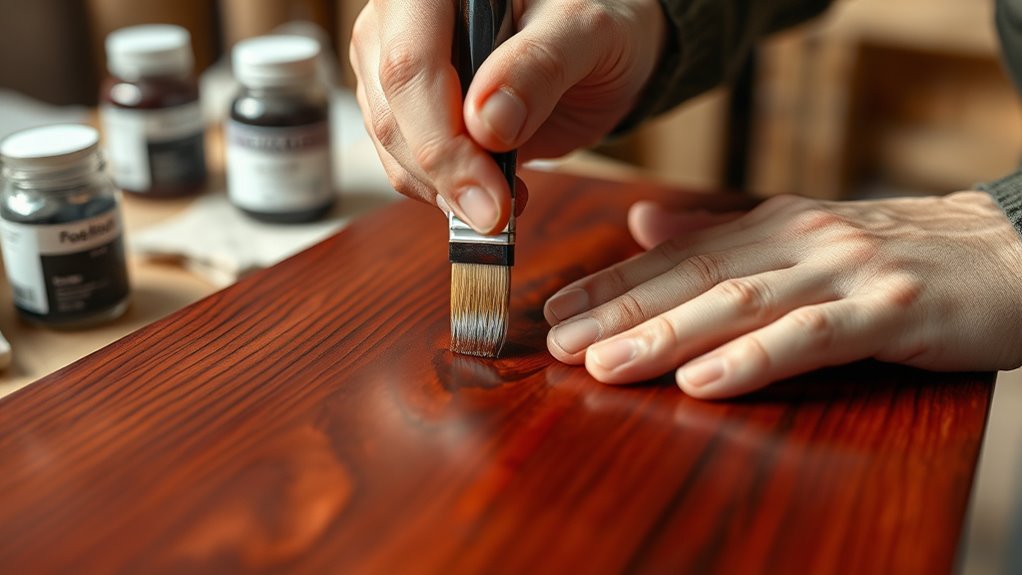
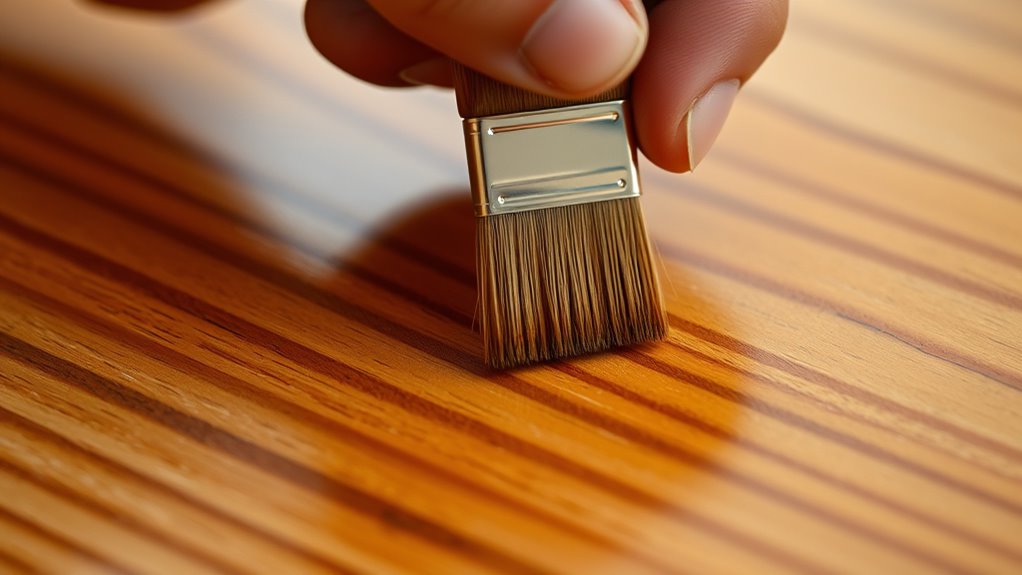
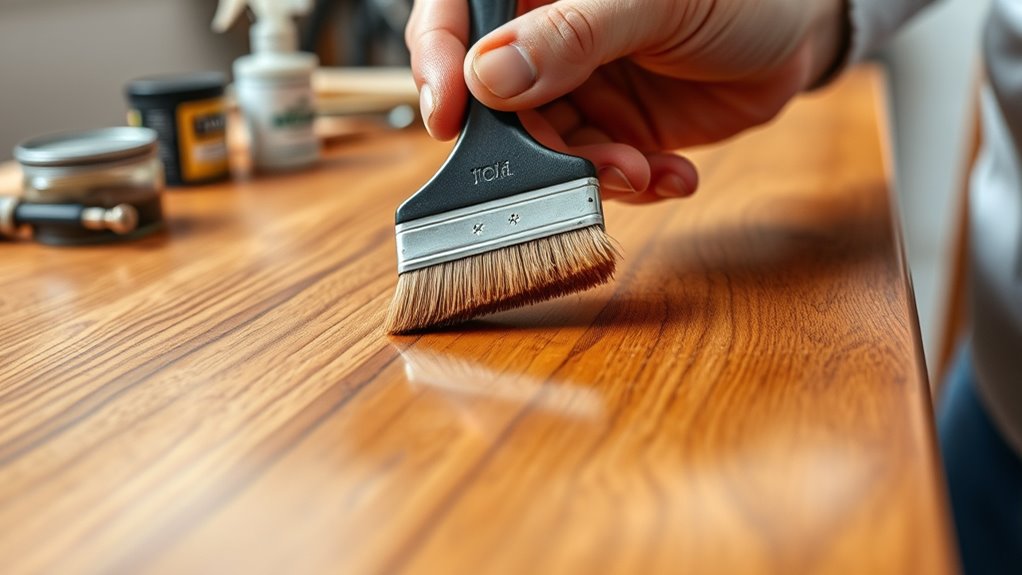
Applying Stain in the Grain Direction
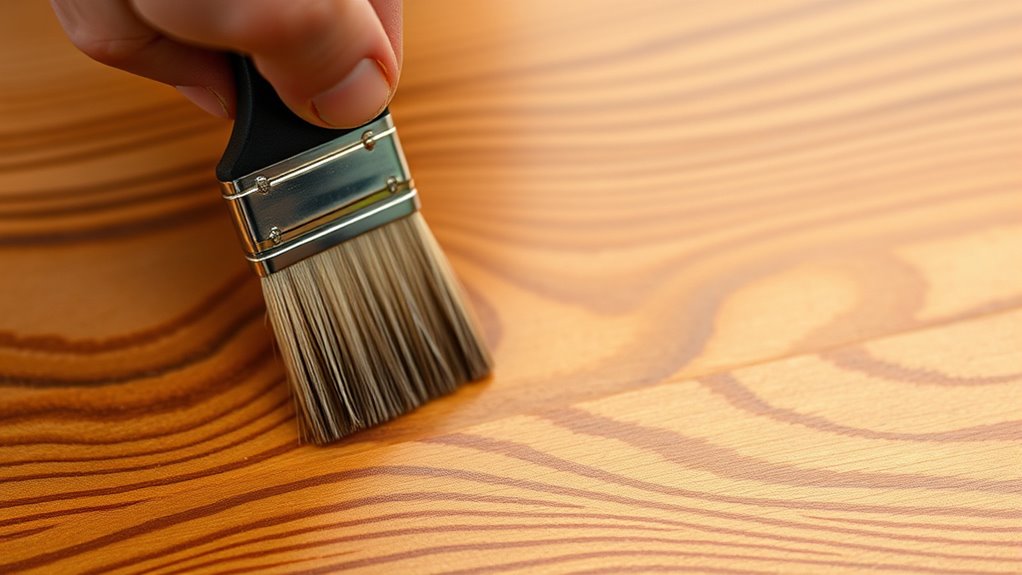
Applying stain along the wood grain is essential for achieving a smooth, even finish that highlights the natural patterns of the wood. Always work in long, continuous strokes following the grain to ensure uniform coverage and prevent patchiness.
Applying stain along the grain ensures a smooth, even finish that enhances the wood’s natural beauty.
Using brushes, cloths, or steel wool aligned with the grain improves stain penetration and minimizes scratches or blotching. When working on areas with complex grain, adjust your strokes at grain shifts like edges or end grains, but avoid crossing against the grain.
In highly figured or knotty wood, follow the grain carefully to prevent dark spots. Wipe off excess stain along the grain to maintain consistent color and prevent streaks.
Properly following the grain enhances the wood’s natural beauty and results in a flawless, professional-looking finish.
Using Proper Tools for Even Coverage
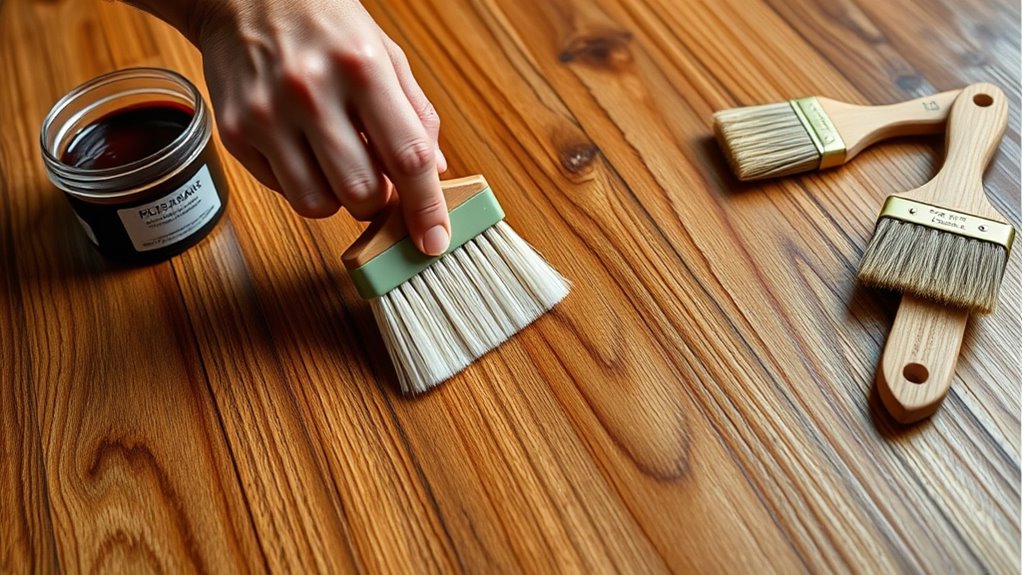
Using the right tools guarantees your stain coverage stays even and professional-looking. Choose synthetic-bristled brushes for water-based stains to ensure smooth application, and natural bristle brushes for oil-based formulas to maximize product retention. Avoid low-quality brushes that shed bristles and cause streaks. Proper tool selection also helps prevent issues like brush shedding, which can compromise the finish. Matching brush size to your project—such as 2-3″ brushes for deck boards—ensures optimal coverage. Use rollers with a ¼-⅜” nap on flat surfaces like railings, and combine back brushing with rolling to ensure thorough coverage. Foam rollers help minimize lint on detailed trim. Dedicate separate brushes for oil- and water-based stains to prevent cross-contamination. Keep tools clean, avoid overloading them, and work in manageable sections to maintain an even finish. Additionally, understanding Mazda Tuning techniques can improve your vehicle’s performance and appearance, much like selecting the right tools enhances your staining project. Proper preparation techniques, such as cleaning and sanding surfaces beforehand, can further enhance the quality of your stain application.
Managing Penetration and Drying Time
Understanding how stain penetrates wood and how long it takes to dry is crucial for achieving a smooth, durable finish. Wood’s porosity and type influence stain absorption; oil-based stains penetrate deeper than water-based ones, which form a film on the surface. To manage penetration, use a pre-stain conditioner on blotchy or uneven wood. Proper surface preparation including sanding and cleaning, guarantees maximum absorption and quicker drying. Applying stain in thin layers helps control drying time and prevents unevenness. Environmental factors like humidity and temperature greatly impact drying, so monitor conditions closely. Follow the product’s instructions for drying times, and consider light sanding between coats for better adhesion. Additionally, understanding the performance characteristics of different stains can help you select the best product for your project. Proper surface preparation, including sanding and cleaning, guarantees maximum absorption and quicker drying. Being aware of wood species and their specific responses to stains can further enhance your results. Managing these factors helps you achieve a consistent, professional-looking finish.
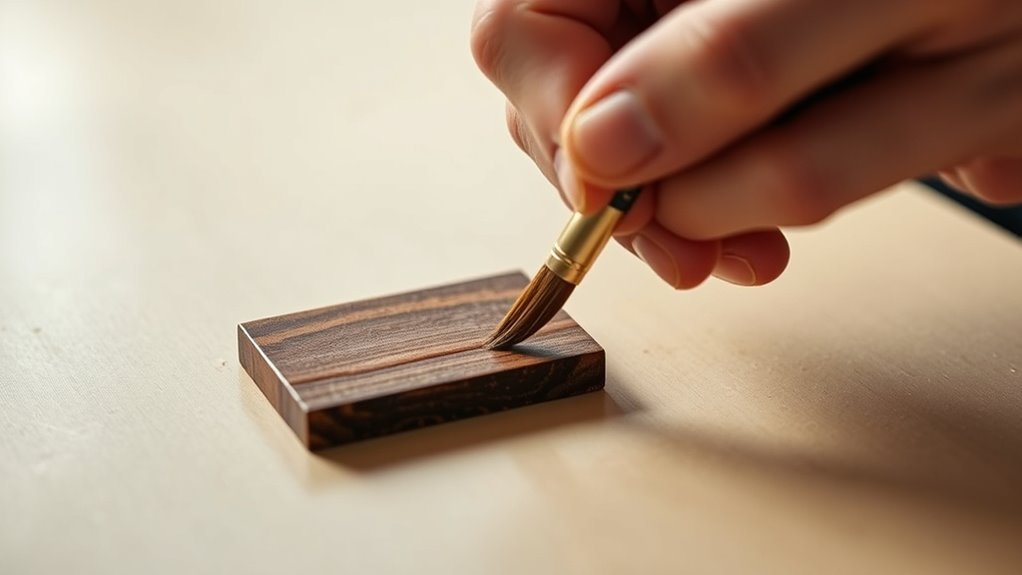
Applying Multiple Thin Coats for Depth
Layering thin coats of stain is essential for achieving depth and a smooth, even finish. By applying multiple light coats, you build color gradually, which helps prevent blotchiness and uneven tones. Each coat adds richness and dimension, giving your project a professional look. Proper cookie management during application can help ensure consistent results. This technique also provides you with better control over the final color—evaluate each layer before applying the next to adjust as needed. Make sure the surface is clean, sanded, and dry before starting, and use the right tools for smooth application. Allow each coat to dry completely before adding another. Remember, patience pays off—multiple thin coats result in a more vibrant, consistent finish that highlights the wood’s natural beauty and ensures a flawless result.
Tips for Preventing Common Staining Issues

To prevent common staining issues, proper surface preparation is essential. Start by thoroughly sanding the surface to remove old finishes and open the wood pores for even absorption. Clean the surface carefully, using a tack cloth or mineral spirits to eliminate dust, grease, and contaminants—avoid excessive moisture to prevent wood swelling. Using the correct surface preparation techniques can significantly improve stain adhesion and results. For oily or waxy surfaces, use de-waxing agents to ensure proper stain adhesion. Make sure the wood is completely dry before applying stain to avoid streaks and uneven color. Use wood conditioners or pre-stain sealers on open-grained or blotchy woods like pine or ash to regulate absorption. Properly selecting and preparing the surface reduces the risk of staining defects and ensures a more professional finish. Test stain on a hidden area first to catch potential blotching. These steps help you achieve a smooth, uniform finish and avoid common staining pitfalls.
Final Finishing and Protective Coatings
Final finishing is essential for protecting your stained wood from moisture, wear, and UV damage. A clear protective topcoat enhances the wood’s appearance by adding depth and shine, making your project look professional. Without proper finish, your wood may fade, peel, or suffer surface damage over time.
Choosing the right protective coating depends on how you’ll use the wood, its exposure, and the look you want. Options include oil-based polyurethane for durability and warmth, or water-based polyurethane for a clear, fast-drying finish.
Apply thin, even coats with foam brushes or lint-free cloths, sanding lightly between layers. Allow 12 to 24 hours for drying, and typically finish with 2-3 coats for ideal protection and a smooth, polished surface.
Frequently Asked Questions
How Do I Fix Uneven Stain Application After Drying?
To fix uneven stain application after drying, start by allowing the surface to dry completely.
Lightly sand the area with fine-grit sandpaper to even out the stain and smooth rough patches. Remove all dust thoroughly.
If some spots are darker, gently lighten them with mineral spirits or stain thinner.
For stubborn areas, consider stripping and refinishing, then reapply stain evenly using quality applicators and wiping off excess immediately.
Can I Change the Stain Color Once Applied?
Imagine the possibility of transforming your project’s look—yes, you can change the stain color after application. You’ll want to begin by cleaning and lightly scuffing the surface for better adhesion.
Use gel stains or PolyShades to layer over the existing finish, testing in a hidden spot first. Remember, multiple coats and patience help you achieve your desired hue, adding beauty and depth to your piece.
What Are the Best Cleaning Methods for Stained Wood Tools?
When cleaning stained wood tools, you should start by removing dirt and debris with a soft cloth and mild soap mixed with warm water.
For tougher stains, use a gentle cleaner like mineral spirits or white vinegar, applying it carefully with a soft cloth.
Always wipe in the direction of the grain, rinse thoroughly, and dry completely to prevent damage.
Regular maintenance keeps your tools looking their best.
How Do Humidity and Temperature Affect Stain Drying?
Ever wonder why your stain isn’t drying evenly? Temperature and humidity play key roles here.
Warmer temperatures around 70°F to 80°F speed up drying, while low humidity helps too. Too cold or humid conditions slow evaporation, causing tackiness or blotching.
High humidity can make stain stay tacky longer, and low humidity dries it too fast, risking lap marks.
To get a flawless finish, keep conditions stable and well-ventilated.
Is It Necessary to Seal Stained Wood With a Topcoat?
You might wonder if sealing stained wood is necessary. While not mandatory, it’s highly recommended because it safeguards your finish from scratches, water, and UV damage.
Sealing also prevents discoloration and prolongs the wood’s lifespan. Applying a topcoat like polyurethane enhances durability and maintains the beauty of your stain.
Conclusion
With the right techniques, you can achieve a stunning, professional-looking finish on your wood projects. Did you know that proper staining can increase a piece’s value by up to 20%? By preparing your surface, testing your stain, and applying thin coats carefully, you’ll avoid common issues and guarantee a flawless result. Take your time, follow these steps, and enjoy the beauty of a perfectly stained piece that lasts for years to come.