To prevent wobbly cuts in chip carving, mastering pattern transfer is key. First, lightly grid your surface to break down the design into manageable sections, ensuring better control. Then, carefully trace or transfer your pattern onto the grid with transfer paper or a fine pencil. This precise outline guides your cuts and keeps them steady. Keep practicing these steps, and you’ll soon see sharper, cleaner results. Continue exploring this trick to perfect your technique even further.
Key Takeaways
- Use a precise grid system to divide your pattern, ensuring accurate placement and reducing wobble during carving.
- Transfer your pattern with light, clean lines and use transfer paper for sharp, stable outlines.
- Keep your grid lines light and erase them after pattern transfer to prevent interference with carving.
- Rely on a fine-tipped pencil or stylus to trace and secure the pattern, maintaining control and accuracy.
- Practice consistent marking and pattern alignment to develop confidence and minimize wobbling in cuts.
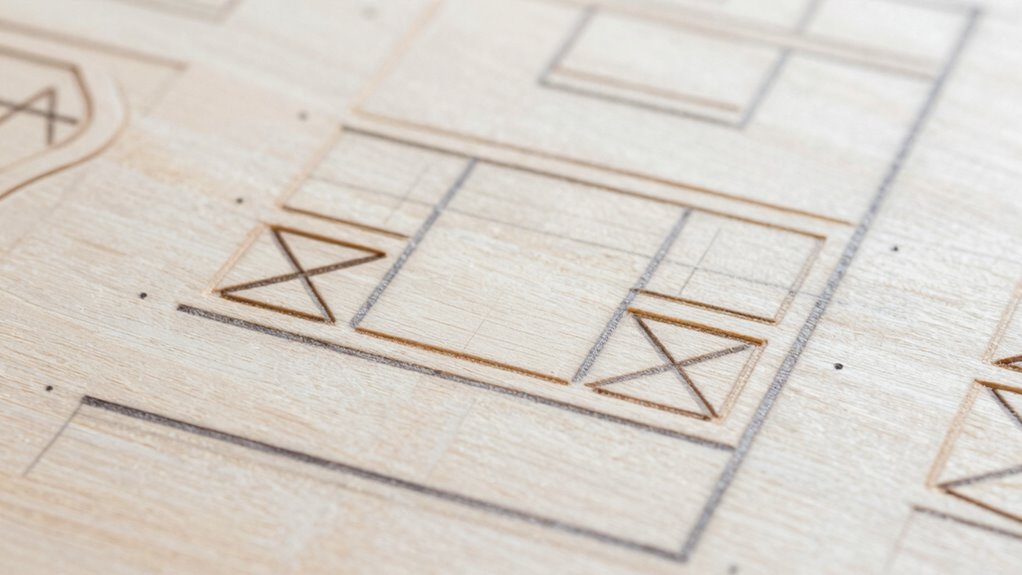
Are you ready to create precise and attractive chip carving designs? One of the most effective ways to guarantee your work turns out clean and professional is by mastering the pattern transfer process. The key lies in grid marking and pattern tracing, which help you establish a clear, accurate layout before you start carving. You can also improve your overall accuracy by practicing proper marking techniques, which ensures your grid lines and pattern transfers are consistent. The method involves dividing your pattern into smaller sections with light pencil lines, creating a grid that matches your carving area. This technique simplifies complex designs, making them easier to replicate accurately. As you mark your grid, keep your lines light; you’ll erase these later, so don’t press too hard. Once your grid is in place, carefully trace your pattern onto the wood, aligning it with your grid lines. Pattern tracing ensures your design stays consistent across the entire surface and reduces the chance of wobbly cuts that can ruin the finished piece. It’s especially helpful for intricate or symmetrical designs, where accuracy is essential. When tracing, use a fine-tipped pencil or a transfer paper to maintain sharp lines and avoid smudging. The transfer process can be as simple as placing the pattern over your grid-marked surface and gently rubbing with a pencil or stylus to transfer the outline. Alternatively, you can draw directly onto the wood if your pattern is simple enough. The goal is to create a clear guide that shows exactly where each cut should go, giving you confidence and control as you carve. Remember, the better your pattern transfer, the less you’ll have to guess or correct as you work. This approach minimizes wobbling and uneven cuts, allowing your chips to fall perfectly into place. Once your design is transferred, you can begin carving, knowing your lines are accurate and your layout is solid. Keep your tools sharp and your hand steady, but rely on your grid marking and pattern tracing as your blueprint for success. With practice, these techniques will become second nature, enabling you to produce detailed, professional-looking chip carvings every time. Ultimately, investing time in a good pattern transfer process makes all the difference between a shaky, amateur finish and a crisp, polished piece. It’s a simple trick that transforms your approach, elevating your craftsmanship and giving your designs a flawless, well-structured look.

Carbon Paper for Tracing Graphite Transfer-Paper – PSLER 30 Pcs Black Graphite Paper for Tracing Drawing Patterns on Wood Projects Canvas Fabric Artist Lettering Sketch Drawing A4 8.27 X 11.81 Inch
- Versatile Usage: Suitable for various surfaces including wood, fabric, and glass
- Reusable & Durable: High-quality material allows multiple uses without tearing
- Clear, Precise Lines: Provides bold, sharp, high-contrast outlines for accuracy
As an affiliate, we earn on qualifying purchases.
As an affiliate, we earn on qualifying purchases.
Frequently Asked Questions
What Tools Are Best for Transferring Chip Carving Patterns?
You should use pattern tracing tools like transfer paper to get precise chip carving patterns. Transfer paper is ideal for transferring your design onto the wood surface smoothly and accurately. You can also use pencils or fine-tipped markers for pattern tracing if needed. These tools help you maintain clean, consistent lines, preventing wobbling and ensuring your pattern transfers perfectly, giving you better control for detailed and professional-looking carvings.
How Do I Maintain Consistency Across Large or Complex Designs?
To maintain consistency across large or complex designs, you should create a precise template and focus on layout alignment. Secure the template firmly to your workpiece, ensuring it doesn’t shift. Use consistent marking and transfer methods, like carbon paper or transfer tape, to keep your pattern accurate. Regularly check your layout alignment during carving, and take your time to follow the lines closely for uniform results.
Can Chip Carving Layouts Be Reused for Different Projects?
Like a well-loved book, chip carving layouts can be reused for different projects, offering great design flexibility. You can transfer patterns onto various surfaces, tweaking details to suit each piece. By saving your templates and adjusting them as needed, you maximize your craftsmanship and creativity. Reusing patterns saves time and effort, letting you focus on refining your technique while exploring new interpretations of familiar designs.
What Safety Precautions Should I Follow During Layout Transfer?
When transferring your chip carving layout, always wear protective gear like safety glasses and gloves to shield your eyes and hands. Make certain your workspace setup is well-lit, organized, and free of distractions to maintain precision. Use a stable surface and secure your material to prevent slipping. Keep sharp tools pointed away from your body and work slowly to avoid accidents. Prioritizing safety helps you achieve clean, accurate cuts without injury.
How Can I Correct Mistakes in the Pattern Transfer Process?
When you notice transfer mistakes, promptly pause and prepare to correct. Carefully scrape off the misplaced pattern with a craft knife, then reapply the transfer with precision. To perfect your pattern correction, use light, consistent pressure and double-check alignments before tracing again. This technique transforms tiny troubles into tidy, triumphant touches, turning pattern errors into polished pieces. Stay patient, precise, and persistent for perfect pattern placements every time.
Conclusion
With a clear chip carving layout, you’ll confidently conquer curves and corners, creating crisp, enthralling designs. Remember, precise pattern transfer prevents wobbling and wobbly cuts, turning chaos into craftsmanship. With careful coordination and consistent contours, you’ll craft enthralling carvings that boast bold beauty. So, set your sight, steady your strokes, and sculpt stunning surface stories—success is simply a layout away. Master the method, make your mark, and marvel at your magnificent masterpiece.