To prevent bubbles and cracks with deep pour epoxy, keep your workspace temperature steady between 70°F and 80°F. Avoid sudden temperature shifts, as they can cause uneven curing and surface defects. Use heaters or climate control tools to maintain a consistent environment during curing. Maintaining this temperature range promotes even flow and ensures proper curing, so your finished piece is smooth and durable. For more essential tips on temperature regulation, continue with the next steps.
Key Takeaways
- Maintain the workspace temperature between 70°F and 80°F to ensure even curing and prevent bubble formation.
- Use heaters or climate control tools to stabilize temperature, avoiding fluctuations during the epoxy curing process.
- Pre-warm epoxy resin slightly before mixing to reduce viscosity and promote better bubble release.
- Avoid curing in cold environments, as low temperatures slow curing and increase the risk of cracks and cloudiness.
- Conduct the pour in a controlled environment to ensure consistent temperature, minimizing surface imperfections and bubbles.
Deep pour epoxy is a specialized type of resin designed for thick, large-scale projects that require substantial layers of coating. When working with deep pour epoxy, you need to pay close attention to how you mix and apply it to guarantee a successful finish. One of the most critical factors in this process is controlling the curing temperature. Your epoxy’s curing temperature directly influences how well it bonds, cures evenly, and avoids common issues like bubbles and cracks. Proper epoxy mixing is essential before pouring; you want to combine your resin and hardener thoroughly but carefully to prevent introducing air bubbles. Follow the manufacturer’s instructions precisely, mixing slowly to minimize air entrapment. Once your epoxy is well-mixed, managing the curing temperature becomes the key to a smooth, bubble-free finish. Additionally, understanding the environmental conditions during curing can significantly impact the final outcome.
Proper mixing and temperature control are key to flawless deep pour epoxy finishes.
Deep pour epoxy is sensitive to temperature variations because it generates heat as it cures, especially in thicker layers. If the environment is too cold, the epoxy can cure unevenly, leading to cracks or a cloudy appearance. Conversely, excessive heat can cause the epoxy to cure too quickly, trapping bubbles inside or causing surface imperfections. To avoid these issues, you should aim for an ideal curing temperature, usually between 70°F and 80°F (21°C to 27°C). Maintaining a consistent temperature during the entire curing process helps ensure the epoxy flows smoothly, releases trapped bubbles, and cures evenly without cracking. Using space heaters or fans can help stabilize the environment if needed, but avoid sudden temperature fluctuations.
It’s also crucial to evaluate the epoxy’s working time, which is affected by temperature. Warmer conditions shorten the working window, so you need to pour and spread the epoxy swiftly but carefully. Cooler conditions extend the working time but may slow down curing, risking incomplete bonding or surface defects. To achieve a perfect finish, monitor the ambient temperature and, if necessary, pre-warm or cool your workspace before mixing and pouring. Some technicians even use infrared heaters or controlled climate chambers to fine-tune the environment, ensuring the curing temperature remains within the ideal range.
Ultimately, success with deep pour epoxy hinges on your ability to control both epoxy mixing and curing temperature. Proper mixing minimizes bubbles from the outset, while maintaining a stable curing temperature prevents cracks and other issues as the resin hardens. By paying attention to these details, you’ll produce a flawless, durable surface free of bubbles and cracks, making your large-scale project stand out with professional-quality results.

KISREL Deep Pour Epoxy Resin, 3 Gallon Resin Epoxy Kit (2:1) for 2-4 Inch Pour Depths,Bubble Free, Low Odour, Crystal Clear Casting Resin for Table Tops, River Tables, Wood Fillers, Crafts
- Deep Pour Capacity: Up to 4-inch pour depth
- Professional Quality: Low odor, fast bubble release
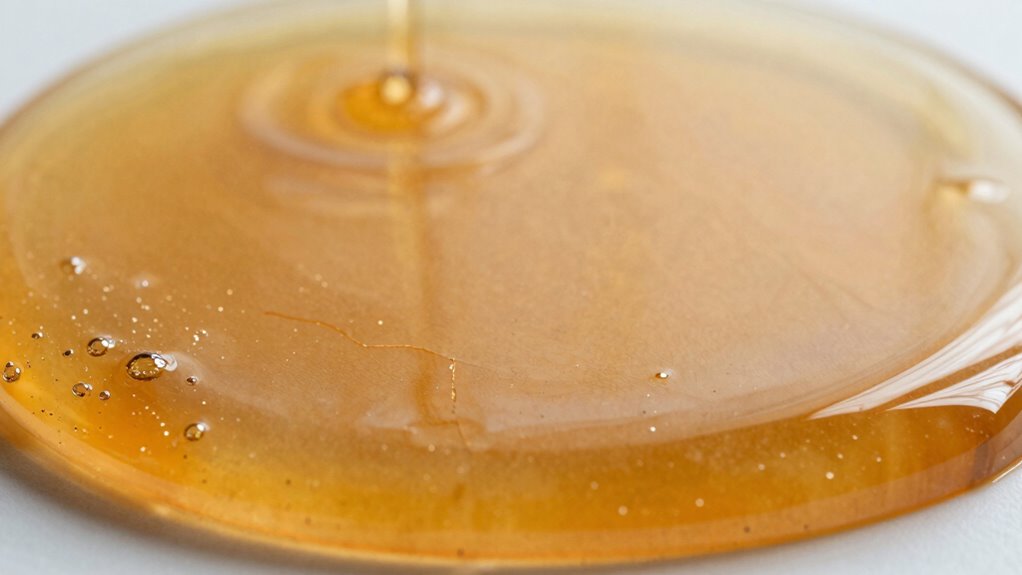
- Crystal Clear Finish: High transparency and gloss
As an affiliate, we earn on qualifying purchases.
As an affiliate, we earn on qualifying purchases.
Frequently Asked Questions
What Is the Ideal Ambient Temperature for Deep Pour Epoxy?
You should keep the ambient temperature between 70°F and 75°F for ideal temperature control during epoxy curing. This range helps prevent bubbles and cracks by guaranteeing consistent curing conditions. If it’s too cold, epoxy may cure slowly or unevenly, increasing the risk of defects. Conversely, excessive heat can cause rapid curing and cracking. Maintaining a stable temperature within this range ensures a smooth, professional finish for your deep pour epoxy project.
How Long Should I Wait Before Pouring the Next Layer?
You should wait until the first layer has fully cured, which typically takes about 72 hours, before pouring the next layer. For ideal results, ensure the layer thickness is within the manufacturer’s recommended range, usually 1 to 2 inches. Patience is key—allow enough curing time to prevent imperfections, and always follow the epoxy’s specific instructions. Rushing the process can lead to bubbles, cracks, or weak adhesion.
Can I Use a Heater to Control Epoxy Curing Temperature?
Yes, you can use a heater to control epoxy temperature during curing. Maintaining the right epoxy temperature guarantees a smooth curing environment, reducing bubbles and cracks. Keep the heater’s temperature steady and avoid overheating, which can cause issues. Use a thermometer to monitor the curing environment regularly, and adjust the heater as needed to keep the epoxy at an ideal temperature for best results and a flawless finish.
What Are Common Mistakes Causing Bubbles in Deep Pour Epoxy?
Imagine your epoxy as a calm lake; when you rush, air bubbles form like ripples. Common mistakes include pouring too quickly, which traps air and causes air bubble formation, and not properly mixing or degassing the epoxy, leading to curing surface imperfections. To prevent this, pour slowly, stir gently, and consider degassing to keep the surface smooth and clear, just like a still, glassy lake.
How Do Environmental Changes Affect Epoxy Curing Process?
Environmental changes greatly impact your epoxy curing process. Temperature fluctuations can cause uneven curing or cracks, so keep the workspace stable and within the recommended temperature range. Humidity effects also matter; high humidity can lead to bubbles and surface imperfections. To guarantee a smooth cure, maintain consistent temperature and humidity levels, avoiding sudden changes. This way, your epoxy will cure evenly, preventing bubbles and cracks caused by environmental inconsistencies.
Conclusion
By mastering the temperature trick, you can drastically reduce bubbles and cracks in your deep pour epoxy projects. Did you know that maintaining the right temperature can decrease defects by up to 50%? Staying attentive to temperature details guarantees a flawless finish and saves you time and effort. So, next time you pour, remember: a simple temperature adjustment can make all the difference in achieving a smooth, durable surface.