
To avoid common wood finishing mistakes, make sure to properly prep your surface by sanding smoothly and removing old finishes. Apply thin, even coats and let each dry fully before adding the next; rushing can cause runs, sags, or brush marks. Maintain a controlled environment and use quality tools for a professional look. Layering too thick or applying incompatible finishes can cause peeling or bubbles. Keep these tips in mind, and you’ll be on your way to a flawless finish.
Key Takeaways
- Apply multiple thin coats rather than one thick layer for better durability and finish.
- Properly sand and clean surfaces before finishing to ensure adhesion and a smooth appearance.
- Use appropriate tools and techniques, like brushing along the grain and avoiding rushing, to prevent blemishes.
- Maintain controlled environmental conditions—temperature and humidity—to prevent surface defects and curing issues.
- Follow manufacturer instructions for drying times and compatibility to avoid peeling, cloudiness, or other finish failures.
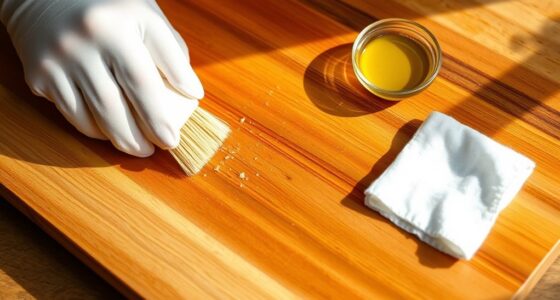
Finishing wood properly requires attention to detail, as common mistakes can compromise both the appearance and durability of your project. One of the most frequent errors is applying too few coats of finish. Just one coat won’t provide adequate protection against moisture or wear, especially with film-building finishes like polyurethane, lacquer, or shellac. These finishes typically gain exponential benefits with the first 2-3 coats, and beyond that, additional layers offer diminishing returns. To guarantee maximum durability, aim for at least two to three coats, and consider a final coat of satin or low-gloss for a smooth, attractive finish.
Applying multiple coats ensures durability and a polished finish.
If you want a particularly sleek surface, rubbing out the final coat can give you a silky feel and enhanced appearance.
Another common mistake is rushing application, which often results in runs and sags. When you apply finish too thickly, drips form, and the surface becomes uneven and unsightly. This usually happens when you’re impatient or overapply product without letting each coat dry properly. To avoid this, use thin, even coats and give each layer ample drying time before applying the next. This approach helps control the flow of the finish and prevents those pesky drips from forming.
Brush marks are also a telltale sign of amateur finishing. They happen when you use a low-quality brush, load it with too much finish, or brush with improper technique. To achieve a smooth, professional look, opt for high-quality brushes designed for your finish type, load just enough product, and brush along the grain with smooth, even strokes.
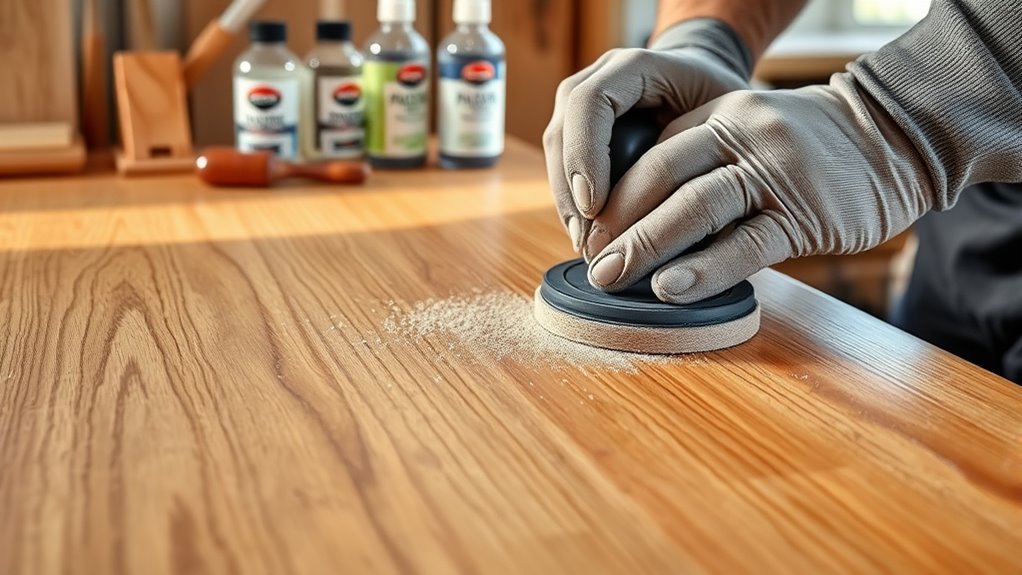
Sand the surface lightly between coats to help reduce visible brush strokes and promote better adhesion. Proper surface preparation, including thorough sanding and cleaning, is essential for a flawless finish.
The orange peel texture is another issue that can ruin a wood finish. It resembles the skin of an orange and is often caused by improper spraying conditions or application techniques. Factors like incorrect spray pressure, temperature, or humidity contribute to poor atomization. Using the right tools, maintaining proper environmental conditions, and practicing controlled spraying can help prevent this bumpy, uneven surface.
Surface preparation mistakes are often overlooked but are critical for a flawless finish. Skipping thorough sanding or sanding against the grain creates scratches and damages the wood fibers, which show through the finish. Remove old finishes completely and sand progressively using finer grits, following the manufacturer’s recommendations. Proper surface inspection and preparation are essential for achieving a smooth, flaw-free finish. Good lighting and dust removal during sanding are crucial steps often overlooked. Additionally, understanding the compatibility of different finishes helps prevent adverse chemical reactions and long-term problems. Proper environmental conditions, like controlling humidity and temperature, also play a vital role in finishing success.
Consistent, smooth sanding ensures better adhesion and a more even final appearance.
Lastly, applying incompatible finishes or layering finishes improperly can cause reactions, peeling, or cloudy surfaces. Always check compatibility beforehand and allow proper curing time between different types of finishes. Overapplication of finish can also result in pooling, trapping solvents, and causing cloudy or blistered surfaces. Applying thin, even coats and patiently waiting for each to dry ensures your finish remains stable, attractive, and durable.
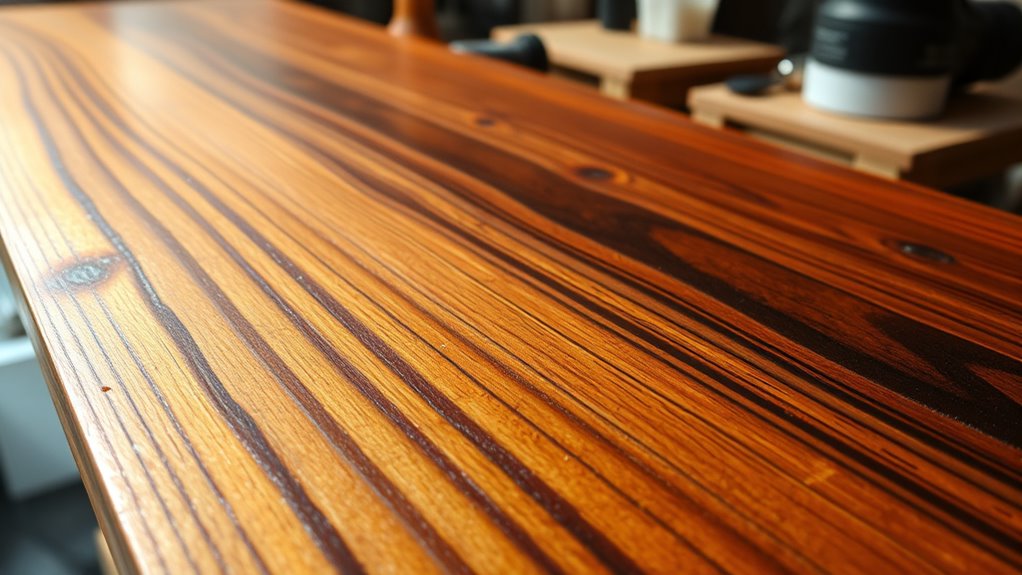
Paying attention to these details will considerably improve your wood finishing results.

Set of 3 Chip Paint Brushes with Synthetic Bristles for Priming Painting, Varnishing, Wood, Walls, Painting
- Set Includes 3 Different Brush Sizes: Variety of models for all painting needs
- Compatible with Most Paint Types: Works with stains, varnishes, acrylics, and gesso
- Ergonomic Wooden Handles: Strong grip for comfortable use
As an affiliate, we earn on qualifying purchases.
As an affiliate, we earn on qualifying purchases.
Conclusion
By steering clear of these common wood finishing mistakes, you’re well on your way to achieving a beautiful, durable finish. But remember, even the tiniest oversight can jeopardize your project’s success—what you don’t see could be the very flaw that reveals itself later. So stay vigilant, follow each step carefully, and don’t rush. The true secret to flawless finishing lies in your attention to detail—are you prepared to discover what’s lurking behind that first coat?