To craft a wooden clock that blends function and style, start with careful design planning, focusing on balance and harmony. Gather quality tools like saws, chisels, and sanders, then choose joinery methods that guarantee durability and clean appearance. Pay close attention to grain alignment and precise measurements during construction. Finish with thorough sanding and natural or stained finishes to enhance beauty. Continuing will reveal detailed tips to help you create a polished, unique piece that’s both practical and attractive.
Key Takeaways
- Plan your design with attention to proportion, harmony, and how the clock complements its space.
- Select quality tools like fine-tooth saws, chisels, and sanders for precise and smooth craftsmanship.
- Use proper joinery and grain alignment to ensure durability and aesthetic appeal.
- Thoroughly sand and finish surfaces to enhance natural wood beauty and achieve a professional look.
- Focus on seamless assembly and finishing to create a functional, stylish clock that reflects personal craftsmanship.
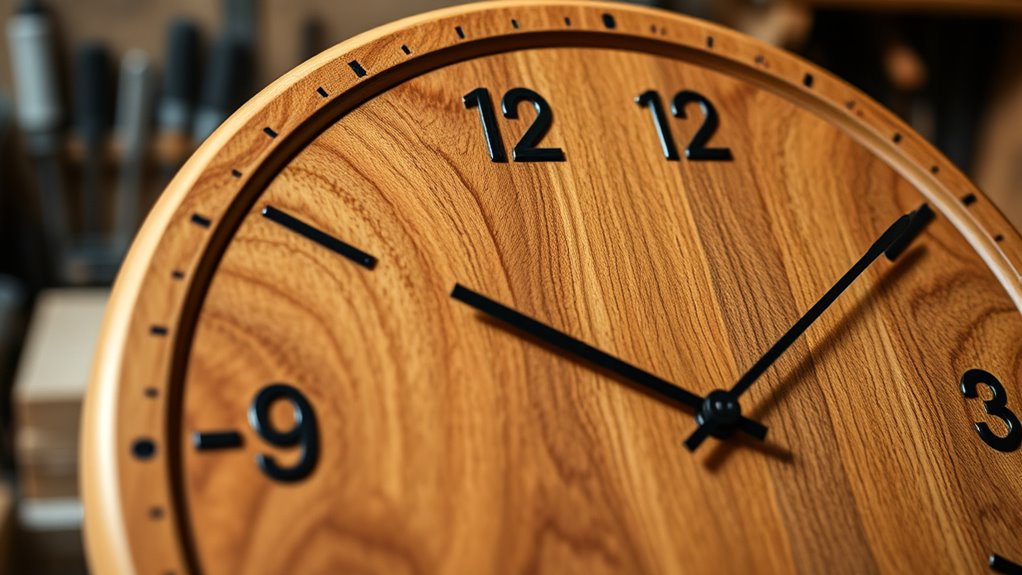
Creating a wooden clock is a rewarding project that combines craftsmanship and creativity. When you set out on this journey, understanding design principles becomes essential. These principles guide you in making a clock that’s not only functional but also visually appealing. Think about balance, proportion, and harmony—ensuring all parts work together seamlessly. You want the clock to be an attractive piece that complements your space while serving its purpose. Starting with a clear plan helps you visualize the final product and prevents mistakes along the way. Sketch your design, considering the size, style, and details that will give your clock character. This planning phase ensures your project stays focused and manageable.
Once your design is ready, gathering the right woodworking tools is your next step. Basic tools like saws, chisels, and sanders are fundamental, but investing in quality tools makes a noticeable difference. A fine-tooth saw will help you make precise cuts, while a chisel allows for detailed carving or fitting joints. A power sander speeds up surface finishing, giving your clock a smooth, professional look. Don’t forget clamps to hold pieces securely during assembly, and a drill for creating holes for the clock mechanism. Having the right tools at hand simplifies your work and improves accuracy, so take the time to select tools suited to your skill level and project scope.
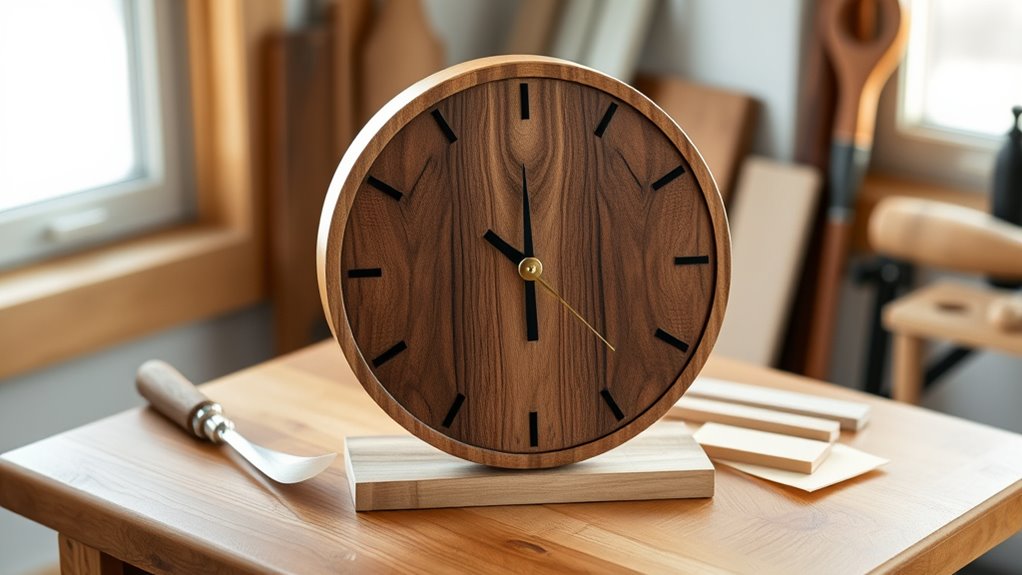
As you work through the construction, keep the design principles in mind. For example, aligning the grain pattern not only enhances aesthetic appeal but also adds strength to your piece. Proper joinery ensures durability and a clean appearance, so use techniques like dovetail or mortise and tenon joints where appropriate. Consistent measurements and careful marking are crucial, especially when fitting the clock face and hands. Precision in cutting and assembly will result in a clock that’s not only sturdy but also visually balanced. Understanding regional resources can help you access specialized guidance and support. Patience and attention to detail pay off—measure twice, cut once, and take your time to sand and finish each surface thoroughly.
Throughout the process, your understanding of design principles combined with the right woodworking tools enables you to create a clock that’s both beautiful and functional. Every step, from sketching to final sanding, is an opportunity to refine your craftsmanship. When you finish, you’ll have a handcrafted wooden clock that reflects your skill and style—an original piece that adds warmth and personality to any room. The satisfaction of building something with your own hands makes this project truly worthwhile.

3D Wooden Puzzle Clock Kit DIY Mechanical Wall Clock Hanging Pendulum Gift for Adults & Teens
- Build Your Own Mechanical Wall Clock: No glue needed, easy assembly
- Ideal Gift for Collectors: Perfect for anniversaries and home decor
- Elegant Unique Design: Roman numerals and pendulum feature
As an affiliate, we earn on qualifying purchases.
As an affiliate, we earn on qualifying purchases.
Frequently Asked Questions
What Types of Wood Are Best for Clock Durability?
You should choose hardwoods like oak, maple, or walnut for clock durability, as they have tight wood grain patterns that resist warping and scratches. These woods are sturdy and age well, making your clock last longer. Also, consider sustainable wood options like bamboo or reclaimed wood, which are eco-friendly choices with beautiful grain patterns. This way, your clock combines durability, style, and environmental responsibility.
How Can I Customize the Clock’s Design?
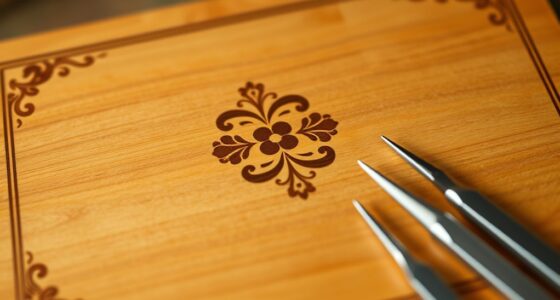
You can truly make your clock stand out by exploring decorative patterns and color customization. Start by sketching unique designs or adding intricate carvings to reflect your style. Use paint or stain to match your decor, and consider incorporating personal touches like inlays or engraved details. With a bit of creativity, you’ll craft a one-of-a-kind piece that seamlessly blends functionality with your personal aesthetic.
What Tools Are Essential for Crafting a Wooden Clock?
You’ll need essential hand tools like a saw, chisel, hammer, and sandpaper for crafting your wooden clock. Choose tools that match your skill level, prioritizing quality and precision in hand tool selection. Always follow safety precautions, such as wearing goggles and gloves, to prevent injuries. These tools help you shape, carve, and smooth the wood effectively, ensuring your clock’s design is both functional and stylish.
How Do I Ensure Accurate Timekeeping?
To guarantee accurate timekeeping, you need a reliable clock movement and proper installation. Choose a high-quality quartz or mechanical clock movement, and carefully align it inside your wooden clock. Regularly check the time and make slight time adjustments using the movement’s adjustment feature if needed. Keep the clock clean and free from dust, and ensure the hands move smoothly without obstruction, so your clock remains precise and functional.
What Finishes Protect the Wood and Enhance Appearance?
Imagine you’ve built a stunning wooden clock, and now you want it to last while looking great. You should apply a quality protective varnish, which safeguards the wood from moisture and damage. Additionally, using a wood stain enhances the grain’s beauty and can match your decor. These finishes not only protect your clock but also elevate its appearance, giving it a polished, professional look that lasts for years.
Conclusion
As you finish crafting your wooden clock, it’s funny how time seems to align perfectly with your effort—like the wood itself was waiting for you to bring it to life. Every detail you’ve added now ticks in harmony, reminding you that beauty and function can truly coexist when you put your heart into it. Sometimes, the simplest projects turn out to be the most meaningful, making you wonder if the clock was always destined to find its perfect moment with you.