
When measuring for upholstery, always account for padding like foam by adding 2-4 inches to each measurement to make certain your fabric covers the padding properly. Remember, thicker foam requires more fabric, and precise measurements help avoid gaps or bunching. Also, consider how padding affects the overall size and plan for extra fabric, especially for patterns that need matching at seams. For detailed tips on adjusting your measurements accurately, keep exploring further.
Key Takeaways
- Add 2-4 inches to measurements for each padding layer to ensure adequate fabric coverage.
- Measure padding thickness directly to determine necessary fabric adjustments.
- Include extra fabric at edges and corners to accommodate padding bulk and prevent gaps.
- Confirm measurements multiple times, accounting for padding, to ensure accuracy.
- Visualize fabric layout beforehand to align pattern repeats and avoid shortages caused by padding.
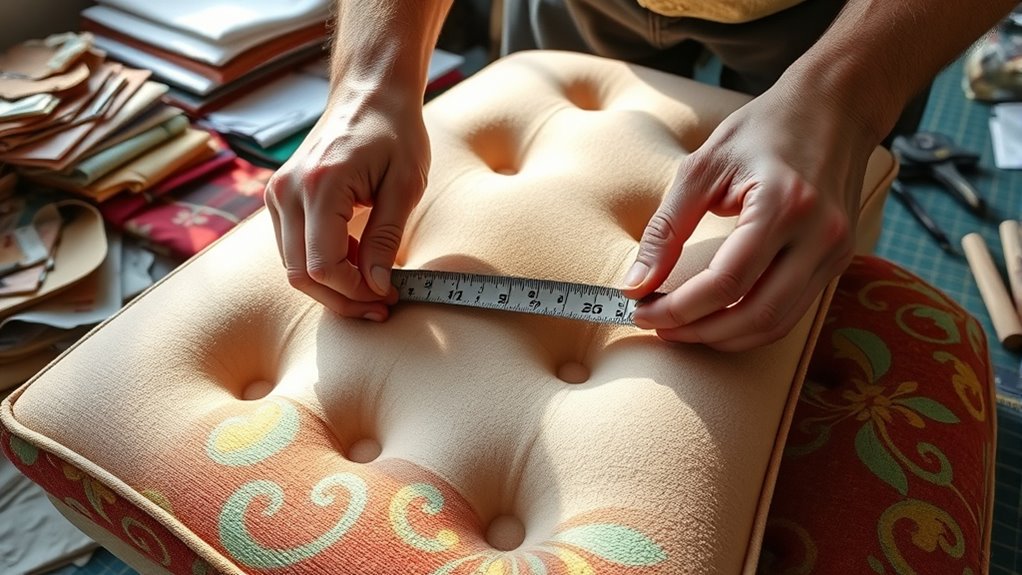
Measuring accurately is essential when upholstering furniture, as it guarantees your new fabric fits perfectly and looks professional. When accounting for padding, such as foam or batting, your measurements need to weigh how thick the foam is, since this affects the overall dimensions of the final piece. Foam thickness plays a critical role in determining how much fabric you’ll need and how the finished upholstery will appear. If the foam is thicker, you’ll need to add extra fabric to cover the additional padding, especially around edges and corners. Conversely, thinner foam requires less fabric and less adjustment, but you still need precise measurements to avoid gaps or bunching.
In addition to foam thickness, fabric pattern matching is an important factor to think about during your measurements. If your fabric has a pattern—stripes, florals, or any directional design—you’ll want to measure in such a way that the pattern aligns seamlessly across different sections of the furniture. This means calculating not just the surface area but also the placement of the pattern repeats. When measuring, you should mark the points where the pattern begins and ends, ensuring you cut your fabric in a way that allows for matching at seams and edges. This process might mean adding extra fabric to accommodate pattern alignment, especially on larger pieces or those with intricate designs.
As you take measurements, keep in mind that padding adds bulk, so your fabric needs to be slightly larger than the bare frame. For example, if the foam is 2 inches thick, you might need to add at least 2 to 4 inches to each measurement to account for this extra layer of padding and ensure a smooth, taut finish. Precision is key—measure multiple times to confirm your figures, and always add a little extra to prevent running short during the upholstery process. When measuring for fabric pattern matching, lay out the fabric before cutting to visualize how the pattern aligns across different sections. Adjust your measurements if necessary to match pattern repeats and ensure a cohesive look once assembled.

GoTo Foam 1" Height x 24" Width x 72" Length 44ILD (Firm) Upholstery Cushion Made in USA
- Made in the USA: Manufactured in the United States
- Certipur Certified: Certified for safety and quality
- Density: 1.79, 44lb compression
As an affiliate, we earn on qualifying purchases.
As an affiliate, we earn on qualifying purchases.
Frequently Asked Questions
How Do I Choose the Right Padding Thickness?
To choose the right padding thickness, consider your comfort and the look you want. Use measurement techniques like pressing and testing different padding materials to find what feels best. Thicker padding offers more softness and cushion, ideal for cozy furniture, while thinner padding keeps things sleek. Keep in mind the upholstery’s purpose and your personal preference, so you select padding materials that provide the right balance of support and comfort.
Can I Reuse Old Padding When Reupholstering?
You can reuse old padding when reupholstering if it’s still in good condition; just ensure you carefully remove it and assess its integrity. Follow upholstery guidelines to check for wear, compression, or damage. During padding removal, take your time to avoid tearing or deforming the material. If the old padding feels firm and intact, you can reuse it, but replacing it is often recommended for maximum comfort and durability.
What Tools Are Best for Measuring Padding?
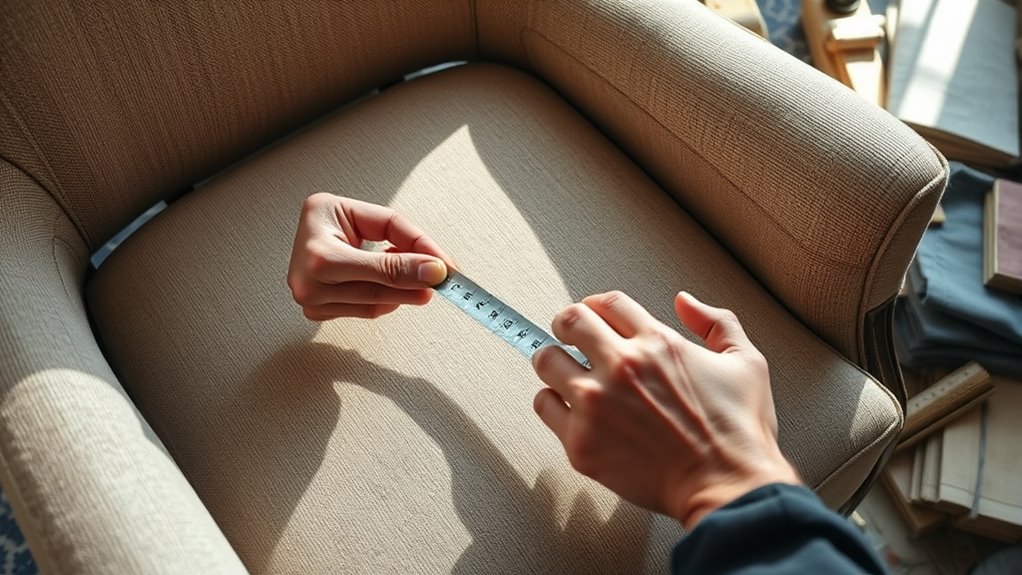
You should use a flexible tape measure for accurate padding measurements, ensuring you capture all curves and contours. A ruler or straightedge can help with flat surfaces, while a foam density tester is useful for evaluating padding quality. When selecting batting, consider its thickness and firmness. Proper tools help you gauge the right amount of padding, ensuring comfort and durability while accounting for foam density and the best batting selection for your project.
How Do Padding Types Affect Measurement Accuracy?
Padding types substantially impact measurement accuracy because foam density and padding compression vary. Higher-density foam compresses less, meaning you should measure the original dimensions carefully to avoid underestimating. Softer padding compresses more, so account for potential compression when measuring, especially in areas with heavy use. Always measure the final, compressed dimensions to guarantee a proper fit, and choose padding that maintains its shape to avoid frequent adjustments.
Is There a Standard Padding Depth for All Furniture?
Imagine you’re reupholstering a sofa, and you wonder if there’s a standard padding depth. Typically, there’s no universal standard, as padding density and foam firmness vary based on furniture style and comfort preferences. For example, a sofa might use 1.5 inches of high-density foam for firmness, while a plush armchair may have 2 inches of softer padding. Always adjust padding depth to match your desired look and feel.
Conclusion
Now that you’ve learned to measure with precision and account for padding, you’re ready to bring your upholstery project to life. Think of your fabric as a canvas, and your measurements as the brushstrokes that shape your masterpiece. With every careful calculation, you’re weaving a tapestry of comfort and style that will stand the test of time. Trust your measurements, embrace the process, and watch your vision unfold like a beautiful symphony in motion.