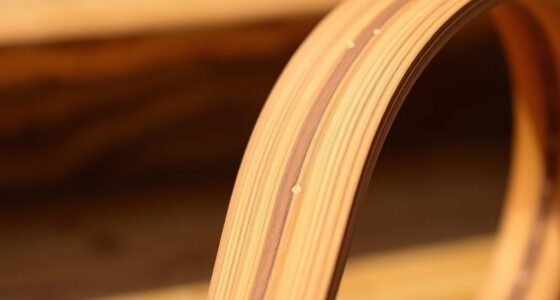
To glue up smooth, strong curves in laminate, start by layering carefully, scoring the backside for controlled flex points, and using water-based adhesive or specialized glue for better flexibility. Clamp or press the laminate into the desired shape during curing to make certain of even contact and reduce air bubbles. Applying gentle heat can soften the resin, making bending easier and preventing cracks. Keep practicing these techniques for reliable, professional results—there’s more to master for perfect curves.
Key Takeaways
- Use water-based adhesive or specialized laminate glue to enhance flexibility and ensure a strong, smooth bond during bending.
- Score the backside of the laminate to create controlled flex points, reducing stress and preventing cracks.
- Clamp or press the laminate firmly into the desired curve during curing for even contact and optimal adhesion.
- Gradually shape the laminate over a form or jig, applying gentle pressure to achieve smooth, consistent curves.
- Test techniques on scrap pieces first to refine glue-up methods, ensuring durable and visually appealing results.
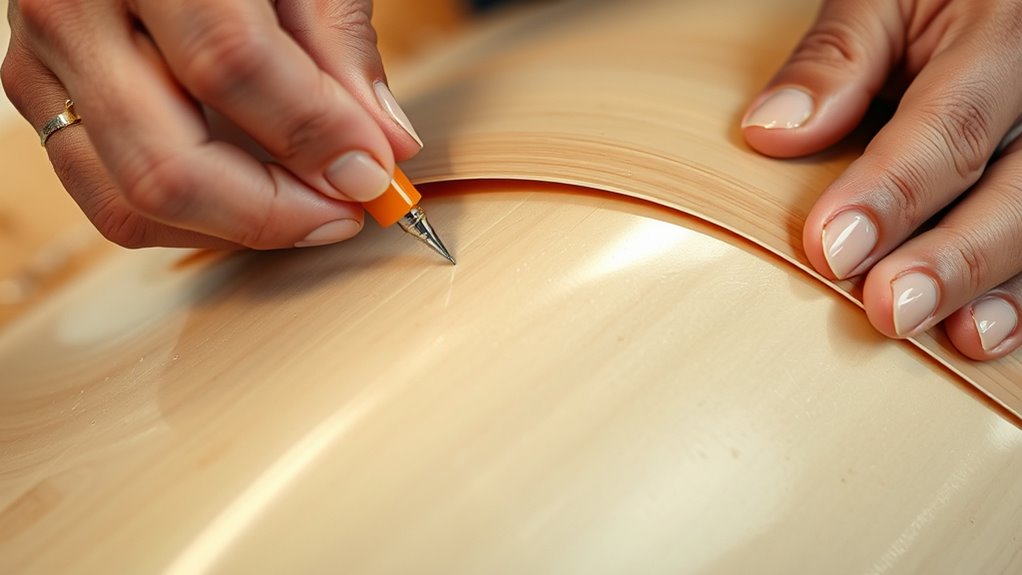
Have you ever wondered how to bend laminate sheets without causing damage? Bending laminate isn’t as simple as it looks, but with the right layering techniques and bending methods, you can achieve smooth, strong curves that look professional. The key lies in understanding how to manipulate the material without cracking or chipping, which requires careful preparation and execution.
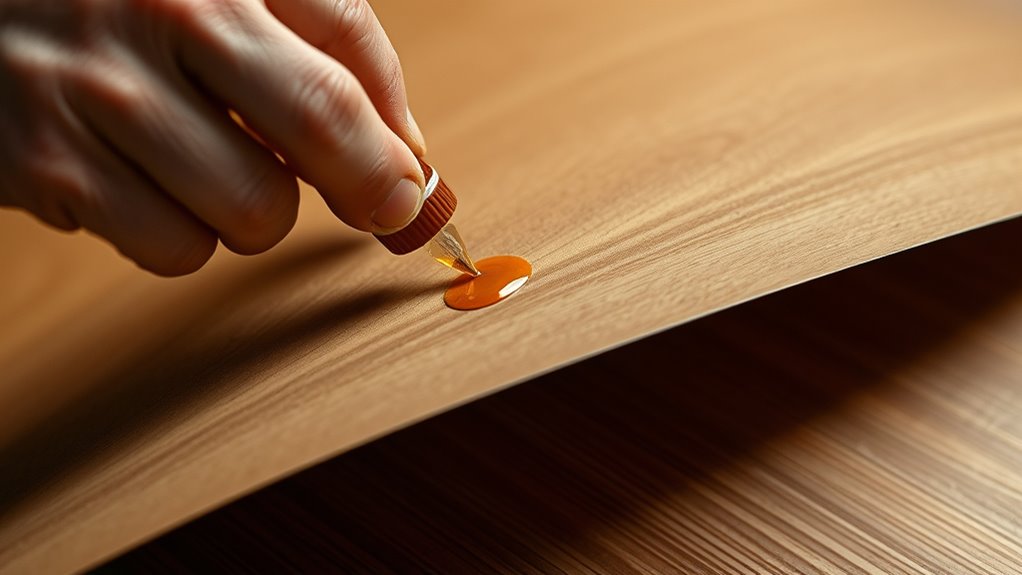
First, you need to master layering techniques. This involves gradually shaping the laminate rather than forcing it into a curve all at once. Typically, you’ll start by scoring the backside of the sheet to create controlled flex points, which helps prevent cracking during bending. Applying a water-based adhesive or a specialized laminate glue along the layers can also improve flexibility and bonding, especially when you’re working with multiple layers for added strength. When layering, it’s essential to keep the sheet clamped or pressed into the desired curve as the glue cures. This pressure maintains contact and ensures the laminate conforms evenly to the shape, reducing the risk of air bubbles or weak spots.
Master layering carefully and clamp during curing to ensure smooth, durable laminate curves.
Bending methods play an essential role in achieving the desired curvature. One popular approach involves using a bending form or jig that matches the shape you want. You can heat the laminate slightly using a heat gun or steam to increase its pliability. Heating softens the resin in the laminate, making it easier to bend without cracking. Once heated, you should gently bend the sheet around your form, applying even pressure throughout. This method requires patience, as rushing can cause stress points and damage. Alternatively, some craftsmen prefer wet bending, where they soak the laminate in water or a water-based solution to improve flexibility temporarily. This technique works well for gentle curves and small radii. Additionally, understanding material properties such as laminate resin composition can help predict how it will respond to heat and bending forces, ensuring better results.
Regardless of the bending method you choose, it’s imperative to work slowly and carefully, constantly monitoring the laminate’s response. Keep in mind that the combination of proper layering techniques and bending methods ensures the laminate maintains its integrity and strength after shaping. It’s also wise to test your approach on scrap pieces before working on your final project, so you can adjust the temperature, pressure, or adhesive if needed. The process demands patience, but with the right techniques, you’ll produce smooth, professional-looking curves that enhance your project’s appearance and durability. Mastering these methods allows you to bend laminate confidently, pushing the boundaries of what you thought possible with this versatile material.

Contact Cement Adhesive 4.16 oz – High Strength Neoprene Contact Cement with Brush, Heat-Resistant Cement Glue for Wood, Metal, Leather, Laminate, Furniture Repairs, Shoe Repair and DIY Crafts
- Fast-Acting Strong Bond: Creates quick, durable bonds across materials
- Indoor/Outdoor Use: Waterproof and heat-resistant for all environments
- Flexible & Anti-Cracking: Remains flexible and crack-free after drying
As an affiliate, we earn on qualifying purchases.
As an affiliate, we earn on qualifying purchases.
Frequently Asked Questions
What Types of Wood Are Best for Laminate Bending?
You should choose woods with flexible grain patterns, like ash, oak, or mahogany, for bending. Make sure the moisture content is around 6-8% to prevent cracking or warping during the process. Woods with straight, tight grains bend more easily, giving you smooth, strong curves. Avoid woods with irregular grain or high moisture, as they’re more likely to split or resist shaping, making your laminate bending project more successful.
How Long Does the Glue-Up Process Typically Take?
Did you know that proper glue-up can take anywhere from 4 to 24 hours? You’ll want to allow sufficient drying time, which varies based on the adhesive used, and guarantee you maintain consistent clamp pressure throughout this period. Rushing this process can weaken the bond, so patience is key. Typically, a full cure occurs within 24 hours, giving your laminate a smooth, strong curve.
Can Laminate Bending Be Done Without Specialized Tools?
Yes, you can do laminate bending without specialized tools by using DIY techniques and tool alternatives. For example, you might use household items like clamps or weighted objects to hold the laminate in place, or create makeshift forms with plywood or foam. Carefully shaping the laminate and applying even pressure helps achieve smooth, strong curves without expensive equipment. Just make certain you follow proper procedures for the best results.
What Safety Precautions Are Necessary During Glue-Up?
Like a tightrope walker, you need to stay balanced during glue-up. Always wear personal protective equipment like gloves and safety glasses to protect yourself from fumes and glue contact. Make sure your workspace has proper ventilation, so fumes don’t build up like a fog. Keep your work area clean and organized, and handle tools carefully. These precautions help you stay safe while creating smooth, strong curves with your laminate bends.
How Do I Prevent Bubbles or Imperfections in the Laminate?
To prevent bubbles or imperfections, choose the right adhesive suited for your laminate and project. Make certain proper surface preparation by thoroughly cleaning and sanding the surfaces to promote good adhesion. Apply the adhesive evenly with a roller or brush, avoiding excess that can cause air pockets. Use a roller or squeegee to press the laminate firmly, pushing out air and excess adhesive, resulting in a smooth, flawless curve.
Conclusion
Now that you know how to bend laminates smoothly and strongly, you’re ready to take on creative projects. Think of it like crafting a perfect curve—sometimes delicate, sometimes bold—just like life’s unexpected twists. With patience and the right glue-up techniques, your curves will be both beautiful and resilient. So, embrace the process, enjoy the journey, and let your craftsmanship turn simple materials into stunning, functional art.