
When starting relief carving, always pay attention to the wood’s grain direction and work with it, not against it. Follow the grain with your tools to prevent splintering and achieve cleaner cuts. Begin with shallow layers and gradually carve deeper for better control and detailed results. Using sharp tools will help you carve smoothly and precisely. Keep practicing these techniques, and you’ll discover how mastering grain and depth can elevate your relief carving skills.
Key Takeaways
- Carve with the grain, keeping your tools parallel to it to prevent splintering and tear-out.
- Always observe and follow the natural grain flow for cleaner, smoother cuts.
- Start with shallow cuts and gradually increase depth for better control and detailed relief.
- Remove wood in layers, building up depth slowly to achieve a three-dimensional effect.
- Use sharp, well-maintained tools to ensure precise cuts and reduce the risk of damaging the grain.

Are you curious about how to bring your woodworking projects to life with stunning depth and detail? When it comes to relief carving, your success depends heavily on choosing the right materials and tools. Start with your wood selection, which plays a vital role in the final appearance and ease of carving. Soft woods like basswood, pine, or butternut are ideal for beginners because they have a fine, even grain that’s easy to work with and less prone to splitting. Hardwoods, while more durable, can be challenging for those just starting out, as their dense grain requires more effort and sharper carving tools. Picking the right wood guarantees you can carve smoothly and achieve the desired depth without frustration.
Choosing the right soft wood like basswood or pine makes relief carving easier and more enjoyable.
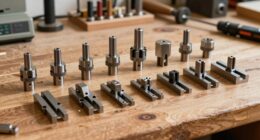
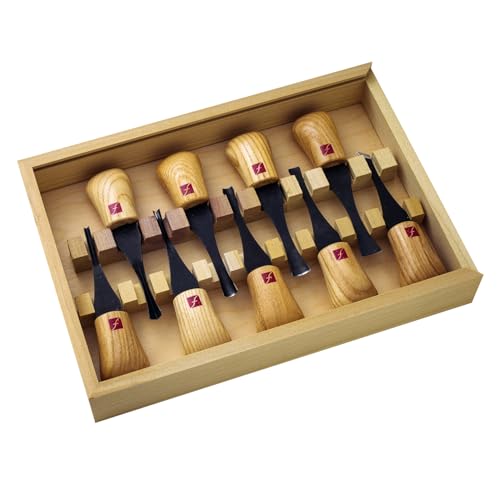
Once you’ve selected the appropriate wood, focus on your carving tools. Having a good set of sharp chisels, gouges, and knives is essential. Dull tools will make carving more difficult, increase the risk of slips, and produce rougher cuts. Sharp tools, on the other hand, allow you to make precise, controlled cuts that define the depth and details of your relief. Invest in quality tools and keep them maintained; this will improve your control and the overall quality of your work. When you’re starting, use gouges with different sweep angles to help you carve both broad and fine details, giving your project a layered, three-dimensional look. Additionally, understanding grain direction is crucial because it affects how smoothly your tools cut and how your wood responds during carving.
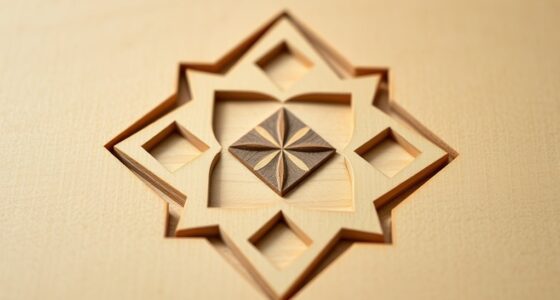
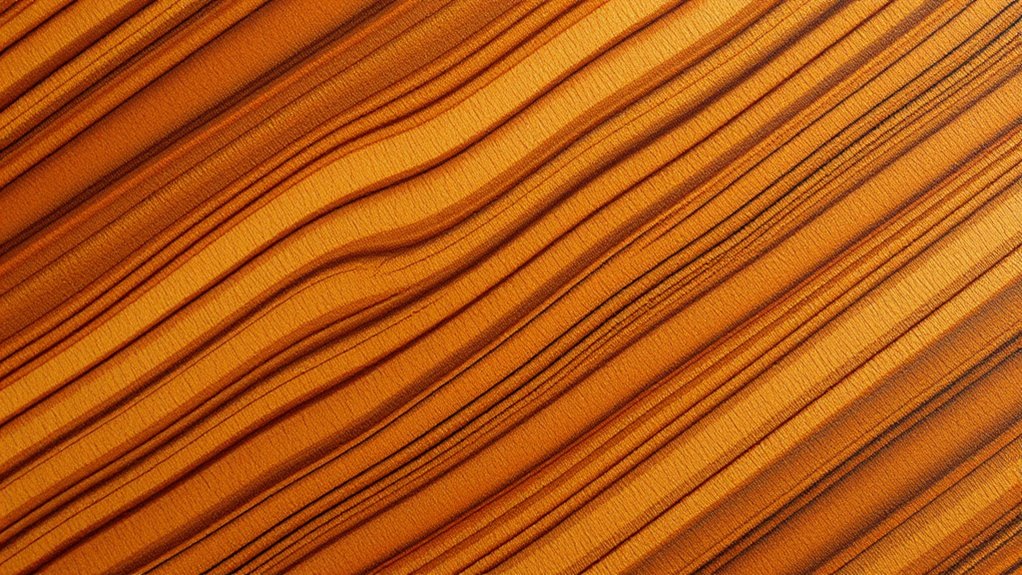
A fundamental aspect of relief carving is understanding grain direction. Wood grain influences how your tools cut and how the material responds to carving. Always examine your wood carefully before starting. Carve with the grain, running your tools parallel to it whenever possible. Carving against the grain can cause splintering or tear-out, destroying the smoothness of your relief and wasting your effort. For internal cuts or detailed areas, work with the grain to maintain control and produce cleaner results. If you encounter difficult areas, take your time and adjust your angle to follow the grain’s natural flow. This approach minimizes damage and ensures a consistent, professional-looking depth.
Depth is another essential component. Start shallow, gradually increasing the depth as you gain confidence and refine your skills. Use your carving tools to carve in layers, removing small amounts of wood at a time. This layered approach helps you control the depth more accurately and avoid going too deep too quickly, which can compromise the structural integrity of your piece. Remember, relief carving isn’t about carving everything deep at once; it’s about building up layers of depth to create a sense of dimension. With patience, attention to grain direction, and sharp tools, you’ll be able to carve reliefs that display stunning depth and intricate detail, even as a beginner.

Wood Carving Kit, 24Pcs Wood Carving Tools with Storage Bag, Wood Whittling Knife Kit with 4pcs Templates & 6pcs Basswood Blocks for DIY Beginners
[24Pcs Complete Set] – Our wood carving kit provides everything you need to start your carving journey: 4pcs…
As an affiliate, we earn on qualifying purchases.
As an affiliate, we earn on qualifying purchases.
Frequently Asked Questions
What Tools Are Best for Relief Carving Beginners?
For relief carving beginners, the best tools are gouges and chip carving knives. These tools help you master carving techniques with precision and control. Start with a set of small, versatile gouges to work on different details and depth. As you gain confidence, experiment with V-tools and veiners. Proper tool selection allows you to develop your skills, follow grain direction accurately, and create beautiful, textured designs with ease.
How Do I Choose the Right Wood for Relief Carving?
You should choose softwood like basswood or pine for relief carving because they have fine, straight grain patterns that are easier to carve. Look for wood with consistent grain and moderate density, so your tools cut smoothly without splintering. Avoid hardwoods with unpredictable grain patterns or high density, which can make carving more difficult. Selecting the right wood helps you achieve cleaner details and reduces frustration as you learn.
What Safety Precautions Should I Take While Carving?
You should always wear safety gear like goggles and a dust mask to protect your eyes and lungs. Keep your workspace tidy and well-lit to prevent accidents. Use sharp tools carefully, cutting away from your body, and take regular breaks to avoid fatigue. Make sure your tools are secure and handle them with control. Prioritize safety at all times to enjoy relief carving while minimizing risks.
How Do I Fix Mistakes in Relief Carving?
To fix mistakes in relief carving, start by gently sanding or scraping away correcting gouge marks, being careful not to damage your work. If there are unwanted holes, fill them with wood filler or a matching wood putty, then sand smooth once it’s dry. For deep errors, carefully carve around the mistake, blending it into the surrounding area. Patience and precise tools help you achieve a polished finish.
How Long Does It Typically Take to Complete a Relief Carving?
Think of relief carving as a journey that unfolds like a story. It typically takes anywhere from a few hours to several days, depending on your detail and techniques for shading, finishing tips, and complexity. As you progress, patience guides your hand, shaping each layer carefully. Rushing can dull the narrative, so take your time, refine your work, and enjoy the process—your masterpiece will emerge beautifully in its own time.
Flexcut Carving Tools Deluxe Palm Gouge Set FR405, Wood Crving Kit, Razor-Sharp 1095 High Carbon Steel Blade, Made in the USA
Gouge Set Includes: This woodworking set includes seven different gouges measuring #2 x 5/16, #3 x 3/8, #3…
As an affiliate, we earn on qualifying purchases.
As an affiliate, we earn on qualifying purchases.
Conclusion
As you explore relief carving, you’ll find that understanding grain directions and depth makes all the difference. Coincidentally, the more you practice, the more your pieces come to life, revealing hidden details you never noticed before. It’s almost like the wood guides you, revealing its secrets as you work. So keep carving, stay curious, and enjoy the journey—each piece is a small miracle, shaped by your hands and the grain’s silent story.
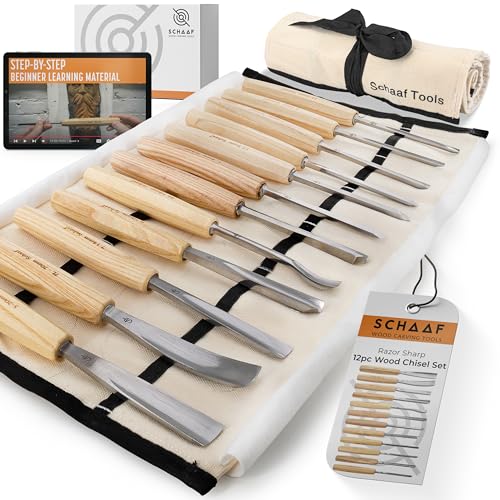
Schaaf Wood Carving Tools Set of 12 Chisels with Canvas Case | Wood Carving Chisels with Razor Sharp CR-V 60 Steel Blades
Start any Project – Wood carving tool set features 12 versatile wood carving chisels and gouges you need…
As an affiliate, we earn on qualifying purchases.
As an affiliate, we earn on qualifying purchases.
Wood Carving Kit, 24Pcs Wood Carving Tools with Storage Bag, Wood Whittling Knife Kit with 4pcs Templates & 6pcs Basswood Blocks for DIY Beginners
[24Pcs Complete Set] – Our wood carving kit provides everything you need to start your carving journey: 4pcs…
As an affiliate, we earn on qualifying purchases.
As an affiliate, we earn on qualifying purchases.