To create raised designs in relief carving, choose the right tools like chisels, gouges, and knives, and master slicing, whittling, or punching techniques to develop depth and detail. Use transfer methods such as graphite or carbon paper to accurately outline your design before you start carving. Keep your tools sharp and select appropriate sizes for different details. By honing your skills and understanding these methods, you’ll achieve professional-looking relief artwork—keep exploring to learn more about perfecting your craft.
Key Takeaways
- Select appropriate tools like chisels, gouges, and knives designed for relief carving to achieve detailed raised designs.
- Use carving techniques such as slicing for smooth layers and punching for fine details to enhance depth and realism.
- Transfer your design accurately onto wood with graphite or carbon paper to maintain correct proportions.
- Keep tools sharp and well-maintained to ensure clean cuts, precise details, and safety during carving.
- Combine multiple carving techniques and practice consistently to develop skill in creating complex raised relief artwork.
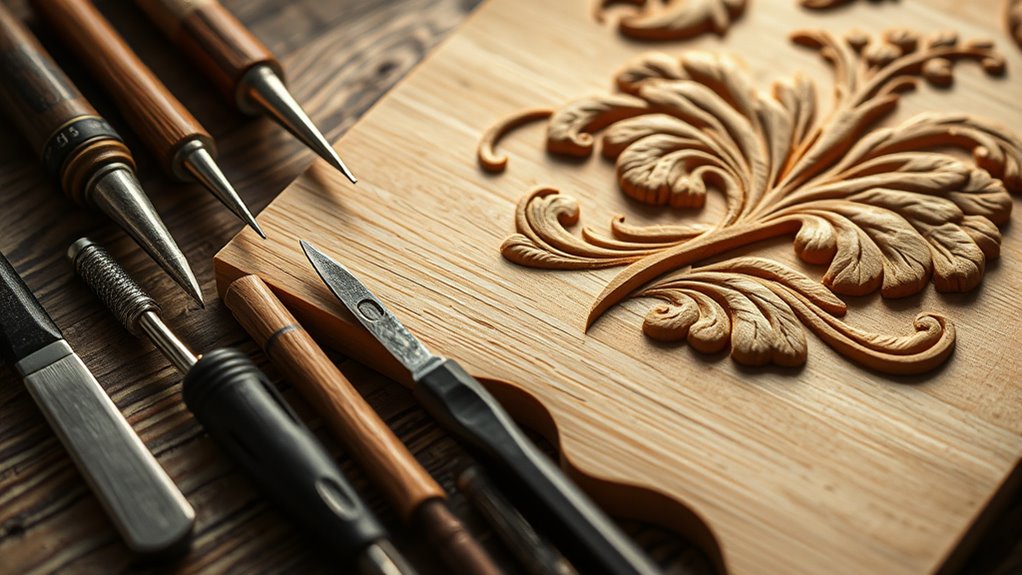
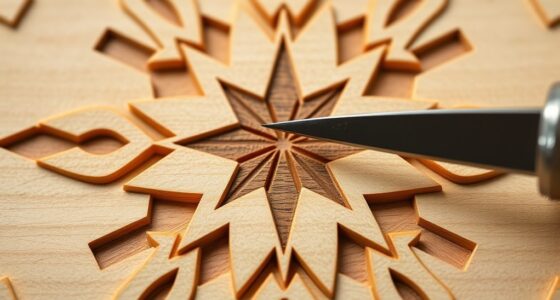
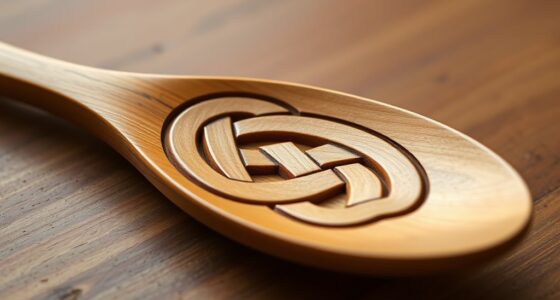
Relief carving is a versatile art form that transforms flat surfaces into detailed and textured images, but success depends largely on choosing the right tools and techniques. To create compelling raised designs, you need to master various wood carving techniques that allow you to control depth, detail, and texture. These techniques include slicing, whittling, and punching, each suited to different aspects of relief work. Slicing involves carefully removing thin shavings to build up layers and create smooth progressions, while whittling is more aggressive, used for removing large sections quickly. Punching, on the other hand, lets you add fine details by pressing tools into the wood. Combining these methods helps you develop depth and realism in your relief carvings.
Another critical aspect is how you transfer your design onto the wood surface. Design transfer methods are essential because they guarantee your artwork’s accuracy before you start carving. Common methods include graphite paper, carbon paper, and tracing. With graphite or carbon paper, you place the paper between your drawing and the wood, then trace over your design, leaving a clear outline on the surface. Tracing is useful if you have a printed or drawn template; you can use a stylus or needle to trace the lines directly onto the wood, creating a faint but precise guide. Some artists use a transfer punch or stencil to get more complex patterns onto the wood with ease. These design transfer methods are invaluable because they save time, reduce errors, and help you maintain ideal proportions in your relief artwork.
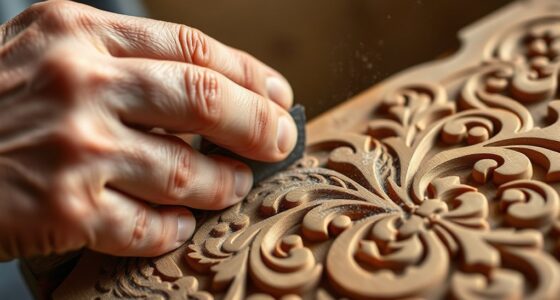
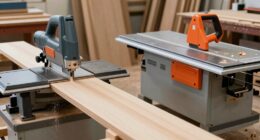
Choosing the right tools is equally crucial. You’ll want a set of chisels, gouges, and knives designed specifically for relief carving. V-gouges are perfect for outlining and fine details, while U-gouges help create smooth, curved surfaces. Smaller detail tools allow you to add intricate features, and larger chisels work for removing bulk material. Always use sharp tools to assure clean cuts and prevent accidental slips. For finer work, consider carving knives with comfortable handles that give you precision and control. The choice of tools directly influences the quality of your final piece, so invest in good equipment and keep your tools sharp for prime results.
Frequently Asked Questions
What Types of Wood Are Best for Relief Carving?
You should choose woods with fine, even wood grain and moderate carving hardness for relief carving. Softwoods like basswood and cedar are ideal because they’re easy to carve and hold detail well. Hardwoods like cherry or walnut offer more durability but require sharper tools and more effort. Avoid woods with coarse grain or extreme hardness, as they can be difficult to carve smoothly and may damage your tools.
How Do I Prevent Wood From Splintering During Carving?
To prevent wood splintering during relief carving, pay attention to grain orientation—carve along the grain rather than against it. Additionally, condition your wood beforehand by sanding and applying a wood conditioner or wax, which helps smooth the surface and reduces splinters. Use sharp tools to make clean cuts, and carve with controlled, steady strokes. These steps guarantee cleaner results and minimize the risk of splitting your material.
Can Relief Carving Be Done With Power Tools?
Imagine carving as a dance, and power tools as your energetic partner. Yes, you can use power tools for relief carving, but it’s essential to adapt your carving techniques. Carefully control the speed and pressure to avoid overcutting or splintering. With the right tools and techniques, power tools can speed up your work while still allowing precision, making your raised designs stand out beautifully.
How Do I Choose the Right Carving Depth?
To choose the right carving depth, focus on carving depth precision and your desired design effect. Start with shallow cuts to maintain control and gradually deepen until you attain the detail you want. Use tool selection strategies like choosing the right gouge or chisel for the job, considering the material’s hardness, and adjusting your pressure. Practice on scrap wood to refine your technique and guarantee consistent depth.
What Safety Gear Is Recommended for Relief Carving?
Think of safety gear as your armor in the battlefield of relief carving. You should wear protective gloves to shield your hands from sharp tools and splinters, and respirator masks to guard against fine dust and fumes. These essentials keep you safe while you transform raw wood into art, allowing you to carve confidently without worry. Prioritize your safety, and your creative spirit can flourish unencumbered.
Conclusion
Now that you understand relief carving tools and methods, you’re ready to bring your artistic visions to life. Think of your chisel as a magic wand, transforming plain wood into a vibrant story with each stroke. With patience and practice, your skills will grow sharper, like a well-honed blade. Embrace the process, and let your creativity carve out stunning designs that stand tall and proud, just like a masterpiece etched in time.