To excel in advanced pyrography for portraits and landscapes, focus on integrating wood grain naturally with your shading to enhance realism. Control your burn intensity with varied pressure, layering, and blending techniques. Use different tips for detailed textures and gentle strokes for soft shading. Pay attention to how grain flows to complement features, creating lifelike depth and texture. Continue exploring these techniques, and you’ll uncover how to elevate your work to a masterful level.
Key Takeaways
- Align burn patterns with wood grain flow to enhance realism in portraits and landscapes.
- Use varied shading techniques like cross-hatching and layering for depth and texture.
- Control pressure and tool tips precisely to achieve detailed features and bold contours.
- Practice on scrap wood to understand material response and refine shading skills.
- Incorporate natural wood features and grain directions to create harmonious, lifelike scenes.

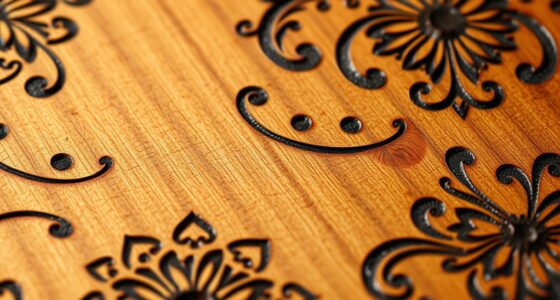
Pyrography, the art of decorating wood with burn marks, allows artists to create stunning portraits and landscapes that showcase both skill and creativity. When working on detailed scenes, understanding the wood grain becomes essential. The natural flow of the grain influences how your lines appear and how the shading will develop. You need to plan your design, choosing areas where the grain enhances specific features or adds texture, rather than fighting against it. For portraits, you might highlight the softness of skin by following the grain’s gentle curves, while for landscapes, you can emphasize rugged terrain or flowing rivers by aligning your burn marks accordingly.
Mastering shading techniques is fundamental for achieving depth and realism in your artwork. You can vary your burn intensity, adjusting the temperature of your pyrography pen to create subtle gradations in tone. Light shading may involve gentle, quick strokes, while darker areas require slower, more deliberate burns. Techniques like cross-hatching or layering multiple passes can help you build rich shadows and highlights, giving your portraits and landscapes a three-dimensional quality. Blending is another essential skill; by overlapping burns carefully, you can soften transitions and mimic the natural gradation found in real-world scenes.
Master shading with varied burns, layering, and blending for realistic, three-dimensional pyrography art.
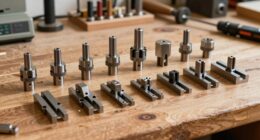
As you develop your pyrography skills, you’ll learn to control the pressure you apply, which influences the darkness and texture of the burn. Lighter pressure produces softer lines, perfect for delicate features or distant landscape elements, while heavier pressure creates bold, defined contours. Using various tip shapes—such as fine points for細細細細細細細細細細細細細細細細細細細細細細細細細細細細細細細細細細細細細細—allows you to add intricate details or broad shading areas efficiently. Always experiment with different techniques on scrap wood before committing to your final piece, as this helps you understand how your wood reacts and how your shading methods translate into the finished work.
Ultimately, your success in advanced pyrography depends on your ability to balance the natural wood grain with precise shading techniques. This harmony creates depth and texture that bring portraits to life or landscapes to vivid realism. Embracing the importance of regional flavors and traditions can inspire new ideas and add authenticity to your scenes. Embrace the nuances of each piece, adjusting your approach to suit the specific characteristics of the wood and scene you’re working on. With patience and practice, you’ll develop a keen eye for how best to utilize the wood’s inherent beauty and your artistic skills, elevating your pyrography to a truly advanced level.

Pyrography Wood Burning Pen Set, 3 Fine Detail Pyrogrpahy Pens Kit
This set of three finer detail Heavy Duty (HD) pens allows for more detail options to and can…
As an affiliate, we earn on qualifying purchases.
As an affiliate, we earn on qualifying purchases.
Frequently Asked Questions
What Types of Wood Are Best for Detailed Pyrography?
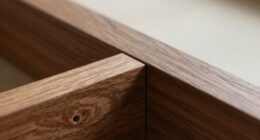
You should choose hardwoods like basswood, birch, or maple for detailed pyrography. Their fine, consistent wood grain helps you create precise lines and shading. Before starting, prepare the surface by sanding it smoothly to remove rough spots, ensuring your design stays clear. These woods also absorb heat evenly, allowing for better control and detail, making them ideal for intricate portraits and landscape scenes.
How Do I Prevent My Artwork From Fading Over Time?
To prevent your pyrography artwork from fading over time, you should use proper preservation techniques. Seal your work with a clear, heat-resistant varnish or acrylic sealer to protect it from UV rays and moisture. Applying multiple thin coats ensures durability. Store your piece away from direct sunlight and high humidity. Regularly inspect the sealant and reapply as needed to maintain the artwork’s vibrancy and avoid fading over the years.
Can Pyrography Be Combined With Other Art Mediums?
Did you know that mixing media can boost your artwork’s appeal? Yes, pyrography works great with other art forms. You can combine it with painting, engraving, or mixed media techniques to add depth and texture. Incorporating these methods allows you to create unique pieces that showcase your skills. Experimenting with different mediums helps you develop your style and keeps your work fresh and engaging.
What Safety Precautions Should I Take During Pyrography?
When doing pyrography, you should always wear safety gear like masks and goggles to protect your lungs and eyes from fumes and sparks. Make sure you work in a well-ventilated area to prevent inhaling harmful smoke. Keep your workspace clean, avoid flammable materials nearby, and take breaks to prevent overheating. These safety practices help you enjoy your craft without risking health or accidents.
How Do I Correct Mistakes on Pyrography Artwork?
Think of your pyrography as a canvas of fire; mistakes happen, but you can fix them. You can use erasing techniques like sanding or shading to hide errors or incorporate them creatively. For color correction methods, gently layer colored pencils or dyes to adjust tones. I once corrected a burned-in eye by carefully blending with a light touch, turning a mistake into a new highlight—showing patience turns errors into art.
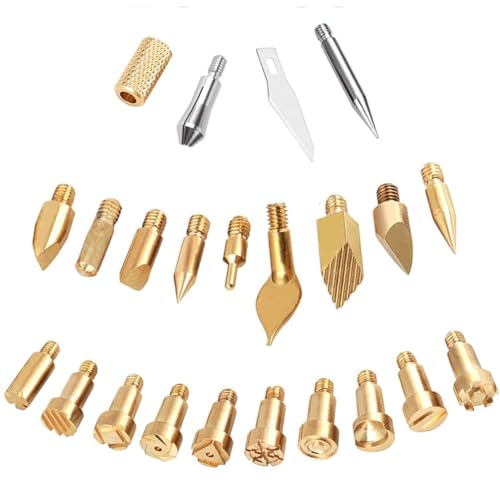
23Pcs Wood Burning Tips, Wood Burning Kit Carving Iron Paste Tool for Adult Embossing Birthday Wedding Anniversary Halloween Christmas Beginner DIY Gift
Package Includes: 10pcs carving tool tips, 10pcs exquisite engraving tips, and 3pcs electric carving tools.
As an affiliate, we earn on qualifying purchases.
As an affiliate, we earn on qualifying purchases.
Conclusion
As you master advanced pyrography, you become an artist of light and shadow, akin to a storyteller weaving tales upon wood. Your portraits breathe life, and landscapes evoke distant horizons. Like a seasoned traveler charting unseen worlds, your hands carve stories that linger long after the flames fade. Embrace this craft, for in each stroke, you awaken the soul of your art, transforming simple wood into timeless artistry that whispers memories and dreams.

N NOROCME 12 PCS Blending Stumps and Tortillions Paper Art Blenders with Sandpaper Pencil Sharpener Pointer for Student Artist Charcoal Sketch Drawing Tools
13 Pcs in Total: 6 pcs blending stumps(#1, #2, #3, #4, #5, #6); 6 pcs tortillions(#1, #2, #3),two…
As an affiliate, we earn on qualifying purchases.
As an affiliate, we earn on qualifying purchases.

116pcs Wood Burning Kit, Professional Wood Burning Tool with Soldering, DIY Creative Tools Adjustable Temperature 220~480℃ Wood Burner Soldering Pen for Carving/Pyrography, St. Patrick's Day Gifts
Adjustable Temperature: IVSUN wood burning kits works at adjustable temperatures from 220° to 480°C, easy to do your…
As an affiliate, we earn on qualifying purchases.
As an affiliate, we earn on qualifying purchases.