To lift veneer bubbles, carefully apply steam with a handheld steamer directly onto the bubble to soften the adhesive and loosen trapped air. Follow up with a heat gun at a moderate setting to increase pliability without damaging the veneer. Gently press the bubble outward, reapplying steam and heat as needed. Patience is key to avoid lifting or cracking the veneer. Keep going to discover more tips for achieving a smooth, professional finish.
Key Takeaways
- Use a handheld steamer to carefully apply moist heat directly onto the bubble to soften the adhesive.
- Maintain a steady, moderate temperature with a heat gun to increase veneer pliability without damage.
- Gently press the bubble outward from the center after steaming to lift it smoothly.
- Reapply steam and heat as needed during the process for optimal adhesive softening and bubble removal.
- Allow the veneer to cool and set after smoothing to ensure a secure, seamless finish.
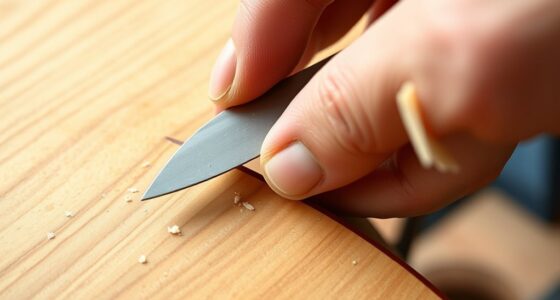
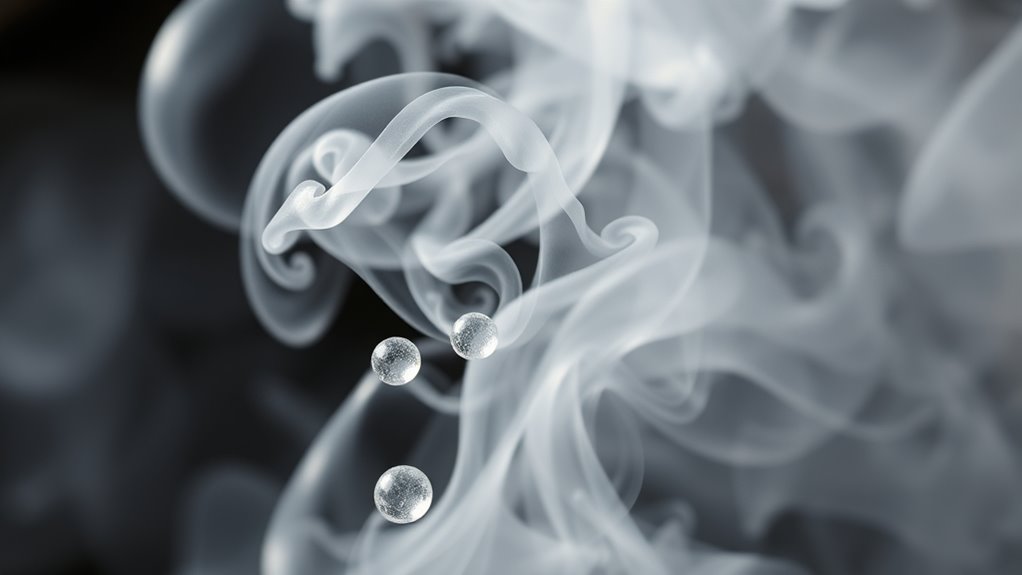
When working with veneer, using steam and heat is an effective way to lift stubborn bubbles and guarantee a smooth surface. These techniques allow you to gently relax the adhesive and veneer material, making it easier to eliminate imperfections. Steam application involves exposing the bubble to moist heat, which softens the adhesive underneath and helps release trapped air or moisture. To do this, you can use a handheld steamer or a controlled steam source, carefully directing the steam onto the bubble without over-saturating the surrounding areas. The heat penetrates the veneer, loosening the bond and allowing you to press out the bubble with minimal effort.
Using steam and heat relaxes veneer for smooth, bubble-free surfaces.
Heat treatment plays an essential role in this process. Applying controlled heat helps to soften the adhesive, making it more pliable and easier to manipulate. It’s important to avoid excessive heat, which can cause the veneer to scorch or warp, so maintaining a steady, moderate temperature is key. You might use a heat gun set to a low or medium setting, directing the heat at a safe distance to prevent damage. The goal is to warm the veneer just enough to make the adhesive more flexible without compromising the material’s integrity. This controlled heat application ensures you can carefully work out the bubble without creating new problems.
The combination of steam application and heat treatment offers a precise, controlled approach to dealing with veneer bubbles. Start by steaming the affected area for a few seconds until the adhesive softens. Then, gently press the bubble from the center outward using a cloth or a small roller. If necessary, reapply steam and heat as you work, gradually easing the bubble out. Be patient—rushing this step can cause the veneer to lift or crack. Once you’ve successfully smoothed out the bubble, allow the veneer to cool and set, ensuring the adhesive re-bonds properly. Sometimes, a light touch of glue or veneer adhesive can be added to reinforce the repair, especially if the bubble was large or stubborn.
Using steam application and heat treatment together provides a reliable, efficient method for removing bubbles and achieving a flawless veneer surface. It’s a technique that requires patience and careful control but pays off with a professional finish. When done correctly, these methods help preserve the beauty and integrity of your veneer work, leaving you with a smooth, bubble-free surface that looks seamless and polished.
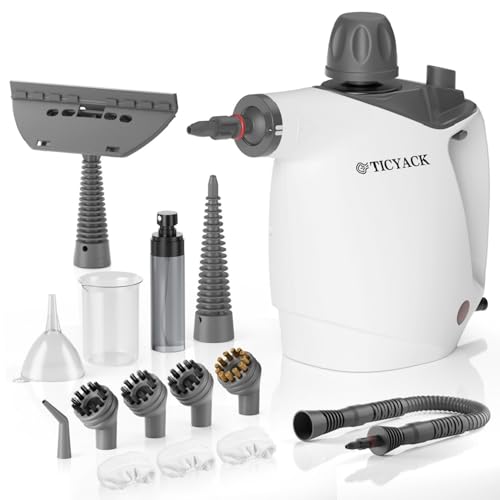
TICYACK Handheld Steam Cleaner, Steam Cleaner with 16 PCS Accessory & Safety Lock, 500ML Capacity, Multi-Surface Deep Cleaning for Home, Car, Bathroom, Grout, Floor, Window (White)
【Impressive 500ML Capacity】Handheld Steam Cleaner is equipped with a 500ml water tank, with a recommended fill of 350-400ml…
As an affiliate, we earn on qualifying purchases.
As an affiliate, we earn on qualifying purchases.
Frequently Asked Questions
Can Steam and Heat Damage Veneer Surfaces?
Steam and heat can damage veneer surfaces if not used carefully. You might risk compromising veneer integrity, causing it to lift or bubble. Excessive heat can also lead to surface discoloration, ruining the finish. To avoid these issues, apply heat gently and monitor the process closely. Proper technique guarantees you lift bubbles effectively without harming the veneer’s appearance or structural quality.
What Are Alternative Methods for Removing Veneer Bubbles?
You can try using a veneer repair kit or carefully sanding the bubble area to smooth it out. Applying a small amount of adhesive behind the bubble and pressing it down helps prevent future issues. To prevent bubbles, make sure proper adhesive application and even pressure during installation. These methods are effective alternatives for removing veneer bubbles and maintaining a smooth surface without risking damage from steam or heat.
How Long Should Steam Be Applied for Optimal Results?
You might think there’s a magic time for steam, but really, it’s about watching and feeling. Typically, apply steam for about 30 seconds to a minute, ensuring enough heat application to loosen the veneer without overdoing it. Too little, and you won’t lift the bubbles; too much, and you risk damage. So, stay attentive, and adjust the steam duration based on how the veneer responds—patience is key.
Are There Safety Risks When Using Heat and Steam?
Yes, there are safety risks when using heat and steam. You should follow safety precautions like wearing protective gear and guaranteeing proper ventilation to prevent burns or inhalation of fumes. Risk management involves controlling steam pressure and heat levels to avoid accidents. Always handle equipment carefully, stay alert, and keep a fire extinguisher nearby. Proper training and adherence to safety protocols help minimize hazards and ensure safe, effective use of heat and steam.
What Types of Equipment Are Best for Steaming Veneer?
When it comes to steaming veneer, you want equipment that’s up to the task. A steam cabinet or a specialized veneer steaming unit works best for consistent steam application. These tools evenly distribute heat and moisture, making veneer steaming easier. Think of it as hitting two birds with one stone, ensuring your veneer is properly prepared without damage. Always choose equipment designed specifically for veneer to get the best results.

SEEKONE Heat Gun 1800W Heavy Duty Fast Heat Hot Air Gun Kit with 752℉&1112℉(400℃-600℃) Dual-Temperature Settings and 4 Nozzles with Overheat Protection for Crafts, Shrinking PVC, Stripping Paint
⏩【Warm Tips】When using the heat gun for the first time, there will be smoke and burning odour, which…
As an affiliate, we earn on qualifying purchases.
As an affiliate, we earn on qualifying purchases.
Conclusion
By boldly blending steam and heat, you break bubbles and banish blemishes in veneer. With wise warmth and thoughtful technique, you’ll work wonders on warped wood, wiping worries away. Remember, mastering moisture’s magic makes your material smooth, stunning, and superb. So, seize the steam, shape your surface, and show off your skill—success is just a sizzling, steaming step away! Keep confident, craft carefully, and create with confidence.

PC Products PC-Woody Wood Repair Epoxy Paste Kit with Mixing Tool, Two-Part 6 oz in Two Cans, Tan (83321)
Two-part epoxy paste to replace missing or rotted wood is resistant to dry rot, UV light, fresh and…
As an affiliate, we earn on qualifying purchases.
As an affiliate, we earn on qualifying purchases.

NECAMOCU Edge Banding Trimmer – 2025 Upgraded Mini Edge Band Trimmer & Cutter, Stainless Steel Blade Veneer Edge Trimmer for Woodworking, Durable Edgebanding Trimming Tool for Wood, Veneer, PVC, ABS
【Precision & Smooth Trimming】 NECAMOCU upgraded edge banding cutter features thicker blade with larger cutting edges and more…
As an affiliate, we earn on qualifying purchases.
As an affiliate, we earn on qualifying purchases.