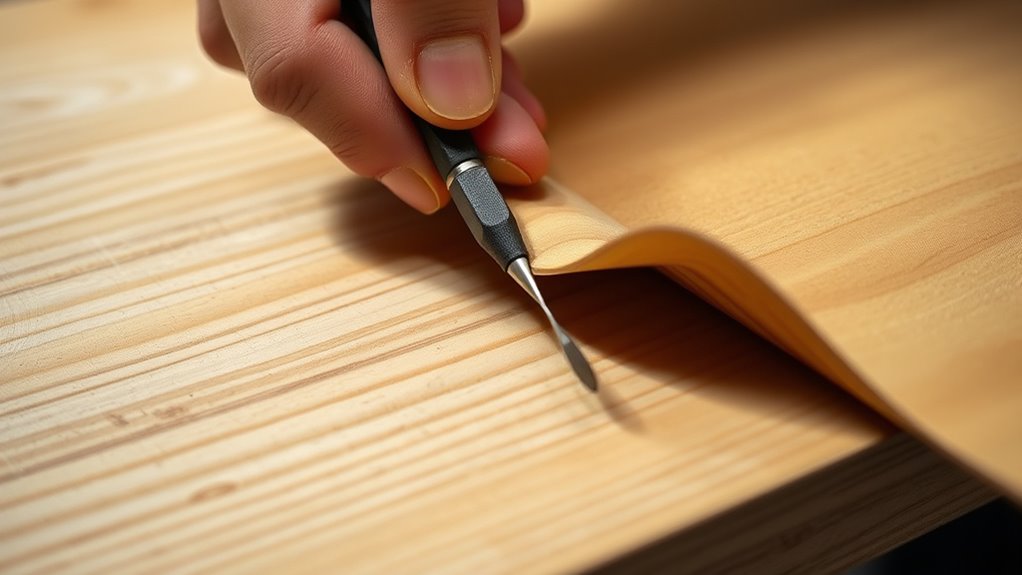

To remove loose veneer safely and achieve clean edges, gently lift the loose section with a razor or putty knife, taking care not to damage the underlying wood. Softening old glue with a heat gun or hairdryer makes removal easier and reduces splintering. Afterward, sand the surface with fine-grit sandpaper, clean thoroughly, and prepare it for re-gluing. Using these careful techniques guarantees your repair remains seamless—continue to explore more tips for a professional finish.
Key Takeaways
- Gently lift the loose veneer using a razor or putty knife, avoiding damage to the underlying wood.
- Soften old adhesive with a heat gun or hairdryer before carefully removing the veneer.
- Sand the underlying surface with fine-grit sandpaper to ensure a smooth, clean edge for reattachment.
- Apply a thin, even layer of appropriate wood glue to both veneer and substrate, then clamp securely.
- Trim or sand edges post-removal to create clean, seamless edges for repairs or reapplication.

Have you noticed your veneer starting to loosen or peel? If so, you’re probably eager to fix it without damaging the underlying wood or creating uneven edges. The key to a successful repair lies in understanding proper techniques for removing loose veneer and reattaching it securely. First, you’ll want to carefully lift the loose section to see how much needs to be removed or re-glued. If the veneer is just slightly peeling, gently pressing it back down might suffice, but if it’s significantly loose, removal becomes necessary.
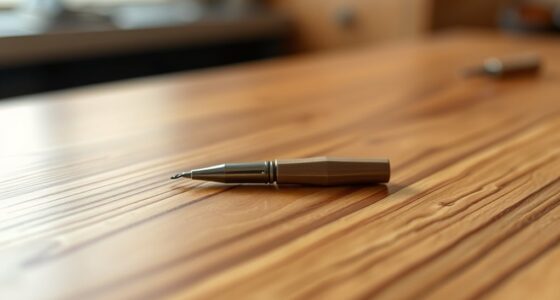
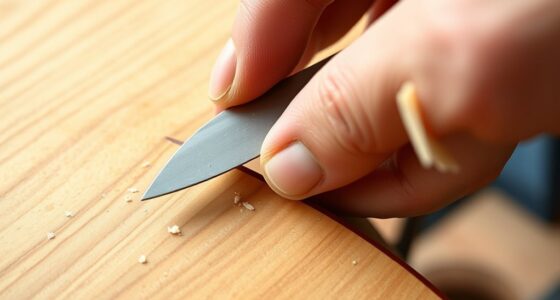
Start by taking a small, razor-sharp utility knife or a putty knife to gently lift the edges of the loose veneer. Be cautious not to gouge or mar the wood beneath. Once you’ve loosened the area, you might find it helpful to use a heat gun or a hairdryer to soften any old glue residue. This makes the removal process cleaner and less likely to damage the wood surface. After softening, carefully lift the veneer, working slowly to prevent splintering or tearing. Proper surface preparation, including sanding techniques, is essential for ensuring a strong bond and a smooth finish.
Gently lift loose veneer with a razor knife, soften old glue with heat, then carefully remove to prevent damage.
Now, if you’re planning to reattach the veneer or replace it entirely, choosing the right adhesive is vital. Wood glue works exceptionally well for veneer repairs because it bonds tightly and dries clear. Apply a thin, even layer of wood glue to both the back of the veneer and the prepared surface of the substrate. To guarantee a strong bond, you’ll want to use sanding techniques to prepare the surface properly. Lightly sand the underlying wood with fine-grit sandpaper to create a smooth, clean surface that promotes better adhesion. Remove any dust or debris with a tack cloth before applying the glue.
When pressing the veneer back into place, use clamps or weights to guarantee even pressure and thorough contact. Wipe away any excess glue immediately with a damp cloth to prevent it from hardening in unwanted areas. Allow ample drying time according to the glue manufacturer’s instructions—usually at least a few hours. During this time, avoid disturbing the veneer to guarantee a secure, long-lasting bond.
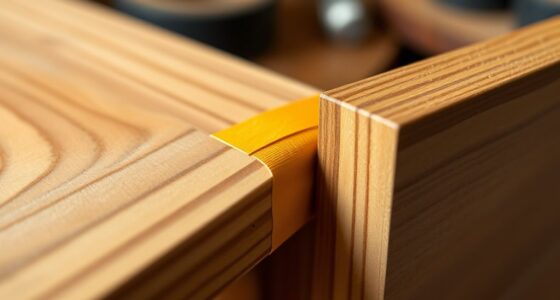
If you’re replacing a larger section of veneer, make sure to cut a new piece that matches the grain and color of the existing veneer for a seamless look. When fitting the new veneer, follow the same steps: apply wood glue, press firmly, and clamp it in place. Once everything is dry and set, you can lightly sand the edges to create a clean, smooth transition between the repaired area and the rest of the surface. Proper attention to these steps guarantees your repair looks professional and extends the life of your furniture or surface.
Amazon Product B0F4D4T7NQ
As an affiliate, we earn on qualifying purchases.
Frequently Asked Questions
How Can I Prevent Veneer From Becoming Loose Again?
To prevent your veneer from becoming loose again, focus on proper veneer maintenance and choosing the right adhesive. Regularly clean the surface to avoid dirt buildup, and avoid excessive moisture or stress on the veneer. Use a high-quality adhesive suited for your veneer material during installation, ensuring a strong bond. Proper maintenance and adhesive selection are key to keeping your veneer secure and looking great for years to come.
What Tools Are Best for Cleaning Veneer Edges?
You might worry about damaging your veneer, but with the right tools, you can clean and maintain edges safely. Use a soft cloth or a gentle brush for routine veneer cleaning to avoid scratches. For stubborn dirt, a plastic scraper or a toothbrush works well without harming the surface. These tools help you keep your veneer edges neat and intact, ensuring your furniture stays beautiful and well-maintained over time.
Is Professional Repair Necessary for Large Veneer Areas?
For large veneer areas, professional repair is highly recommended to guarantee the best veneering durability. DIY repair might work for small sections, but a professional uses advanced techniques to seamlessly restore damaged veneer, preventing future issues. They also know how to match the veneer’s color and grain, maintaining the piece’s aesthetic. Investing in expert repair guarantees a longer-lasting, more durable finish, making it a wise choice for extensive veneer damage.
How Long Does a Veneer Removal Process Typically Take?
The veneer removal process usually takes about 1 to 3 hours, depending on the size and adhesion strength. About 80% of veneer failures are due to poor adhesion, so removal timing is vital. You can expect quicker removal if the veneer is loose or weakly adhered, but tougher adhesion requires careful work to avoid damage. Be patient, and take your time to guarantee safe, clean edges during removal.
Can Loose Veneer Be Repaired Without Replacement?
Yes, loose veneer can often be repaired without full replacement. To do this, you’ll need to focus on improving veneer adhesion by cleaning the surface thoroughly and removing any old adhesive residue. Proper surface preparation is essential—you might need to roughen the area slightly to guarantee better bonding. Apply a suitable adhesive carefully, press the veneer firmly, and clamp it until the bond is secure. This approach can restore your veneer effectively.
Amazon Product B0C2YQF8GW
As an affiliate, we earn on qualifying purchases.
Conclusion
Think of your veneer like a delicate sail on a boat—you want to keep it steady and secure. When you carefully remove loose veneer, you’re guiding it back to calm waters, ensuring smooth sailing ahead. With patience and the right techniques, you can restore your surface to its original beauty, like a captain steering through rough seas to clear skies. Trust your skills, and your project will come through shining brighter than ever.
Amazon Product B0F52Y5T46
As an affiliate, we earn on qualifying purchases.
Amazon Product B0C6SS3JRR
As an affiliate, we earn on qualifying purchases.