To refinish veneer wood, start by choosing a well-ventilated workspace and gather the right tools like sanders, brushes, and protective gear. Assess your furniture’s condition, then carefully strip old finishes using chemical or mechanical methods, always following safety precautions. Lightly sand the surface along the grain, remove dust completely, and apply your chosen stain or paint. Finish with a protective sealant. Continue exploring each step to achieve professional results and bring your piece back to life.
Key Takeaways
- Assess veneer condition and existing finish to choose suitable stripping and sanding methods.
- Use chemical or manual stripping followed by careful sanding with grain-aligned fine grit for smoothness.
- Remove dust thoroughly with damp cloths after each sanding stage to ensure a clean surface.
- Apply stain or finish evenly along the grain, testing color first, and build up coats as needed.
- Seal with low-VOC protective coatings, sanding lightly between coats for a durable, professional finish.
Preparing Your Workspace and Gathering Essential Tools

Before you begin refinishing veneer wood, it’s important to set up a safe and efficient workspace. Choose an outdoor area or a well-ventilated spot like a covered porch or driveway to handle dust and fumes safely. Line your workspace with drop cloths or plastic sheeting to protect surfaces from dust, spills, and debris. Gather all essential tools, including sanders (hand or electric with the right grit), brushes, rags, and chemical strippers if needed. Don’t forget protective gear like masks and gloves to keep yourself safe during sanding and chemical use. Make certain you have good lighting—natural sunlight or portable lamps—to see surface imperfections clearly and work precisely. Organizing your tools beforehand helps streamline the process and reduces the risk of missing supplies or accidents. Additionally, being aware of the essential oils for surface cleaning can help you maintain your workspace environment. Proper ventilation is crucial to reduce fumes and ensure your safety throughout the project. Incorporating proper ventilation techniques also supports air quality and overall safety during refinishing.
Assessing the Condition and Material of Your Furniture
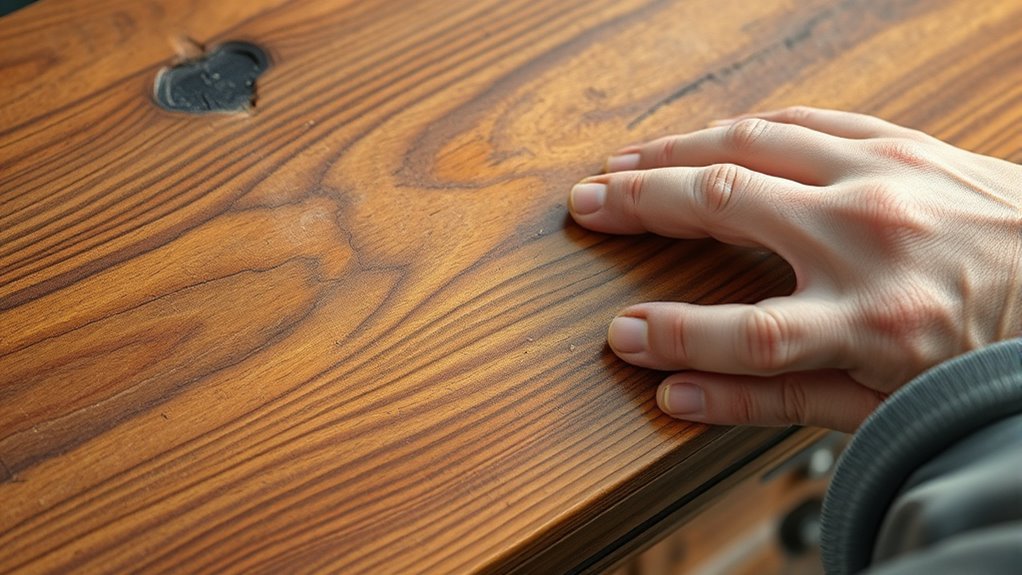
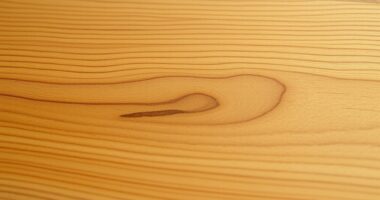
To properly assess your furniture’s condition and material, start by examining key areas like the drawer sides, the back, or the edges. Check whether the surface is solid wood or veneered; veneer is thin, usually 1/8 to 1/4 inch, and may show layered edges. Carefully inspect for damage, scratches, or peeling veneer—these indicate whether refinishing is feasible or if repairs are needed first. Use a utility knife or veneer scraper to gently lift small damaged sections, revealing the substrate material beneath. Identifying the existing finish—such as lacquer, shellac, or polyurethane—helps determine the best removal method. Remember, veneer is delicate; excessive sanding or improper stripping can cause bubbling, cracking, or delamination, so proceed with gentle, controlled assessment to guide your refinishing plan. Additionally, understanding the wood type can influence your refinishing approach and ensure you select the most suitable products and techniques. Recognizing the layered structure of veneer can help prevent unnecessary damage during the refinishing process. Properly evaluating the condition of the veneer is essential before beginning any refinishing work. Being aware of remote work productivity tips, like creating a dedicated workspace, can also encourage a focused environment for your refinishing projects. Moreover, being mindful of investment in proper tools can make the refinishing process more efficient and help achieve a professional result.
Stripping Old Finishes Safely and Effectively
Removing old finishes from veneer furniture requires careful technique to prevent damage. Chemical stripping is effective but demands proper ventilation and protective gear, such as gloves and masks, to avoid fumes and skin contact. Choose eco-friendly options like citrus-based strippers to reduce hazards and fumes, following manufacturer instructions closely. After chemical stripping, ensure thorough removal of chemical residue by wiping the surface with a damp cloth. Alternatively, sanding methods can be used—start with coarse grit (80-100) to remove the old finish, then progress to finer grits (150-220) for a smooth surface, always sanding with the grain. Be cautious with heat guns, as excessive heat can damage veneer. Properly removing old finish sets the stage for a successful refinishing process. Additionally, understanding the horsepower of electric dirt bikes can help you select the appropriate power tools for heavy-duty stripping tasks, and choosing the right filter and pump protection can ensure consistent spray application during refinishing. Using the correct safety equipment is essential to protect yourself throughout the process. Considering the use of glycolic acid for surface preparation can also enhance the adhesion of new finishes and improve overall results. Incorporating air purifier technology can help improve indoor air quality during the refinishing process by reducing airborne dust and fumes.
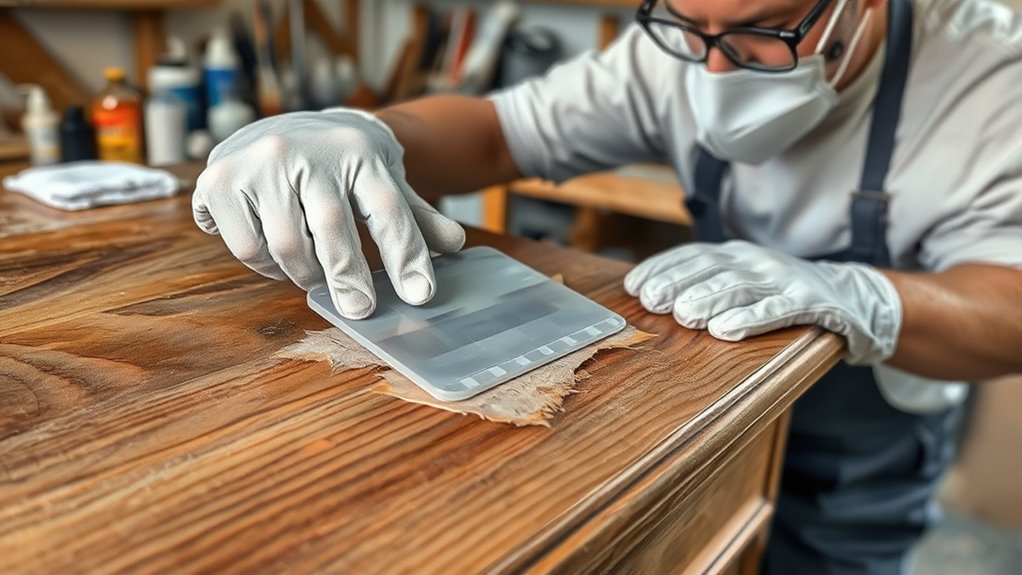
Sanding and Smoothing the Veneer Surface

Start by wiping the veneer thoroughly to remove dust and debris, ensuring a clean surface. Use fine-grit sandpaper and sand along the grain with steady, long strokes to prevent damage. Regularly inspect your work and remove dust with a damp cloth before proceeding to the next grit for a smooth finish. For an optimal result, consider using sanding techniques that minimize surface imperfections and ensure an even surface. Employing data-driven strategies can help you select the best grit progression for your specific veneer type, enhancing the overall finish.
Gentle Sanding Techniques
Have you ever wondered how to achieve a perfectly smooth veneer surface without causing damage? Gentle sanding is key. Use fine grit sandpaper, starting around 100-120 grit, and gradually moving to 150-180 grit to ensure a smooth finish. Always sand with the wood grain, applying long, steady strokes to maintain surface smoothness and prevent scratches. Apply gentle pressure, especially when using power tools, to avoid penetrating or damaging the delicate veneer layer. Regularly check your progress and stop immediately if you see the substrate or glue line to prevent over-sanding. Finish with an ultra-fine grit (220-400) or damp steel wool for a polished look. Even application and damage prevention are essential for a flawless finishing process. Incorporating gentle sanding techniques that emphasize consistent pressure and careful tool handling can significantly improve your results. Additionally, understanding the importance of proper surface preparation can help you achieve a professional-quality finish. Being mindful of attention to detail during each step ensures a high-quality, durable finish that enhances the veneer’s appearance. Properly managing asset division considerations, such as the type and value of the assets involved, can also influence your approach to refinishing furniture as part of a broader asset management plan.
Grain-Aligned Movements
To achieve a smooth veneer surface, it’s essential to sand in the direction of the wood grain. Follow the natural grain lines to ensure even removal and prevent scratches or gouges. Use long, steady strokes that align with the grain of the wood, maintaining consistent grain-aligned movements throughout. This technique minimizes damage to the delicate veneer layer and highlights the natural grain surface. Begin with coarse grit sandpaper, then gradually switch to finer grits, always respecting the grain direction. Regularly check your progress to avoid sanding through the veneer, especially near edges and thin areas. Finishing with a very fine grit will give you a polished, smooth surface that enhances the authentic grain and prepares it for staining or sealing. Incorporating automation in manufacturing techniques can also improve consistency and efficiency during the finishing process. Additionally, proper dust removal between sanding stages helps maintain a clean surface for optimal results. Being aware of fire safety practices during woodworking projects ensures a safe working environment and reduces the risk of accidents or fires. Understanding curiosity-driven techniques can inspire innovative approaches to veneer finishing and troubleshooting.
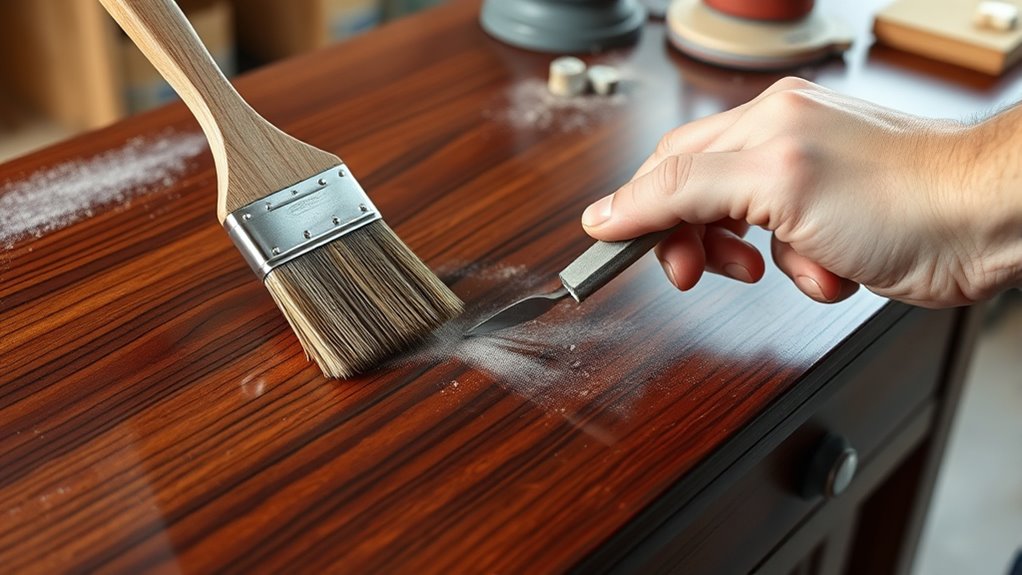
Dust Removal Methods
After sanding the veneer surface, it’s vital to remove dust thoroughly to guarantee a smooth, even finish. Proper dust removal ensures ideal surface preparation and prevents dust particles from interfering with stain or paint adhesion. Use a damp, lint-free cloth or microfiber cloth to trap and lift fine debris and dust particles from the surface. Avoid compressed air or dry brushes, as they can embed dust or scratch the veneer. Take your time to wipe down the entire surface, checking regularly for lingering dust. A completely dust-free, smooth surface is indispensable before moving on to staining or finishing. Re-clean as needed during the project to prevent imperfections and achieve a professional, flawless result. Additionally, using a dust-free environment during this process can help minimize airborne particles settling on the surface, ensuring a cleaner finish.
Applying Stain or Paint for Desired Aesthetic
Choosing the right stain color is essential to achieving your desired look, so it’s wise to test it on a small, hidden area first. When applying stain, use a synthetic, angled brush or a clean cloth to guarantee an even coat on veneer surfaces. Work with the wood grain to create a natural, consistent finish. After applying the stain, wipe off excess with a clean rag after 15-20 minutes to prevent blotchiness and promote uniform absorption. For a richer color, add additional coats, waiting 20-25 minutes between each. If you prefer a painted finish, start with a primer, then apply thin, even coats of latex or oil-based paint, allowing each coat to dry thoroughly before adding the next. This process ensures a smooth, beautiful result.
Sealing and Protecting the Finished Piece

Ever wondered how to guarantee your veneered piece stays beautiful and durable over time? Sealing is key. Applying a clear sealant, like polyurethane or Safecoat Acrylacq, creates a protective layer against moisture, scratches, and daily wear. Use thin, even coats of sealant, brushed or rolled along the wood grain for smooth coverage. Let each coat cure fully, usually 24 to 48 hours, before adding another or handling the furniture. Lightly sanding with fine-grit sandpaper (320-400 grit) between coats improves adhesion and results in a smoother finish. Choose low-VOC, non-toxic sealers to ensure safety and maintain the veneer’s natural beauty. Proper sealing and protective layering extend your piece’s life and keep it looking stunning for years.
Frequently Asked Questions
Can You Sand and Stain Veneer Without Sanding?
You might wonder if you can sand and stain veneer without sanding. While light scuffing with fine steel wool or abrasive can sometimes help with stain absorption, skipping sanding altogether isn’t recommended. Residual dirt, old finish, or uneven surfaces can prevent proper stain adhesion and result in poor finish quality. To get the best results, gently clean and lightly sand your veneer before staining for an even, professional-looking finish.
Can You Sand Back Wood Veneer?
You can sand back wood veneer, but you need to do it carefully. Use fine-grit sandpaper (100-180 grit) and sand gently along the grain to avoid damaging the thin layer. Check the veneer’s thickness frequently, stopping immediately if you see the substrate or notice thinning. Light, controlled sanding helps remove imperfections or old finishes without risking damage, but aggressive sanding can cause peeling or bubbling, so proceed cautiously.
Can You Sand off Old Veneer?
Yes, you can sand off old veneer, but you need to be very careful. Use light, gentle sanding with fine-grit sandpaper, like 100-120 grit, and avoid applying too much pressure. Check your progress frequently to prevent sanding through the veneer and exposing the substrate. If the veneer is thin or damaged, consider alternative methods like chemical stripping or refinishing over the existing surface instead of sanding.
How to Tell if Veneer or Laminate?
Imagine peeling back a delicate, whisper-thin page from a storybook—that’s what veneer feels like. You can tell if it’s veneer by checking edges or hidden spots for that real wood layer, which feels light and natural. If the surface is smooth, uniform, and resists sanding, it’s likely laminate. Sand gently; if you see wood underneath, you’ve got veneer. If not, it’s probably laminate.
Conclusion
Now, picture your transformed furniture gleaming under soft lighting, its smooth veneer inviting your touch. With careful preparation and patience, you’ve brought new life to your piece—like revealing a hidden treasure. Every stroke of stain and sealant has added depth and protection, turning your vision into reality. Sit back and admire your handiwork, knowing you’ve created a beautiful, polished surface that will brighten your space for years to come.