
When gluing loose veneer, choose a high-quality wood glue for a strong bond or contact cement for quick adhesion and flexibility. Proper preparation includes cleaning and lightly sanding the surface. To guarantee a smooth fix, carefully position the veneer and use clamps or weights to apply even pressure along the entire length, avoiding warping. For curved surfaces, consider padding or flexible cauls. Keep these tips in mind to achieve a durable, seamless repair, and discover more expert techniques below.
Key Takeaways
- Select high-quality wood glue or contact cement based on the veneer’s location and surface type.
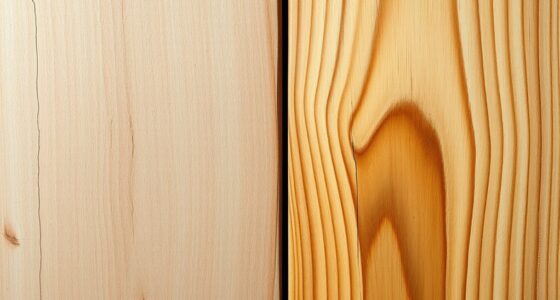
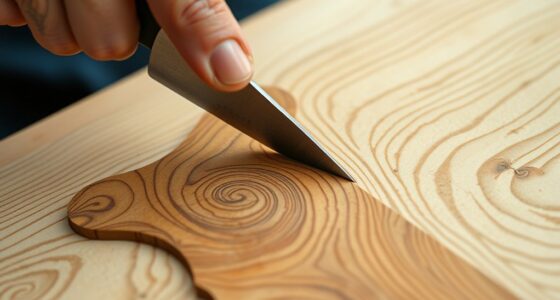
- Ensure the veneer and underlying surface are clean, dry, and lightly sanded for optimal adhesion.
- Use appropriate cauls or padding to evenly distribute pressure on curved or uneven surfaces during clamping.
- Apply clamps carefully to avoid warping, ensuring even pressure along the entire veneer for a secure bond.
- Allow sufficient curing time before removing clamps, then inspect and smooth the repaired area as needed.

Loose veneer can quickly ruin the appearance of your furniture or woodworking project, but fixing it is often simpler than you might think. When dealing with loose veneer, the key is to reattach it securely using the right adhesive and proper clamp techniques. Starting with veneer preparation is essential; ensure the surface is clean, dry, and free of dust or old glue. Lightly sand the area if needed to create a smooth, receptive surface, which helps the adhesive bond better and prevents future lifting.
Fix loose veneer easily with proper prep, adhesive, and clamp techniques for a seamless repair.
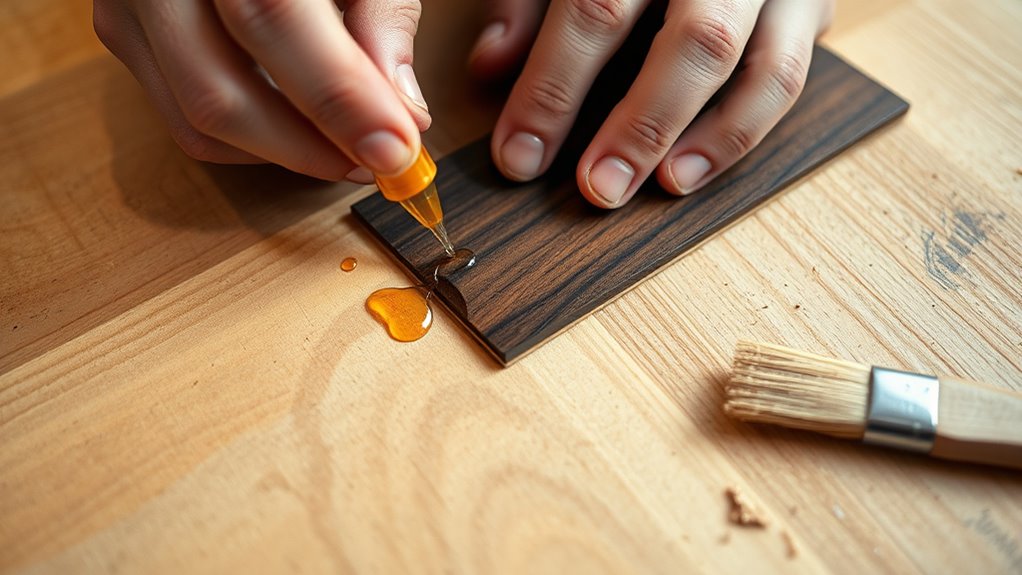
Choosing the right adhesive is critical. For most veneer repairs, a high-quality wood glue or contact cement works well. Wood glue provides a strong, durable bond, especially if you can clamp it tightly. Contact cement is ideal when you need quick adhesion and a flexible bond, but it requires precise application since it bonds instantly upon contact. Whichever adhesive you select, follow the manufacturer’s instructions carefully to guarantee maximum adhesion.
Once your veneer is prepped and the adhesive is ready, position the veneer back in place. Use small clamps or weights to hold it firmly while the glue sets. Proper clamp techniques are indispensable here; apply even pressure along the entire length of the veneer, avoiding concentrated pressure that could cause warping or indentations. If you don’t have clamps that fit the shape, consider using cauls—flat pieces of wood or scrap material that distribute pressure evenly across the veneer. Place the cauls over the veneer and secure everything with clamps, ensuring uniform pressure without crushing the material.
Be mindful of the amount of pressure you apply. Too much can cause the veneer to buckle or distort, while too little might not hold it securely enough for proper bonding. Check the glue’s drying time and avoid disturbing the veneer during this period. If you’re working on a curved surface, you might need to customize your clamp techniques further, using flexible cauls or padding to conform to the shape. Always keep an eye on the alignment, ensuring the veneer stays in the correct position throughout the curing process.
Additionally, using proper clamp techniques can significantly improve the bond strength and prevent misalignment during the drying process. After the glue has fully set, carefully remove the clamps or cauls. Inspect the bond, and if necessary, use a fine sander or chisel to smooth any excess glue or uneven edges. With proper veneer preparation, correct adhesive choice, and effective clamp techniques, you can restore your veneer seamlessly and extend the life of your furniture or project. Fixing loose veneer doesn’t have to be complicated; just be patient, precise, and attentive to detail, and your work will look as good as new.

Titebond Cold Press Veneer Glue, 32 Oz. – Economical Contact Cement Alternative, Bonds Wood, MDF, Plywood & Particleboard, No Harmful Vapors, Prevents Bleed-Through – 5175
Economical Contact Cement Alternative: High-quality, cost-effective glue designed for large-scale bonding of veneers to flat surfaces without the…
As an affiliate, we earn on qualifying purchases.
As an affiliate, we earn on qualifying purchases.
Frequently Asked Questions
How Long Does Veneer Adhesive Typically Take to Cure?
Veneer adhesive typically takes about 30 minutes to an hour to dry, but the curing process can last up to 24 hours. During this time, you should avoid putting stress on the glued veneer to ensure a strong bond. Keep in mind that drying time varies depending on the type of adhesive you use and environmental conditions like humidity and temperature. For best results, follow the manufacturer’s recommended curing instructions.
Can I Use Household Glue for Veneering Projects?
Using household glue for veneering projects is like trying to fix a delicate sculpture with duct tape—it’s not ideal. Household glues often lack the strength, flexibility, and long-term durability needed for veneering. For best results, opt for a veneer-specific adhesive, such as contact cement or PVA glue, which provides a strong, even bond and guarantees your project stays intact over time. Don’t compromise on quality for a quick fix.
What Are the Environmental Impacts of Different Veneer Adhesives?
You should consider the environmental impacts of veneer adhesives by choosing eco-friendly adhesives that have low VOC emissions. These adhesives minimize air pollution and reduce health risks for you and the environment. Conventional glues may emit higher VOCs, contributing to smog and indoor air pollution. By selecting adhesives marked as eco-friendly, you help lower your project’s environmental footprint and promote healthier indoor air quality.
How Do I Prevent Veneer From Warping During Gluing?
Think of veneer tension like a tightrope walker balancing perfectly—maintain that balance to prevent warping. You can do this by controlling climate conditions—keep humidity and temperature steady—and applying even pressure during gluing. Use cauls to distribute pressure uniformly across the veneer, ensuring it stays flat. Properly managing these factors helps the veneer stay true to its shape, avoiding warping and ensuring a smooth, professional finish.
Is It Necessary to Sand Veneer Before Applying Adhesive?
You should sand the veneer lightly before applying adhesive to guarantee proper surface preparation and improve adhesive compatibility. Sanding smooths any rough spots and opens up the surface, helping the glue bond better. Use fine-grit sandpaper and avoid over-sanding, which can damage the veneer. Proper surface prep promotes a strong, durable bond and minimizes the risk of warping or lifting later on.

DAP 272 Dap 00 Weldwood The Original Contact Cement, Tan
Tips for a good project:
As an affiliate, we earn on qualifying purchases.
As an affiliate, we earn on qualifying purchases.
Conclusion
So, next time your veneer decides to escape, remember that choosing the right adhesive and sturdy cauls isn’t just about fixing a flaw—it’s about mastering the art of patience and precision. Ironically, after all the fuss about perfect glue, it’s often the simple, careful clamping that truly saves the day. Sometimes, the best fix is just a well-placed caul and a little faith in your adhesive—who knew that’s all it takes to keep veneer from slipping away?

HORUSDY 8-Pack Bar Clamps for Woodworking, 12" and 6" Bar Clamps, Wood Working Clamp Sets, Quick Clamps F Clamp with 150 LBS Load Limit (8-Pack Wood Clamps)
1. The complete set includes 4pcs 6" bar clamps,2pcs 12" bar clamps and 2pcs 6" spring clamps, which…
As an affiliate, we earn on qualifying purchases.
As an affiliate, we earn on qualifying purchases.
FLEXTRIM #445: Flexible Casing Molding: 11/16" Thick x 3.25" Wide – PRE Curved to fit Half Round Windows 22" to 24" Diameter
This item is PRE-CURVED to fit HALF round arches – SEE AVAILABLE SIZES
As an affiliate, we earn on qualifying purchases.
As an affiliate, we earn on qualifying purchases.