
To mill slabs with a DIY sawmill jig, start by building a stable, flat framework with support and guide rails for your chainsaw or small sawmill. Secure logs with wooden clamps along the jig to keep them steady during cuts, and test your setup with scrap wood first. Maintain a slow, controlled pace and check clamps regularly to make certain safety and accuracy. If you keep going, you’ll discover how to get smooth, even slabs efficiently.
Key Takeaways
- Secure logs firmly with wooden clamps along a stable, flat jig frame to ensure stability during milling.
- Adjust the sawmill or chainsaw mill to the desired depth and perform test cuts on scrap wood for accuracy.
- Move the saw steadily along guide rails, maintaining a slow, controlled pace to produce smooth slabs.
- Regularly check and tighten clamps during operation to prevent shifting and ensure consistent cuts.
- Prioritize safety by wearing goggles, ear protection, gloves, and working on a solid, secure surface.
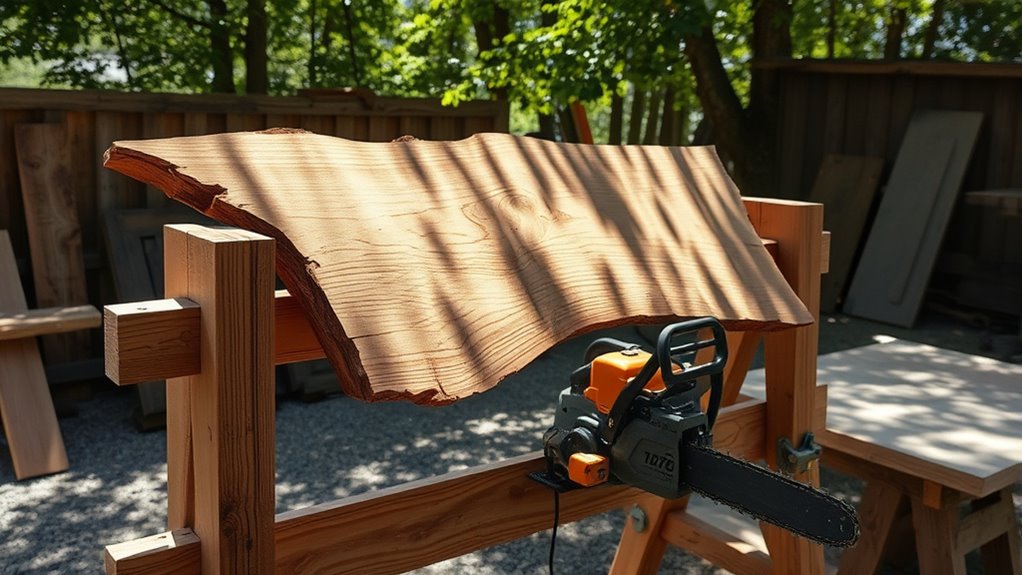
If you’re looking to turn rough logs into smooth, valuable slabs, building a DIY sawmill jig is a practical solution. This setup allows you to cut large logs into usable slabs right in your own workshop or yard, saving money and giving you control over the process. Before you start, confirm you have the right safety gear—goggles, ear protection, gloves, and sturdy work boots. Safety should always be your top priority, especially when working with power tools and heavy logs.
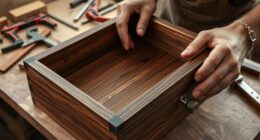
To build your jig, begin by choosing a stable, flat surface to mount your sawmill or chainsaw mill. You’ll need solid support and a secure framework to guide your cuts precisely. Wooden clamps are essential for holding the log securely in place during the milling process. Use them to stabilize the log on your jig frame, preventing movement that could cause uneven cuts or accidents. Position the clamps evenly along the log’s length, tightening them firmly but without crushing the wood. This guarantees safety and accuracy as you work.
Choose a stable, flat surface with solid support and a secure frame for precise, safe milling.
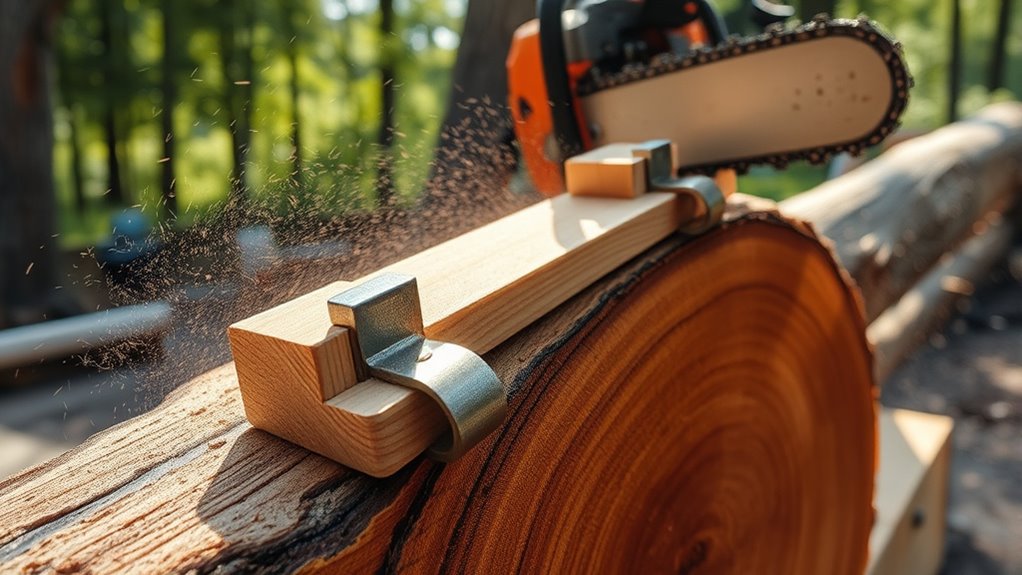
Next, set your sawmill or chainsaw mill to the desired cutting depth. It’s important to make initial test cuts on scrap wood to confirm your setup produces even, smooth slabs. As you start milling, keep the log firmly clamped, and move the saw steadily along the jig’s guide rails. Maintain a slow, controlled pace to prevent binding or kickback. The wooden clamps will help keep the log steady, reducing vibrations and ensuring a cleaner cut. Always watch for any shifting or loosening of clamps during the process.
Throughout the milling, don’t forget to wear your safety gear at all times. Safety glasses protect your eyes from flying sawdust and wood chips, while ear protection shields your hearing from loud engine noise. Gloves can help handle the log and clamps but be cautious with them near moving blades to avoid accidental cuts. Proper safety gear minimizes the risk of injury and makes your milling experience safer and more efficient. Additionally, understanding the importance of precision and stability can significantly improve your results and safety during milling.
As you progress, check the stability of your clamps frequently. Adjust and tighten them if needed, especially if the log shifts. Once you’ve finished one pass, reposition the clamps and proceed to the next cut, working gradually to produce a smooth, level slab. Patience and precision are key to achieving high-quality results. With practice, your DIY sawmill jig becomes a reliable tool for transforming rough logs into beautiful, usable slabs, all while keeping safety front and center.
Frequently Asked Questions
What Safety Precautions Are Necessary When Using a DIY Sawmill Jig?
When using a DIY sawmill jig, safety is vital. Always wear protective gear like goggles, ear protection, and gloves to prevent injuries. Keep your workspace clean and well-organized to avoid accidents. Make certain the sawmill is stable and properly set up before cutting. Stay alert and focused, never rush the process. Following these safety precautions helps protect you and guarantees smooth, safe slab milling.
Can I Mill Hardwoods With a DIY Sawmill Jig?
Think of hardwood milling like tuning a fine instrument—you need precision. Yes, you can mill hardwoods with your DIY sawmill jig, but it requires proper sawmill calibration to handle dense materials. Hardwood milling challenges your equipment, so make certain your jig is sturdy and sharp blades are used. With careful setup and patience, you’ll achieve smooth cuts, turning tough wood into beautiful slabs just like a skilled craftsman.
How Do I Maintain Consistent Thickness During Slab Milling?
To maintain consistent thickness during slab milling, you should regularly check your cut with a caliper or dial indicator. Pay attention to grain orientation, as it affects how the wood responds to cutting, and guarantee moisture content is stable to prevent warping or uneven cuts. Keep your saw blade aligned and make incremental passes, adjusting your jig as needed. Consistent technique and monitoring these factors help achieve uniform slabs.
What Tools Are Essential Besides the Sawmill Jig?
You’ll need more than just your sawmill jig to turn rough lumber into perfect slabs. Think of measuring tools as your secret weapon—precision is everything! Clamping devices are your trusty sidekicks, holding everything rock solid so your cuts stay flawless. Without these essential tools, you’re flying blind. Grab a sturdy tape measure, a square, and reliable clamps, and you’ll be slicing slabs with the precision of a professional, every single time.
Is There a Recommended Size Limit for Slabs Using This Method?
Size limitations for slabs depend on your sawmill jig’s capacity and your workspace. Typically, slab dimensions should match your jig’s maximum cutting width and length, usually around 24 inches wide and 8 feet long. Avoid exceeding these limits to guarantee safety and precision. Always check your jig’s specifications and consider your available space to prevent overloading the system, which can compromise your project’s quality and safety.
Conclusion
Now, as you watch your freshly cut slabs lie smoothly on your workbench, you’ll feel the satisfaction of turning raw timber into beautiful, usable wood. With your DIY jig, each cut becomes a step closer to crafting something special. Imagine the scent of fresh-cut wood filling the air as you shape your project, knowing you built it all with your own hands. That’s the true reward of milling slabs—pride in every perfect slice.