To achieve perfect 45-degree miter sled calibration, start by checking the sled’s angle with a reliable protractor or digital finder. Make certain the fence is square to the blade, making adjustments as needed. Test your setup on scrap material, measuring the cuts to confirm they match 45 degrees. Recalibrate if necessary, and secure all workpieces firmly during cuts. Maintaining consistent checks and careful setup will help you create precise angles every time—more tips await if you continue.
Key Takeaways
- Use a reliable digital angle finder or protractor to verify the sled’s 45-degree setting.
- Square the sled’s fence to the saw blade and adjust until perfect alignment is achieved.
- Make test cuts on scrap wood, then measure to confirm the angle matches 45 degrees precisely.
- Recalibrate and fine-tune the fence and angle settings after each test to maintain accuracy.
- Regularly inspect and maintain the sled, ensuring consistent setup before each project.
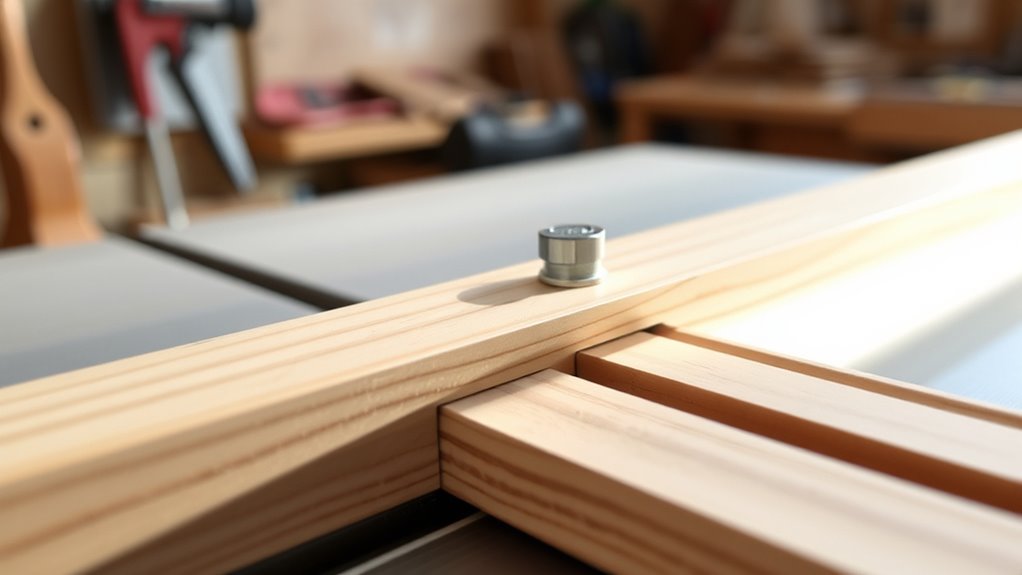
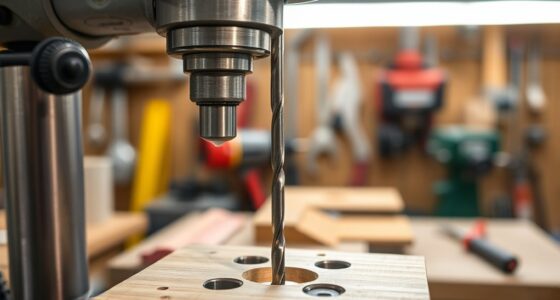
Achieving perfect 45-degree miter cuts starts with precise sled calibration, which is vital for accurate and clean joints. When you’re working with a miter sled, the key to flawless cuts lies in ensuring that the sled is perfectly aligned and that your saw is set correctly. Proper calibration reduces waste, saves time, and results in professional-looking projects. To get started, you’ll want to carefully check the angle of your miter sled using a reliable protractor or digital angle finder. Confirm that the sled’s fence is square to the blade, and make adjustments as needed. This initial setup is foundational to your woodworking techniques, as it directly impacts the accuracy of your cuts.
Start with precise sled calibration and ensure your saw is perfectly aligned for flawless 45-degree cuts.
Next, you should focus on securing your workpiece firmly to prevent any shifting during the cut. Use clamps or stops to hold the wood in place, ensuring it’s flush against the fence. This stability is vital not only for precision but also for safety precautions. Never force a cut or push the wood through the blade with excessive pressure; instead, let the saw do the work. Always keep your hands at a safe distance from the blade and wear appropriate safety gear, such as eye protection and hearing safeguards. These safety precautions are non-negotiable and help prevent injuries, especially when making precise cuts that require multiple passes or adjustments.
Once you’ve verified the sled’s alignment, make a test cut on scrap material. Measure the resulting piece to see if it matches the desired 45-degree angle. If it doesn’t, revisit your calibration steps—adjust the fence or angle until the test piece fits perfectly. Remember, consistent practice with these woodworking techniques helps develop your skill and confidence. Every time you calibrate your sled, you reinforce good habits that lead to better accuracy over time. Additionally, regularly inspecting your equipment setup ensures ongoing precision and safety during your projects.
Finally, always double-check your adjustments before starting on your actual project. Precision in calibration isn’t a one-time task; it’s an ongoing process that ensures your cuts stay true as you work. Keep your work area clean and free of debris that could interfere with your setup or cause slips. By paying close attention to detail and adhering to safety precautions, you can confidently produce 45-degree miter cuts that fit perfectly and look professional. With patience and practice, your sled calibration will become second nature, elevating the quality of your woodworking projects.

Klein Tools 935DAG Digital Electronic Level and Angle Gauge, Measures 0 – 90 and 0 – 180 Degree Ranges, Measures and Sets Angles
VERSATILE DIGITAL ANGLE GAUGE AND LEVEL: Measure angles, check relative angles with zero calibration feature, or use as…
As an affiliate, we earn on qualifying purchases.
As an affiliate, we earn on qualifying purchases.
Frequently Asked Questions
How Often Should I Recalibrate My Miter Sled?
You should regularly check your miter sled’s calibration to guarantee precise cuts. Follow a maintenance schedule that includes calibration frequency—ideally, every few months or after any significant impact or use. Keep an eye on your cuts; if you notice inaccuracies or uneven angles, it’s time to recalibrate. Staying consistent with calibration helps maintain accuracy and safety, so make it part of your routine maintenance to get the best results.
Can I Calibrate a Miter Sled Without Special Tools?
You can attempt DIY adjustments on your miter sled without special tools, but it’s best to use basic measurement tools like a square or protractor for accuracy. Carefully check the angle and make small adjustments as needed. While you don’t need fancy tools, using the right measurement tools guarantees your calibration is precise. Take your time, double-check, and remember that proper calibration improves your cuts and safety.
What Are Signs of a Poorly Calibrated Miter Sled?
You might notice a poorly calibrated miter sled if your cuts aren’t precise. Signs include misaligned cuts that don’t match up at corners and uneven joints that look off or don’t fit tightly. These issues often stem from the sled not being set at the correct 45-degree angle or being out of square. Regularly check your sled’s alignment to prevent these problems and ensure perfect, clean mitered edges.
Is Calibration Different for Various Types of Saws?
You might notice calibration differences depending on your saw type because saw blade compatibility varies. Each saw may require specific angle measurement techniques to make certain of accuracy. For example, a table saw and a miter saw might need distinct calibration methods to get precise cuts. Always check your saw’s manual for recommended calibration procedures, and fine-tune your miter sled accordingly to maintain consistent, accurate 45-degree cuts across different saws.
Can I Calibrate My Miter Sled for Angles Other Than 45 Degrees?
You can absolutely calibrate your miter sled for angles beyond 45 degrees. Embrace the challenge of angle adjustment and apply precision techniques to guarantee accuracy. Whether you’re cutting beveled edges or intricate joints, proper calibration at various angles boosts your confidence and craftsmanship. Take your time, double-check measurements, and fine-tune your sled. With patience and skill, you’ll master precise cuts at any angle, elevating your woodworking projects to new heights.

AltitudeCraft 0.001" Precision Table Saw Alignment Gauge – CNC Milled Zero-Wobble Calibration Tool for Blade, Fence & Sled Alignment
UNMATCHED 0.001" PINPOINT PRECISION: Stop the guesswork; This mechanical dial indicator provides industrial-grade calibration accuracy, guaranteeing the tightest…
As an affiliate, we earn on qualifying purchases.
As an affiliate, we earn on qualifying purchases.
Conclusion
With careful calibration, your miter sled becomes a masterful tool, making perfect cuts a routine result. Consistent checking and precise adjustments guarantee your craftsmanship remains crisp and confident. Remember, patience and practice perfect the process, turning precision into a powerful practice. By maintaining meticulous measurement and mindful movement, you forge a future of flawless fittings and fine finishes. Keep calibrating, keep creating—your commitment crafts clarity, confidence, and consistent craftsmanship in every cut.

WEN ME512P Adjustable Aluminum Protractor and Angle Gauge with Laser Etched Scale
Perfect for craftsmen, woodworkers, contractors, and more
As an affiliate, we earn on qualifying purchases.
As an affiliate, we earn on qualifying purchases.

VEVOR Precision Miter Gauge, Standard Slot 3/4'' x 3/8'', Aluminum Alloy Table Saw Miter Gauge with 18 in Grating 15 Angle Stops Adjustable Spring Loaded Plunger and Removable Disc, for Woodworking
Fit for Most Table Saws: Our miter gauge is expertly designed to fit the majority of standard table…
As an affiliate, we earn on qualifying purchases.
As an affiliate, we earn on qualifying purchases.