
To remove a stuck drill bit effortlessly, first guarantee it’s cool and clean. Apply penetrating oil or WD-40 directly onto the bit and let it sit for 10-15 minutes. Use steady, gentle backward pressure with pliers or a wrench, avoiding sudden jerks. Keep your grip firm and maintain control throughout the process. Patience and controlled movements are key. Continue with these tips, and you’ll discover more ways to make the process smoother.
Key Takeaways
- Apply penetrating oil like WD-40 and let it sit for 10-15 minutes to loosen rust and debris.
- Use proper tools such as adjustable pliers or a wrench for a secure grip and controlled force.
- Maintain steady, gentle backward pressure to prevent damage or breaking the drill bit.
- Ensure the drill bit is cool and clean before attempting removal to reduce resistance.
- Use slow, deliberate movements, avoiding sudden jerks or excessive force for effortless extraction.
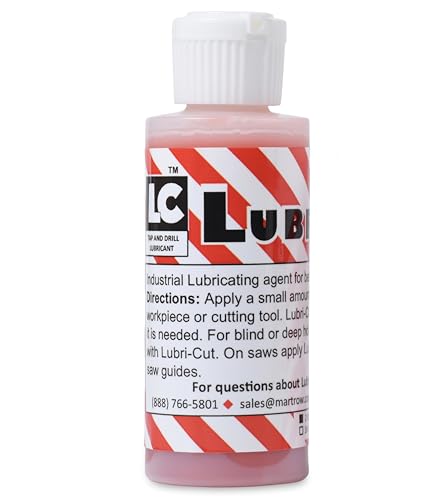
Lubri-Cut Drilling and Tapping Gel | Drill Cutting Oil for Drilling Metal | Tapping Fluid | Drill Cutting Fluid | Metal Cutting Fluid | Made in USA
HIGH PERFORMANCE: Lubri-Cut is a lubricating gel that consists of primarily beeswax and a proprietary blend of cutting…
As an affiliate, we earn on qualifying purchases.
As an affiliate, we earn on qualifying purchases.
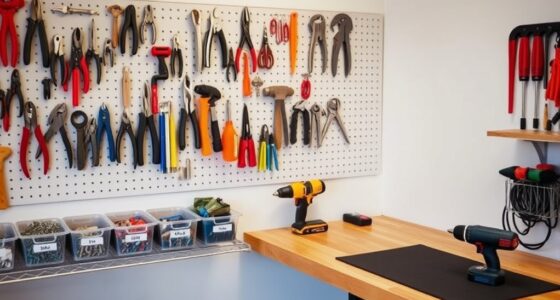
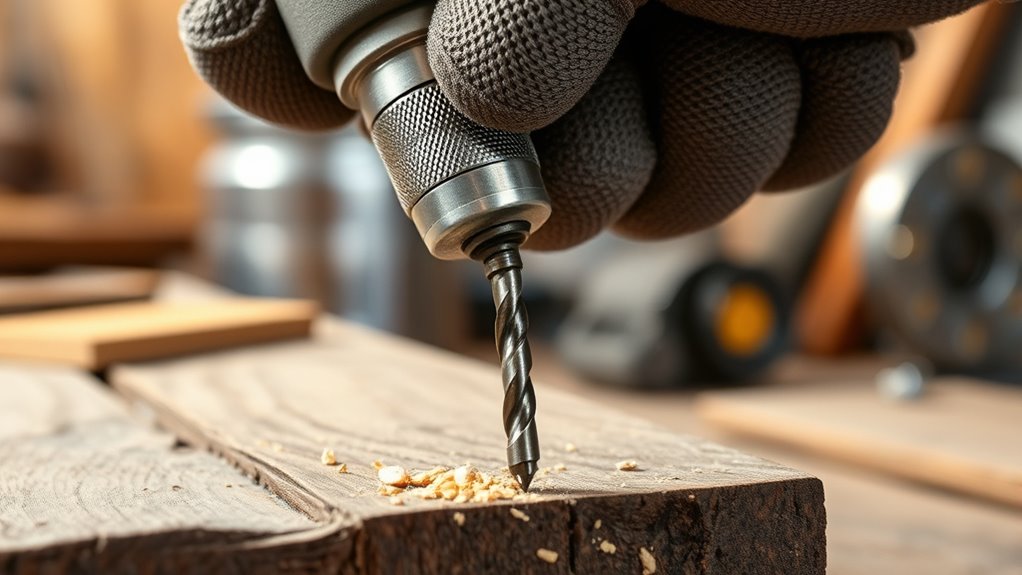
Prepare Your Workspace and Gather Necessary Tools

Before attempting to remove a drill bit, you should prepare a safe and organized workspace. Make sure your area is well-ventilated and free of clutter to keep safety a priority. Gather essential tools like pliers, screwdrivers, lubricant, and a hammer to make the removal process easier and more efficient. Wearing safety goggles and gloves is vital to protect your eyes and hands from metal shavings and potential injuries. Clear the space around the drill bit to prevent interference and give yourself easy access to tools and techniques. Confirm the workspace has adequate lighting so you can accurately assess the situation and apply the right removal methods. A clean, organized area helps you work confidently and reduces the risk of accidents. Additionally, understanding security zone info can help you maintain safety during your project. Recognizing the importance of proper tool maintenance can also prevent issues like stuck drill bits in the future. Being aware of common symptoms of drill bit sticking can help you troubleshoot problems effectively if they arise.

toolant 7-INCH Plier Wrench, CR-V Construction Adjustable Wrench With Pouch, Black Finish Smooth Jaw Pliers, Parallel Jaws with Comfortable Grips, Suitable for All Types of Nuts, Water Pipes, etc
CR-V Steel Drop Forged: The toolant plier wrench is crafted from CR-V steel which ensures superior strength and…
As an affiliate, we earn on qualifying purchases.
As an affiliate, we earn on qualifying purchases.
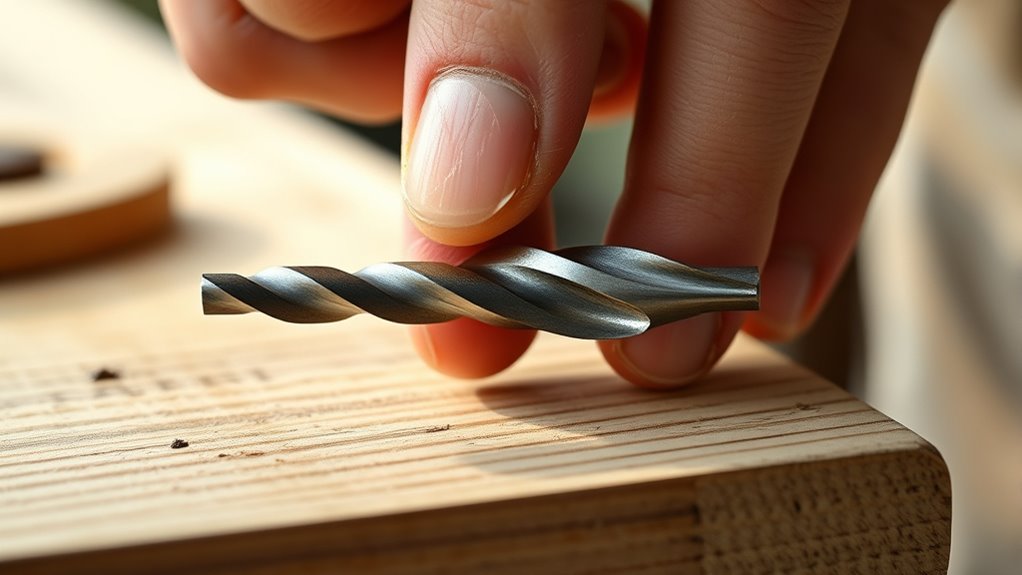
Ensure the Drill Bit Is Cool and Clean
Making certain the drill bit is cool and clean is a crucial step before attempting removal. Let the bit cool completely to prevent warping or damage, especially if it’s been used heavily. If it’s hot, use a cooling spray or compressed air to lower the temperature quickly. Once cooled, wipe the drill bit with a clean, dry cloth to remove any debris, oil, or residue that could interfere with gripping or extraction. Inspect the bit for rust or corrosion; if present, clean it with a wire brush to restore its surface. A clean, cool drill bit is less likely to break and easier to grip firmly, making removal smoother. Additionally, ensuring proper headphone compatibility and connection can prevent damage during use, simplifying maintenance and removal. Taking these precautions helps ensure a safer, more efficient process. Proper tool maintenance also extends the lifespan of your drill bits and reduces the risk of accidents during removal. Regularly checking for air quality in your workspace can also prevent the buildup of contaminants that may affect your tools and environment. Moreover, understanding ergonomic handling techniques can help you apply the correct force and grip to avoid injury.
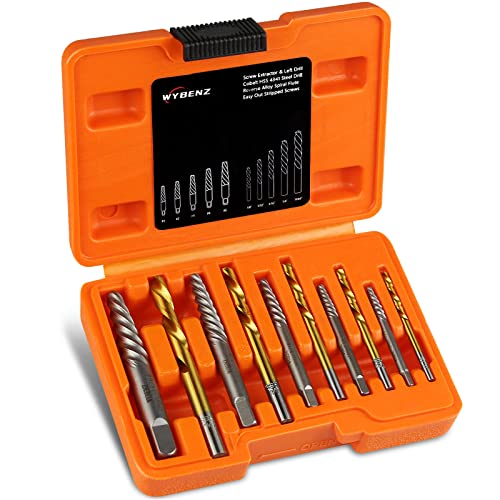
14Pcs Screw Extractor and Left Hand Drill Bits Set, Easy Out Screw Extractor Set, Broken Bolt Extractor Kit Bolt Remover, Reverse Cobalt HSS Steel Drill Bit for Remove Stripped Screws and Broken Bolts
🔩Save Time and Effort: Broken bolt extractor kit are used to remove stuck, broken or screwed tools. The…
As an affiliate, we earn on qualifying purchases.
As an affiliate, we earn on qualifying purchases.
Apply Penetrant or Lubricant to the Drill Bit
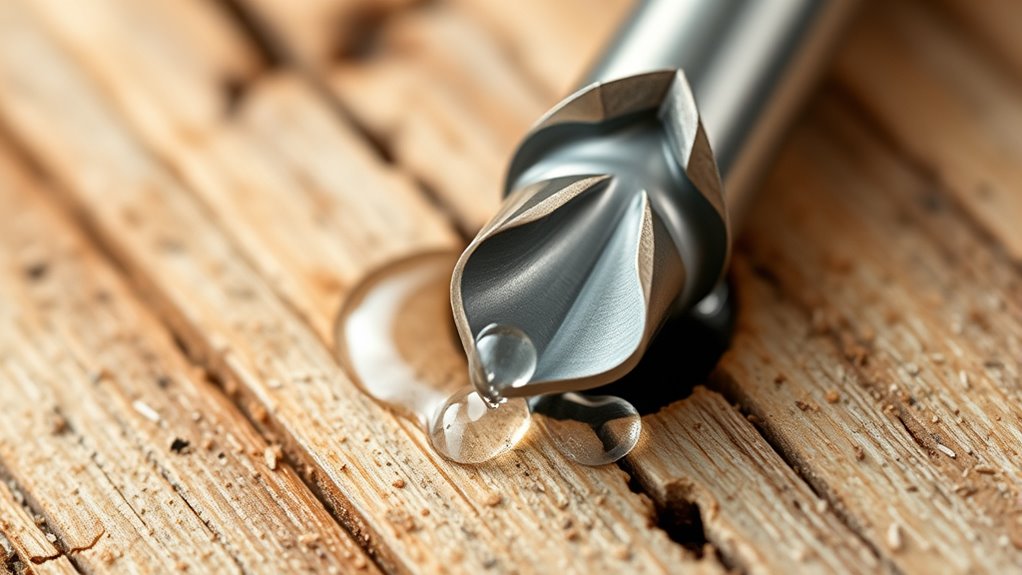
Applying a penetrant or lubricant, such as WD-40 or penetrating oil, directly onto the drill bit is a crucial step in easing removal. This helps loosen rust, corrosion, and debris that may be causing the bit to stick. Allow the lubricant to sit for at least 10-15 minutes, giving it time to penetrate deeply into threads and rust buildup. Reapplying the lubricant during the process can further reduce the force needed to extract the bit. Warming the penetrant slightly can enhance its effectiveness, as heat helps the oil seep into tight spaces more easily. Use a spray applicator or dropper for precise application, ensuring the lubricant reaches all affected areas. This preparation makes the subsequent removal much smoother and less forceful. Additionally, understanding the performance of airless sprayers can help in selecting the right lubricant and method for your specific project. Proper application techniques can also prevent damage to the drill or bit during removal, especially when combined with effective penetrating methods. For best results, consider applying lubricant in a well-ventilated area to ensure safety and optimal absorption. Using the right lubricant application technique can significantly reduce the effort required and prevent potential damage during removal. Being aware of tuning options for vehicles can also inform the choice of lubricants and tools used in automotive maintenance projects.

DEWALT DPG82-11 Concealer Clear Anti-Fog Dual Mold Safety Goggle, Clear Lens, 1 Pair
DEWALT ToughCoat hard coated lens provides tough protection against scratches.
As an affiliate, we earn on qualifying purchases.
As an affiliate, we earn on qualifying purchases.
Use Steady, Gentle Backward Pressure During Extraction
You should apply steady, gentle backward pressure to prevent damaging the drill bit or workpiece. Keep your grip firm and consistent, avoiding sudden jerks or excessive force. Regularly check your pressure to ensure a smooth, controlled removal process. Additionally, maintaining sound quality and levels during the process can help avoid sudden movements that may cause damage. Being aware of proper maintenance routines can also contribute to smoother extractions by keeping your tools in optimal condition. Incorporating pressure control techniques can further enhance the safety and efficiency of the removal process. Using appropriate tuning methods can also help maintain the longevity and performance of your tools. Ensuring the correct size and type of drill bits are used for specific tasks can prevent unnecessary stress during removal and prolong tool life.
Maintain Consistent Pressure
To remove a drill bit smoothly and safely, it’s important to maintain steady, gentle backward pressure throughout the process. Applying consistent force prevents the bit from binding or breaking and keeps it aligned properly with the hole. Sudden or jerky movements can cause the bit to seize or snap, making removal more difficult and risking damage to the material. By maintaining uniform pressure, you help evenly loosen the bit from the material, making extraction easier and safer. This steady approach also minimizes the chance of damaging the surrounding surface or the drill bit itself. Focus on controlled, smooth movements, and avoid rushing, to ensure a quick and damage-free removal every time. Additionally, understanding how drill bit materials react to different forces can help optimize your technique for various tasks. Recognizing the resistance levels of different bits can guide you in applying the appropriate amount of force for a safe and efficient removal. Moreover, practicing patience during extraction can prevent damage to tools and prolong their lifespan, making your work more efficient in the long run. Incorporating proper lubrication can also facilitate easier removal and reduce wear on your drill bits. Being aware of merchant services and their associated risks can help you choose the best tools and processes for your specific needs.
Avoid Sudden Movements
When extracting a drill bit, it’s crucial to avoid sudden or forceful movements, as these can cause the bit to become lodged or damage the surrounding material. Instead, apply steady, gentle backward pressure. This controlled approach prevents the bit from snapping or breaking further inside the hole. Moving slowly allows the cutting edges to loosen gradually, reducing stress on the bit and material. Consistent pressure helps avoid widening the hole or causing uneven wear. Patience is key—rushing can lead to complications that make removal more difficult. Keep your movements smooth and deliberate, focusing on maintaining control throughout the process. By avoiding abrupt actions, you’ll minimize damage, protect your tools, and ensure a safer, more efficient extraction. Additionally, understanding the importance of material compatibility can help you select the appropriate removal techniques for different surfaces. Being aware of tuning principles can also inform how you handle different drill bits and materials during extraction.
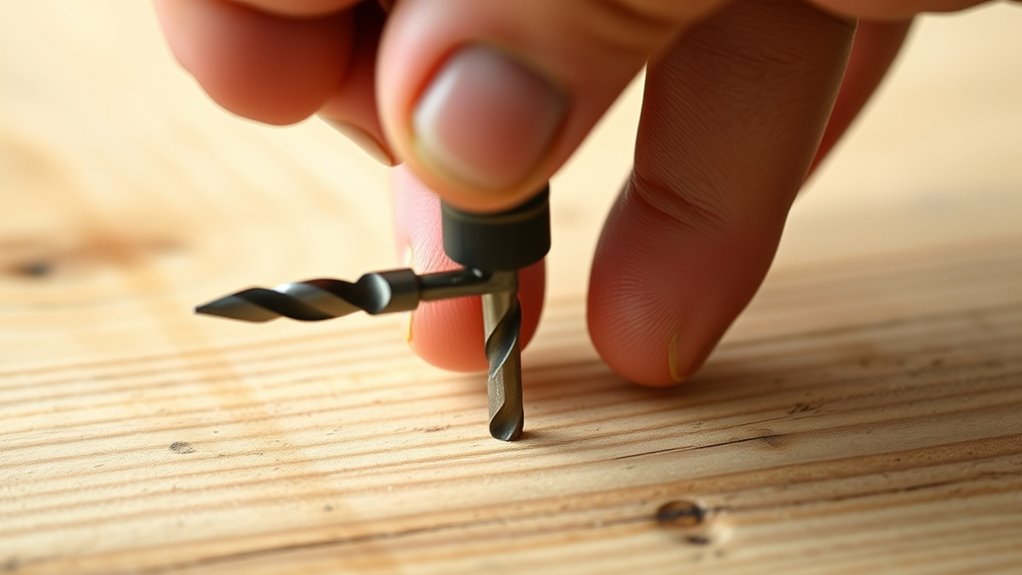
Use Proper Tool Grip
Using a proper tool grip is essential for a smooth drill bit removal. You should apply steady, gentle backward pressure to ensure the chuck grips the bit securely. This controlled force reduces the risk of slipping or sudden breakage, making the removal safer and easier. Keep your grip firm but gentle, avoiding excessive force that could stress the drill bit or motor. Maintaining consistent pressure helps prevent stripping the bit’s shank or damaging surrounding material. Slow, deliberate movements allow the drill to grip the bit more effectively, easing it out with less effort. Avoid jerks or sudden pulls, which can cause damage. By using a steady, controlled grip, you promote a smooth, quick extraction process while protecting both your tools and workpiece.
Enhance Grip With Pliers or Wrench if Needed
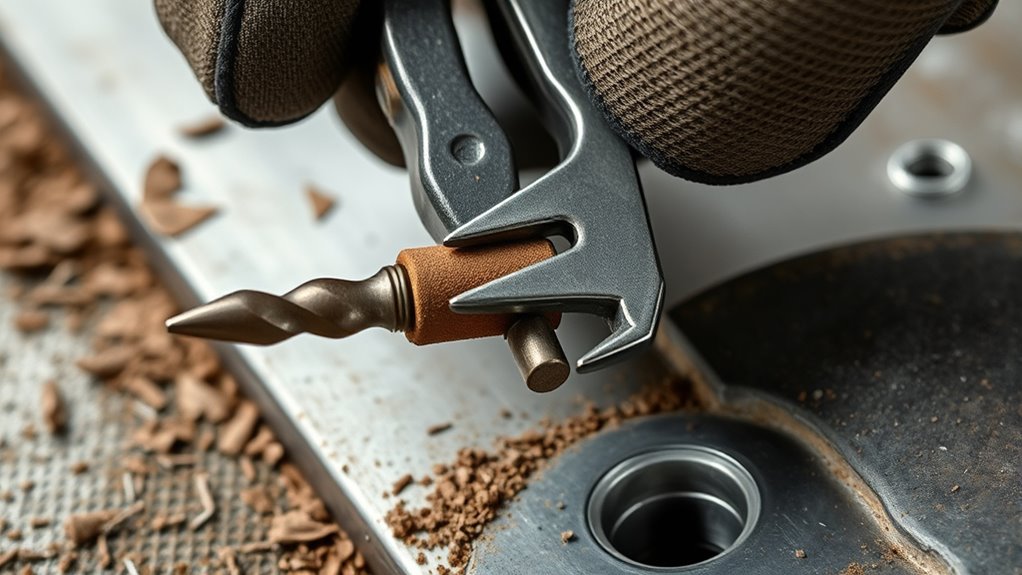
If the drill bit proves difficult to remove by hand, grabbing it with pliers or a wrench can provide the necessary grip. Using adjustable pliers allows you to securely clamp different-sized bits, reducing slippage and increasing leverage. Make sure the tool’s jaws are clean and dry to maximize grip strength and prevent slipping during extraction. When opting for a wrench, choose the correct size socket or wrench opening to avoid damaging the drill bit. For stubborn bits, applying a penetrating lubricant like WD-40 can loosen corrosion and improve your grip, making removal easier. Always assure you have a firm hold before turning to avoid slipping or injury. Enhancing your grip with these tools can notably simplify the process of removing a stuck drill bit.
Maintain Patience and Controlled Movements
Keeping a steady hand and moving slowly helps prevent slips or damage during bit removal. Rushing increases the risk of breaking the bit or harming your workpiece, so stay patient and deliberate. Take your time, apply gentle pressure, and avoid forcing the process for the best results.
Steady Hand Technique
To guarantee a smooth and safe drill bit removal, maintaining a steady hand is essential. Keep a firm, controlled grip on the drill to prevent sudden slips or breaks. Apply slow, deliberate pressure when guiding the drill, avoiding excessive force that could misalign the bit. Maintain a moderate rotational speed; too fast can cause wandering or loss of control. Focus on consistent, deliberate movements instead of rushing, which risks binding or snapping the bit. Regularly pause to evaluate progress and adjust your grip as needed.
| Key Point | Tip |
|---|---|
| Grip Stability | Keep a firm, steady hold |
| Speed Control | Use moderate rotational speed |
| Movement Precision | Move slowly and deliberately |
| Regular Checks | Pause to assess and adjust |
Avoid Rushing Process
Rushing the drill bit removal process can lead to broken bits or damaged workpieces, making repairs more complicated. Instead, take your time and apply steady, controlled pressure. This helps the bit cut smoothly, reducing heat buildup and preventing premature wear. Keep your force moderate and consistent to keep the bit aligned, avoiding wobbling or slipping. Remember to pause periodically to prevent overheating of both the drill bit and the material, which preserves their integrity. Patience during removal minimizes the need for repeated drilling or forceful extraction, saving you time and frustration. Rushing increases the risk of damage and can make the process more difficult overall. Stay calm, maintain control, and let the tool work at a steady pace for the best results.
Finish With Proper Cleaning and Inspection
Once you’ve removed the drill bit, it’s *essential* to thoroughly clean the area to guarantee it’s free of debris, residue, and any leftover material. Use a wire brush or compressed air to clear out dust, shavings, and debris. Inspect the drill bit and surrounding surface for damage or wear that might need attention before reusing or moving forward. Smooth out any rough edges or burrs with fine-grit sandpaper or a polishing compound to prevent issues during the next step. Apply a cleaning solvent or alcohol to eliminate oil, grease, or residues, ensuring a clean surface. Finally, conduct a visual and tactile inspection to confirm the area is smooth, clean, and ready for the next phase, like drilling or finishing. Proper cleaning and inspection guarantee *maximum* results and equipment longevity.
Frequently Asked Questions
What Is the Best Way to Remove a Stuck Drill Bit?
When your drill bit gets stuck, don’t panic. First, apply penetrating oil like WD-40 and let it sit for a few minutes. Then, use pliers or a wrench to gently twist and pull the bit out, avoiding damage. Lightly tap the shank with a hammer if needed, and consider applying heat to expand the metal. If all else fails, carefully drill or grind the shank to remove it.
How Do EZ Outs Work?
Think of EZ Outs as the knights in shining armor for broken screws. They work by gripping the damaged part with reverse threads that bite into metal as you turn counterclockwise. To use one, drill a pilot hole, insert the extractor, then turn it with a wrench or T-handle. Steady pressure and alignment are key to avoiding slips and ensuring the extractor’s grip pulls out the broken piece smoothly.
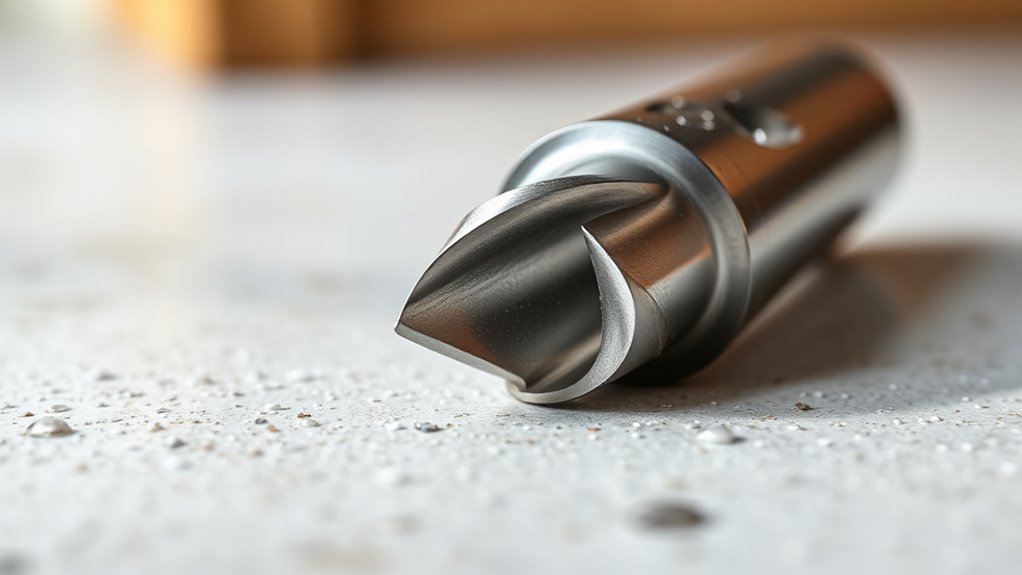
How Do Speed Out Drill Bits Work?
You use Speed Out drill bits by drilling into the center of the damaged screw or bolt. Their spiral flutes grip the fastener as you turn clockwise, and the tapered, reverse-threaded tip enlarges the hole for better grip. Made from durable materials like high-speed steel or carbide, these bits withstand tough removal jobs. Once drilled in, you rotate them counterclockwise to effortlessly extract the broken or rusted fastener.
Why Won’t My Drill Bit Come Out?
Imagine trying to remove a drill bit, but it’s stuck tight. You might find it won’t budge because of rust, over-tightening, or metal shavings. In your case, the bit could be seized due to corrosion or heat expansion. To fix this, apply penetrating oil, gently tap the chuck, or use pliers if necessary. Avoid forcing it, as that can damage your drill or the bit.
Conclusion
By following these tips, you’ll find drill bit removal becomes a breeze—just like the craftsmen of old, who mastered their tools with patience and care. Remember, rushing can turn a simple task into a quest worthy of a knight’s challenge. With a steady hand and a bit of wisdom, you’ll keep your tools in top shape and your projects moving smoothly. So, stay calm, be methodical, and let your skills stand the test of time.