
To remove wax from wood surfaces, start by ensuring your workspace is clean, organized, and well-ventilated. Wait until the wax cools and hardens, then gently scrape it away using a plastic tool or credit card, working with the grain. If needed, soften remaining wax with gentle heat like a hairdryer or warm iron, and apply a solvent such as methylated spirits. Finish by wiping with a damp cloth and polishing. To learn detailed steps, continue exploring this helpful guide.
Key Takeaways
- Ensure the workspace is clean, organized, and protected to prevent damage and facilitate safe wax removal.
- Allow the wax to cool and harden completely, using ice wrapped in plastic to speed up the process.
- Gently scrape the hardened wax with a plastic scraper or credit card, working with the grain to avoid surface damage.
- Use low heat with a hairdryer or warm iron, applying it carefully with a cloth barrier to soften stubborn wax residues.
- Clean the surface thoroughly with a damp cloth, buff the area, and apply polish to restore shine and protect the wood.

Plastic Razor Blade Scraper Tool, 6 Pcs Razor Scraper with 60 Pcs Plastic Blades, Cleaning Scraper Remover for Removal Floor Stove Scraping Labels and Decals Sticker on Car Window Glass
WHAT YOU GET: The 6 plastic scrapers come with 60 extra plastic blades. Enough quantity and complete set…
As an affiliate, we earn on qualifying purchases.
As an affiliate, we earn on qualifying purchases.
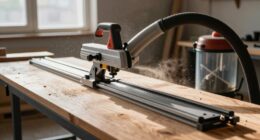
Preparing Your Workspace and Tools
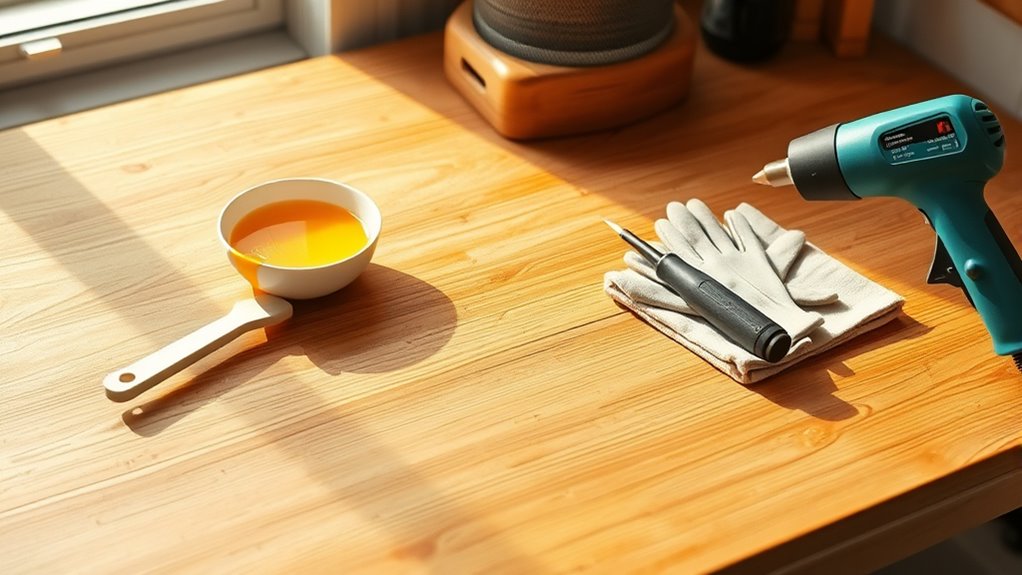
Before you begin removing wax from your wooden surfaces, set up a clean and organized workspace. Guarantee the area is well-ventilated by opening windows or using fans to disperse fumes from solvents and cleaning agents. Gather all necessary tools, such as plastic scrapers, cloths, ice packs, and suitable cleaning solutions, to make the process smoother. Protect the surrounding area by covering it with dust sheets or old sheets, preventing damage or stains from wax residues or liquids. Clear the workspace of any items that could be contaminated or obstruct your movement, creating a safe environment. Proper workspace organization helps streamline the wax removal process and ensures safety. Additionally, considering the use of self-watering planters can help maintain your indoor plants during your cleaning projects, reducing maintenance efforts and keeping your greenery healthy. Incorporating proper ventilation is crucial to safely handle any fumes from solvents or cleaning agents used during wax removal. Implementing effective workspace setup can further improve efficiency and safety during the task. By organizing your tools and protecting your area, you set the stage for an efficient and safe wax removal process.

Trade Secret Complete Wood Furniture & Floor Restoration Kit – Scratch Repair and Polish System for Light and Dark Surfaces with Microfiber Cloth
Comprehensive Care: Our all-in-one kit includes Polish and Cleaner, Scratch Removers for dark and light wood, and four…
As an affiliate, we earn on qualifying purchases.
As an affiliate, we earn on qualifying purchases.
Allowing the Wax to Harden Before Removal
Wait until the wax cools and hardens completely before removing it. You can speed up this process with an ice cube wrapped in plastic for 10-20 seconds. Once solid, the wax becomes brittle and easier to scrape away cleanly. Using the appropriate tools like a plastic scraper or a soft cloth can help prevent damage to the wooden surface. Additionally, understanding careful craftsmanship can further emphasize the value of meticulous work when restoring the natural beauty of wood. Practicing patience during this process aligns with principles of sound healing science, where deliberate timing and gentle methods promote effective results. Incorporating gentle removal techniques can also minimize the risk of surface damage and ensure a smooth finish.
Use Ice for Hardening
Using ice to harden wax on wooden surfaces is an effective and straightforward method. When you apply an ice pack or cubes wrapped in plastic, the wax quickly becomes brittle within 10-20 seconds. This brittleness makes it easier to remove the wax without smearing it across the surface. Cooling the wax with ice reduces its flexibility, so when you scrape, the wax flakes off cleanly. It also minimizes the risk of damaging the wood, especially since brittle wax is easier to remove from the surface. For porous or unfinished wood, ice stiffens the wax without introducing excess moisture. This quick, chemical-free approach prepares the wax for removal, reducing the need for harsh solvents or excessive scraping. Incorporating natural lighting can help you better see the wax and ensure thorough removal. Additionally, using ice can prevent damage to delicate finishes, preserving the integrity of the wood surface. Properly applying this method aligns with AI security principles by minimizing potential harm or unintended effects during the process. Applying gentle pressure during scraping can further prevent surface damage and ensure a cleaner finish. For best results, consider using a plastic scraper to avoid scratching the wood. 1. Wrap ice in plastic and place on the wax. 2. Wait 10-20 seconds for the wax to harden. 3. Wax becomes brittle, making it easier to scrape. 4. Avoid damaging the wooden surface during removal.
Wait Before Scraping
Allowing the wax to cool and harden completely before attempting removal is essential for an effective cleanup. Rushing can cause the soft wax to smear or sink deeper into the wood grain, making removal more difficult. To speed up this process, you can use an ice pack or cubes in a plastic bag for 10-20 seconds. Once the wax has cooled and hardened, it becomes brittle and easier to lift with a plastic scraper or credit card. Patience here is key—you want the wax to be solid enough for clean removal without damaging the wood finish. Additionally, understanding wood grain is crucial to avoid scratching or gouging the surface during removal. Proper technique also involves working with the natural grain direction to minimize any potential damage. Being aware of wood properties can further assist in selecting the best removal method for your specific surface. Using gentle pressure and avoiding excessive force helps prevent damaging the wood surface during the process. Furthermore, choosing the right removal tools ensures a safer and more effective cleanup.
Ensure Wax Is Solid
To remove wax effectively, you need to guarantee it has fully cooled and hardened before you start scraping. This ensures the wax solidifies, making it easier to lift without smudging or spreading. Rushing the process by attempting to scrape warm wax can push it deeper into the wood grain, damaging the surface. To speed up hardening, you can use an ice pack or cubes in a plastic bag for 10-20 seconds. Patience is key—waiting until the wax cools completely reduces the risk of damaging your finish. Once hardened, follow these steps: 1. Confirm the wax has solidified completely. 2. Gently cool the wax further if needed. 3. Use a plastic scraper or credit card for scraping. 4. Carefully lift the wax without applying excessive pressure. Additionally, avoiding excessive heat during removal prevents projector bulb damage and protects your surface. Being aware of security zone info can help ensure your workspace remains safe during the cleaning process. Incorporating visualization techniques can also help you stay focused and calm during delicate tasks like wax removal. Using a gentle cleaning method helps prevent damage to the wood finish while effectively removing residual wax. Moreover, understanding the importance of patience and proper technique can make the process more efficient and safer for your furniture.

SEEKONE Heat Gun 1800W 122℉-1202℉(50℃- 650℃)Fast Heating Heavy Duty Hot Air Gun Kit Variable Temperature Control Overheat Protection with 4 Nozzles for Crafts, Shrinking PVC, Stripping Paint(5.2FT)
▶ 【Strong Power With 2 Modes】 SEEKONE 1800W heat gun provides strong power quickly heat up to 1202℉(650℃)…
As an affiliate, we earn on qualifying purchases.
As an affiliate, we earn on qualifying purchases.
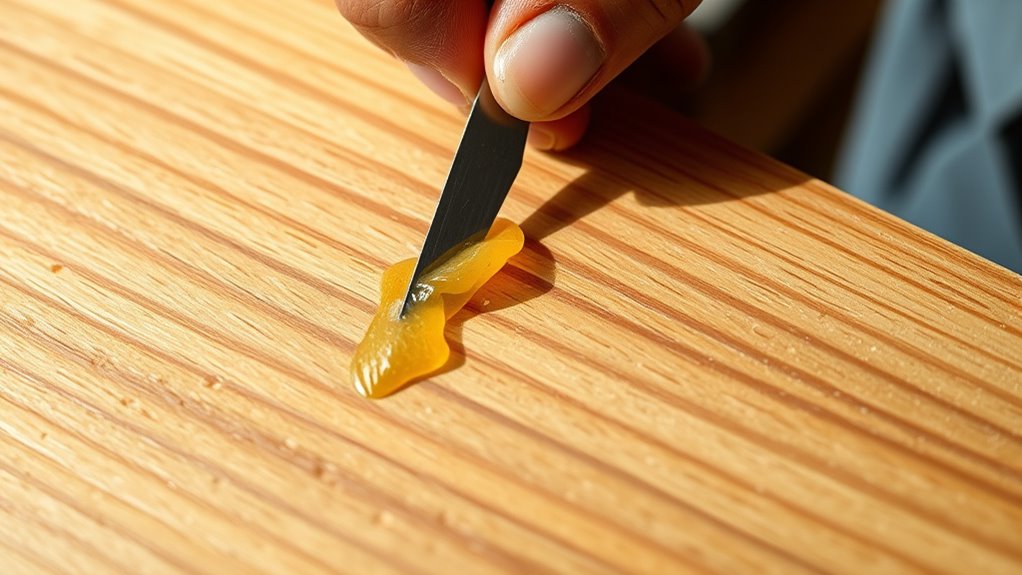
Gently Scraping Excess Wax
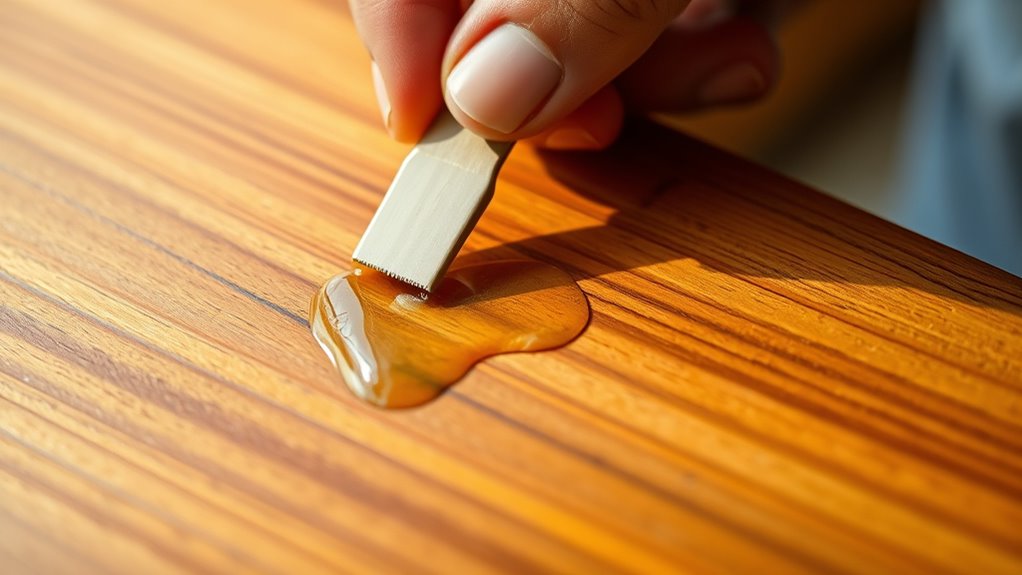
Gently scraping excess wax is an essential first step in cleaning a wooden surface. Use a plastic scraper or an old credit card to carefully lift hardened wax without scratching the wood. Keep the scraper flat against the surface and apply minimal pressure to avoid gouging or damaging the finish. Work in small sections, gently lifting and sliding the tool beneath the wax to remove excess wax effectively. This careful approach helps prevent smearing or breaking the wax into the wood grain. After loosening the wax, remove any loose debris with a soft cloth or your fingers. This initial step ensures that most of the wax is cleared before moving on to further cleaning or heat application, leaving your wood surface ready for proper wax removal. Additionally, understanding wood surface properties can help you choose the best method for cleaning without causing damage.

U.S. Art Supply Odorless Mineral Spirits for Cleaning – 4.2oz (125ml) Highly Refined Paint Solvent, Thinner for Oil Mediums
U.S. Art Supply Odorless Mineral Spirits / Thinner – Is a Premium highly refined solvent formula that effectively…
As an affiliate, we earn on qualifying purchases.
As an affiliate, we earn on qualifying purchases.
Using Heat to Loosen Residual Wax
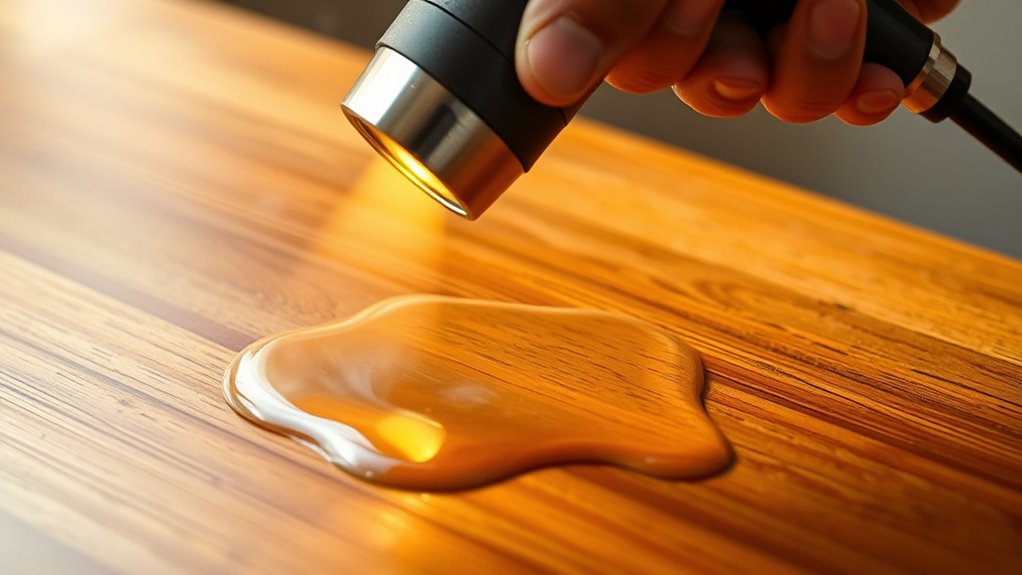
Applying gentle heat to the residual wax softens it, making wax removal much easier. When you use a low-heat source like a hairdryer or warm iron (with a cloth barrier), the heat causes the wax to melt without risking surface damage. Keep the temperature around 120°F to 150°F to soften the wax safely. As the wax liquefies, it becomes easier to lift or absorb with a soft cloth or paper towels. Remember to keep the heat source moving constantly to prevent overheating or scorching the wood surface. Here are some tips to help you:
- Use a low-heat setting on your device.
- Maintain steady, gentle movement.
- Keep the temperature within the safe range.
- Avoid direct contact with high heat.
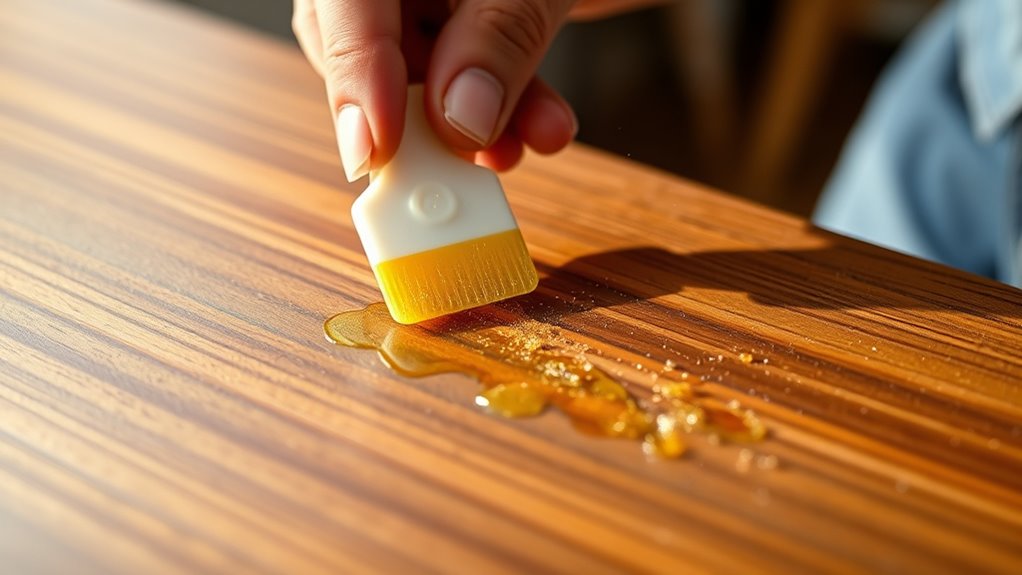
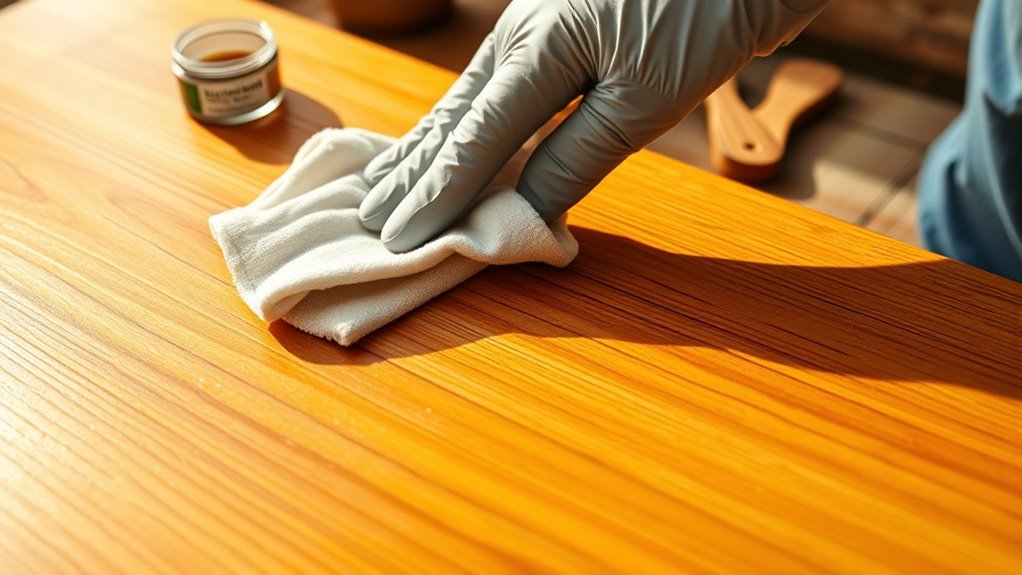
Applying Suitable Solvents for Complete Cleaning
When removing wax from wooden surfaces, using a suitable solvent like methylated spirits can be highly effective in dissolving stubborn residues. Dampen a soft cloth with methylated spirits and gently rub the waxed area in circular motions to aid in removing wax and cleaning surface. This solvent application helps break down the wax, making residue removal easier without harming most wood finishes. Always test methylated spirits on an inconspicuous spot first to prevent discoloration or damage. Once the wax is loosened, wipe the area with a clean, damp cloth to remove any leftover residue. Proper furniture care includes ventilating the space and wearing gloves and eye protection when handling methylated spirits, ensuring safe and effective cleaning.
Removing Wax From Unfinished and Porous Surfaces
Removing wax from unfinished and porous wood requires a different approach since solvents can be absorbed or cause damage. To effectively remove wax and prevent residue buildup, follow these steps:
Removing wax from unfinished, porous wood needs a gentle approach to avoid damage and residue buildup.
- Use an ice cube in a plastic bag to harden the wax, making it easier to scrape off.
- Gently scrape the hardened wax with a plastic scraper or credit card, avoiding metal tools that could damage the wood.
- Sprinkle talcum powder or cornstarch into grooves and porous areas to absorb residual wax.
- Apply gentle heat with a soft cloth or cloth-wrapped hot iron over the talc to lift wax from the porous surface, then brush or vacuum away remaining residue.
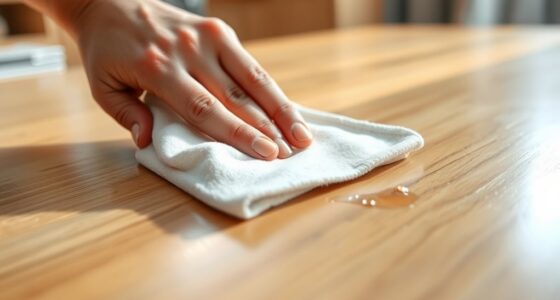
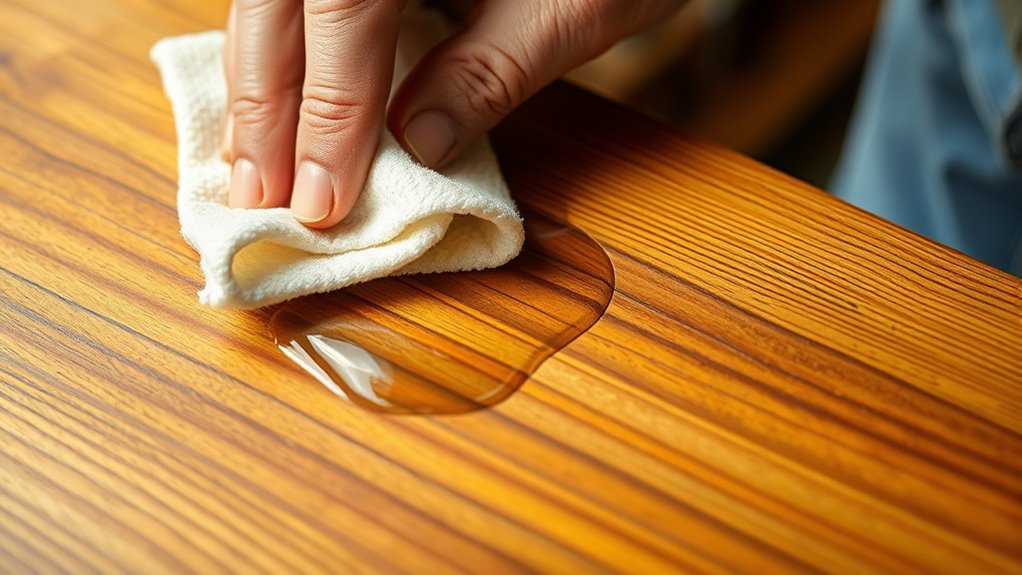
Wiping and Polishing the Surface Post-Removal
After successfully removing the wax, it’s important to wipe the surface thoroughly with a clean, damp cloth to remove any lingering residue or cleaning remnants. This step guarantees all traces of wax and cleaners are gone, leaving a clean surface ready for polishing. Use a soft cloth to wipe surface gently, avoiding scratches while restoring the wood’s natural beauty. Once the surface is dry, take a soft cloth to buff and polish the wood, bringing back its shine and smoothness. Applying a suitable furniture polish or conditioner afterward can further protect and enhance the finish. Make sure the surface is completely dry before polishing to prevent streaks or damage. Regularly cleaning and polishing will help maintain the wood’s polished, wax-free look and prolong its lifespan.
Tips for Maintaining and Preventing Future Buildup
To keep your wooden surfaces wax-free, establish a regular cleaning routine using a soft cloth and mild soap. Always apply wax in thin, even layers and remove spills promptly to prevent buildup. Using proper polishes sparingly and inspecting your furniture regularly will help maintain its appearance and longevity.
Regular Cleaning Routine
Maintaining a regular cleaning routine is essential for preventing wax buildup and keeping wooden surfaces looking their best. A consistent approach helps you avoid residue and keeps the finish fresh. Here are some tips:
- Wipe wood surfaces regularly with a damp cloth to remove dust and prevent dirt from embedding.
- Use furniture polishes sparingly, applying thin coats and allowing them to dry completely.
- Address spills or stains promptly with gentle cleaning methods to prevent grime from settling.
- Schedule periodic cleanings with mild solutions like vinegar-water or specialized wood cleaners to maintain a clean, residue-free surface.
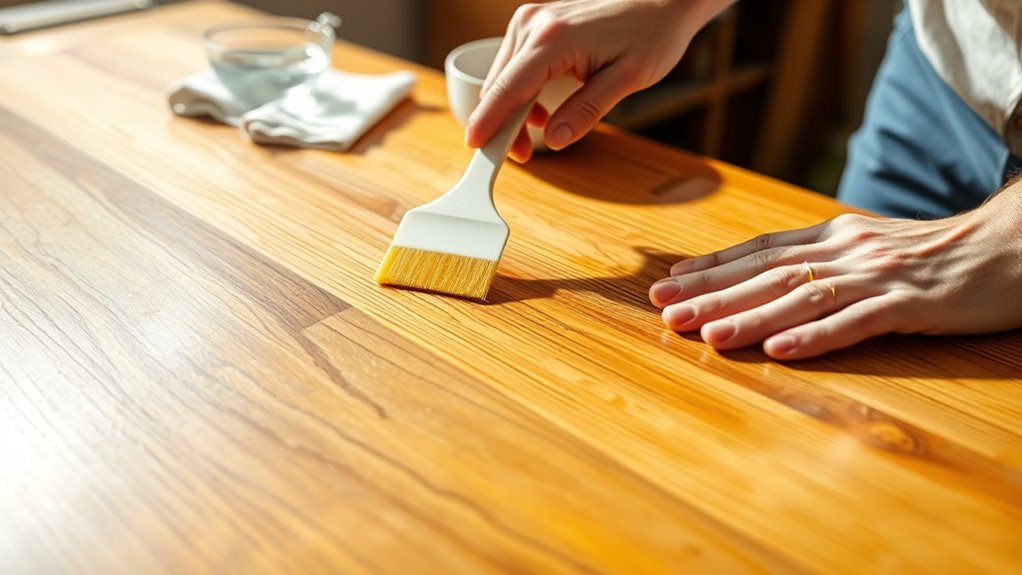
Use Proper Polishes
Using the right polishes is key to preserving your wooden surfaces and preventing future wax buildup. Proper polishes, like furniture polish with beeswax or carnauba, enhance surface protection and add a natural shine. Applying the correct product for your furniture’s finish guarantees effective surface maintenance without excess residue. After cleaning with polish, buff your furniture with a soft cloth to distribute the product evenly, preventing uneven layers and wax pooling. Routine use of proper polishes creates a barrier against dust, grime, and wax buildup, reducing the need for intensive cleaning later. Regularly reapplying polish, following manufacturer instructions, helps keep your furniture looking its best and minimizes stubborn buildup, making long-term care easier and more effective.
Prompt Spill Management
Have you ever experienced a wax spill that seemed impossible to clean? Acting quickly is key to remove wax and prevent damage. Here are some tips for spill management:
- Blot spills immediately with a soft cloth or paper towel to stop wax from soaking into the wood.
- Use an ice pack or cubes in a plastic bag to harden the wax, making it easier to scrape off.
- Gently scrape the hardened wax with a plastic scraper or credit card—avoid metal tools to prevent scratches.
- Wipe the area with a damp cloth to remove any remaining residue and keep the surface clean.
Frequently Asked Questions
What Is the Best Way to Remove Wax From Wood?
To remove wax from wood, start by softening it with a heat source like a hairdryer, then gently scrape with a plastic scraper or credit card. For stubborn spots, apply a solvent such as mineral spirits with a soft cloth in circular motions. If the wood is porous, freeze the wax with ice first. Always test your method on a hidden area to avoid damaging the finish.
What Is the Easiest Way to Remove Wax From a Surface?
Did you know that softening wax with heat makes removal up to 50% easier? To do this, just use a hairdryer on a gentle setting to warm the wax, then wipe it away with a soft cloth or paper towel. For stubborn spots, lightly scrape with a plastic scraper or credit card. Applying a solvent like mineral spirits can help dissolve any remaining wax, making the process quick and simple.
Does White Vinegar Remove Wood Wax?
Yes, white vinegar can eliminate wood wax effectively. Its acetic acid dissolves residual wax, breaking down oily components for easier removal. When you apply diluted vinegar with a soft cloth, it’s gentle on most finished wood surfaces. Just remember to test a small area first to avoid discoloration. Afterward, wipe with clean water and dry thoroughly to guarantee no residual acidity remains.
Will WD-40 Remove Wax From Wood?
Yes, WD-40 can help remove wax from wood surfaces because it acts as a solvent. You should spray a small amount on the wax, let it sit briefly, then wipe with a clean cloth. Keep in mind, WD-40 may leave an oily residue, so you’ll need to clean the area thoroughly afterward with soap and water or a wood-safe cleaner. Always test on a hidden spot first to avoid damage.
Conclusion
Now that you’ve mastered removing wax, your wooden surfaces will shine brighter than the stars themselves! Imagine transforming dull, sticky messes into breathtaking, pristine masterpieces with just a few simple steps. Say goodbye to stubborn wax forever and welcome back that warm, natural glow that will dazzle everyone who sees it. You’ve gained the power to restore your furniture’s beauty—nothing can stop you from achieving perfection. Your wooden surfaces will thank you for this incredible makeover!